June 7, 2021
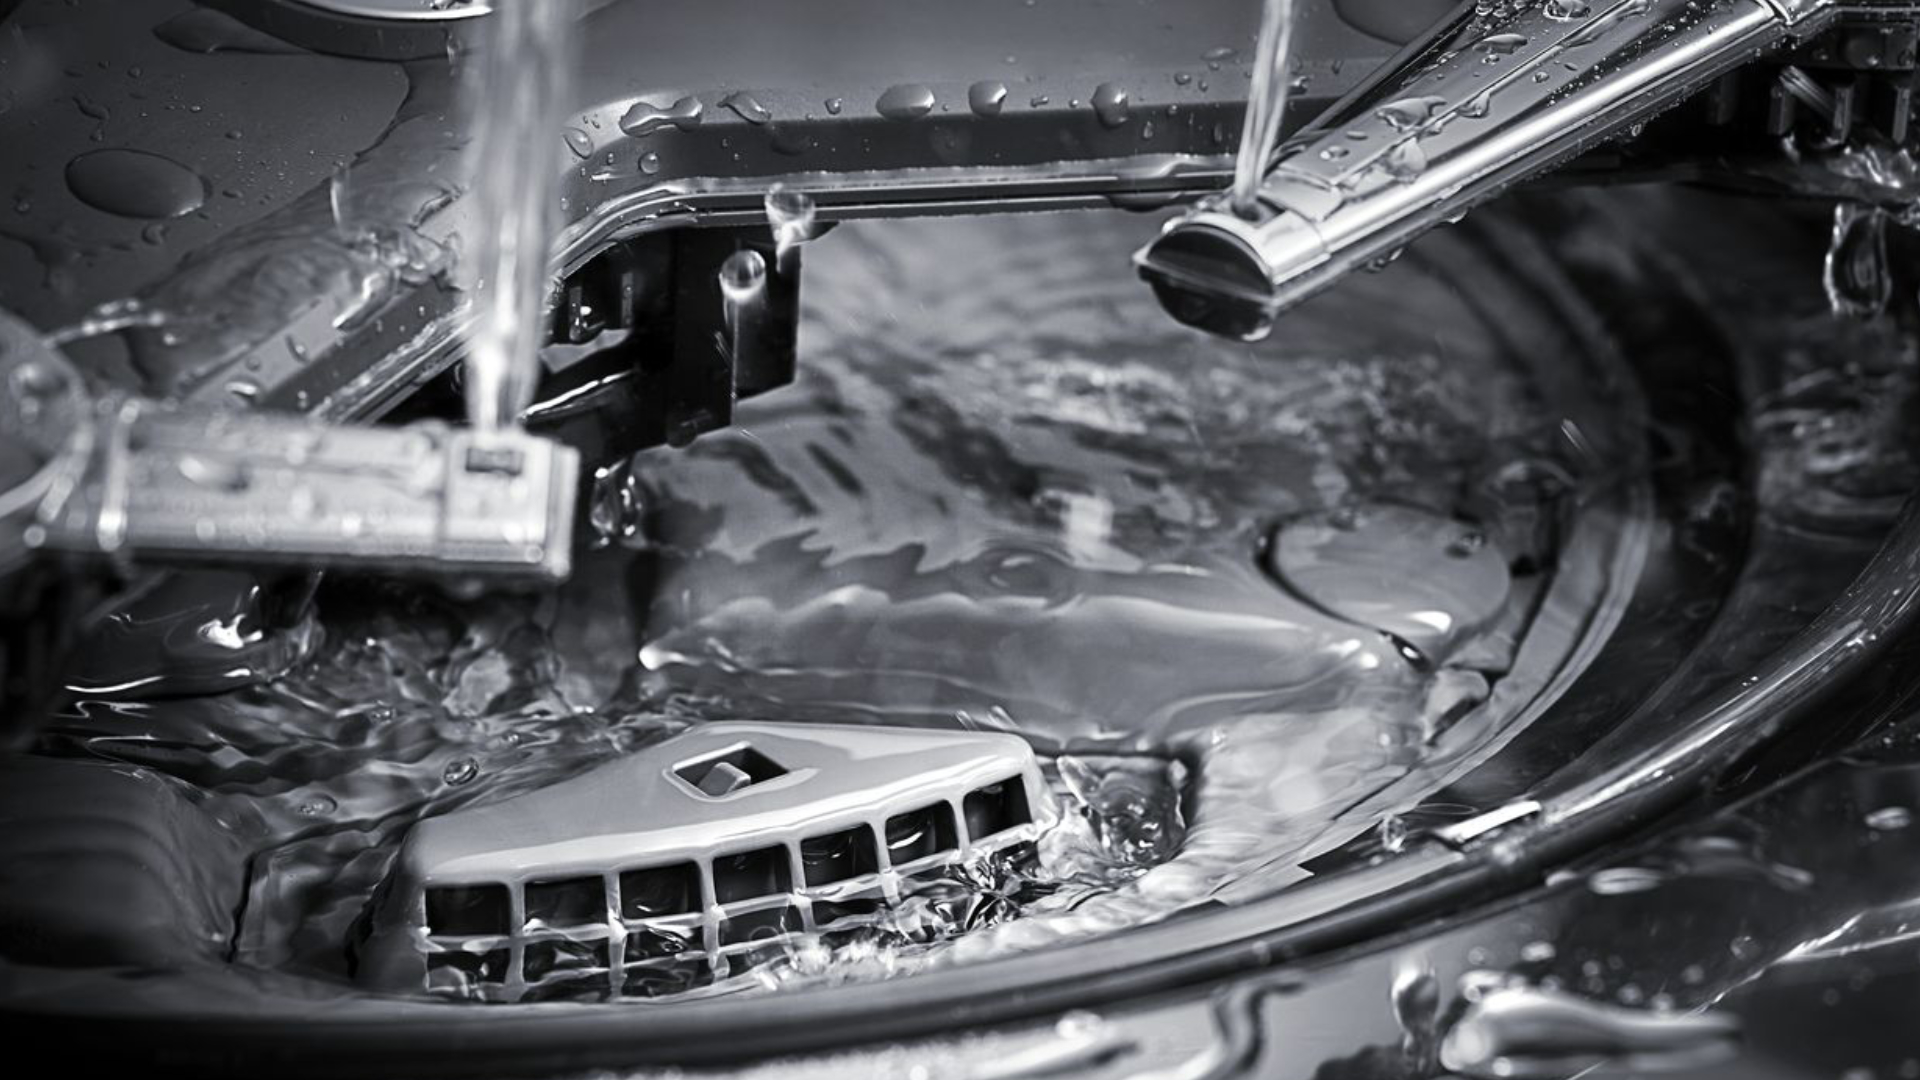
Dishwasher Repair
Replacing your old dishwasher with a new one is not as difficult as it may seem. In its simplest form, it is just a matter of unscrewing the water supply line and drain hose, disconnecting some electrical wires, and then reconnecting them to the new dishwasher.
This guide takes you step by step through a general how to remove your old dishwasher and install the new one, with tips included to assist with the process. The process can vary by model and brand.
Step 1: Prepare the Old Dishwasher for Removal
- Turn off the power supply to the dishwasher in your electrical panel.
- Shut off the water supply valve, which controls the water supply to the dishwasher. The water supply valve is usually located under the sink, close to the dishwasher. In some cases, you may need to pull the dishwasher out to access the water supply valve.
- Unscrew the brackets securing the dishwasher to the countertop. On most dishwashers, if you open the dishwasher and look up at the counter, you will see two brackets that need to be removed so that the dishwasher can be moved.
- Remove the lower access panel. Most panels can be removed by using a screwdriver to unthread the screws holding the panel in place. Once removed, you should be able to see underneath the dishwasher.
Step 2: Disconnect the Electrical Wires
- Make sure the power has been disconnected, and then open the junction box to access the dishwasher’s electrical wires. It is recommended that you also use a non-contact voltage tester to ensure the wires inside the box are not hot.
- Unscrew the junction box cover. You should now see two black wires, two white wires, and a ground wire. Typically, the wires are secured by two wire nuts, which, when turned, will release the wires. Other dishwasher models may have a switch that will release each wire.
- Release the grounding wire by using a screwdriver to unthread the screw that holds the grounding wire in place.
- Some dishwashers will have a strained relief nut that is holding the wires in place, while others may feature a nut or clamp that secures the wires behind the junction box. Remove the strained relief nut or clamp so that the wires are free of the old dishwasher.
Step 3: Disconnect the Water Connections
- Locate the water supply line, which is usually copper or braided stainless steel and connected to an elbow fitting underneath the dishwasher.
- Place a bowl or towel beneath where the water supply line connects with the inlet valve to collect any water that may spill as a result of the next step.
- Use a wrench to disconnect the water supply line from the inlet valve.
- The next step is to disconnect the drain hose. New dishwashers typically come with a new drain hose, and it is recommended that you use it. Alternatively, you may wish to continue to use the current drain hose if it is in good condition.
- To install a new drain hose, you should disconnect the drain hose from the sink or garbage disposal. In most cases, the drain hose can be disconnected by removing the screw that holds a clamp in place and then by pulling the hose off the socket. There may be some water spillage, so have a bowl or towel handy to collect the water. If you are going to keep the current drain hose, then you will need to disconnect the drain hose at the back of the dishwasher.
Step 4: Remove the Old Dishwasher
- Before pulling the dishwasher out from under the counter, you may wish to adjust the leveling legs at the base of the dishwasher to make it easier to remove the dishwasher. You may also want to put some cardboard down if you are worried about scratching your kitchen floor.
- If applicable, push the drain hose through the hole between the dishwasher and kitchen cabinet so it does not get stuck when removing the dishwasher.
- Pull the old dishwasher out from under the counter.
- Most dishwashers will be covered by an insulation blanket that helps reduce the noise that the dishwasher makes. If your new dishwasher does not come with this, you may want to save the insulation blanket from your previous dishwasher to cover the new one.
- Lastly, if the old drain hose is still connected to the dishwasher, taping the drain hose to the top of the dishwasher will stop water leakage and make the dishwasher easier to move.
Step 5: Install the New Dishwasher
If the wires and hoses can reach, you may wish to put the dishwasher on its back for easier access as you connect the dishwasher. You may also need to transfer parts from the old dishwasher to the new dishwasher or buy new parts, such as the strained relief nut, as new dishwashers will often only come with the drain hose.
- Unscrew the bottom access panel from the dishwasher so that you can access the water supply line and junction box.
- Connect the new drain hose to the dishwasher, and run the other end through to the garbage disposal or the connector underneath the sink. Make sure the drain hose is elevated above the connection point to stop wastewater from entering the appliance if the drain clogs. If you are using the previous drain hose, connect it to the back of the dishwasher.
- Put the insulation blanket over the dishwasher, and slide the dishwasher back into the cabinet beneath the counter. If it is easier, you may want to connect the dishwasher before sliding the dishwasher beneath the counter.
- Adjust the dishwasher legs to the desired height, ensuring that the dishwasher is level. A dishwasher that is not level can cause sound and operational issues.
- Next, you need to unscrew the cover to the junction box so that you can connect the electrical wires.
- Feed the wires into the junction box, and secure the strained relief nut to help hold the wires in place. If your dishwasher features a clamp at the back of the junction box, then secure the clamp to hold the wires in place.
- Connect the black wires and secure them with a wire nut; then do the same for the white wires. If your dishwasher has a different connection system, make sure the colors of the wires match up when you connect them.
- Secure the grounding wire.
- Secure the junction box cover over the wires.
- Use a wrench to reconnect the water supply line, making sure that the supply line runs straight and is not kinked. Use a wrench to adjust the elbow fitting if necessary. If the water supply line is in poor condition, now would be a great time to replace it, as it is likely to deteriorate further and cause flooding and other operational problems.
Step 6: Complete the Installation
- Before completing the installation, you may wish to test the dishwasher so that you can see that the hoses are connected correctly and are not leaking.
- If you are satisfied with the installation, replace the access panel at the base of the dishwasher, using a screwdriver to secure the screws that hold it in place.
- Secure the mounting brackets to the cabinet or countertop.
- Turn the water supply to the dishwasher back on.
- Restore power to the dishwasher.

Apr. 09, 2024
Eliminate the Burning Smell From Your Microwave

Apr. 09, 2024
Fixing a Samsung Freezer That Won’t Freeze

Apr. 09, 2024
Whirlpool Oven Won’t Heat: Here’s What To Do

Mar. 06, 2024
Easy Steps to Clean Your Refrigerator Coils

Mar. 06, 2024
Quick Fixes for an LG Dryer Not Heating

Mar. 06, 2024
How to Fix an Electrolux Dryer That’s Not Drying

Feb. 05, 2024
Why Is Your Whirlpool Washer Lock Light Flashing?

Feb. 05, 2024
Why Is Your Freezer Door Not Sealing?

Feb. 05, 2024
How Does a Ventless Dryer Work?

Jan. 03, 2024