April 10, 2023
Dryer Repair
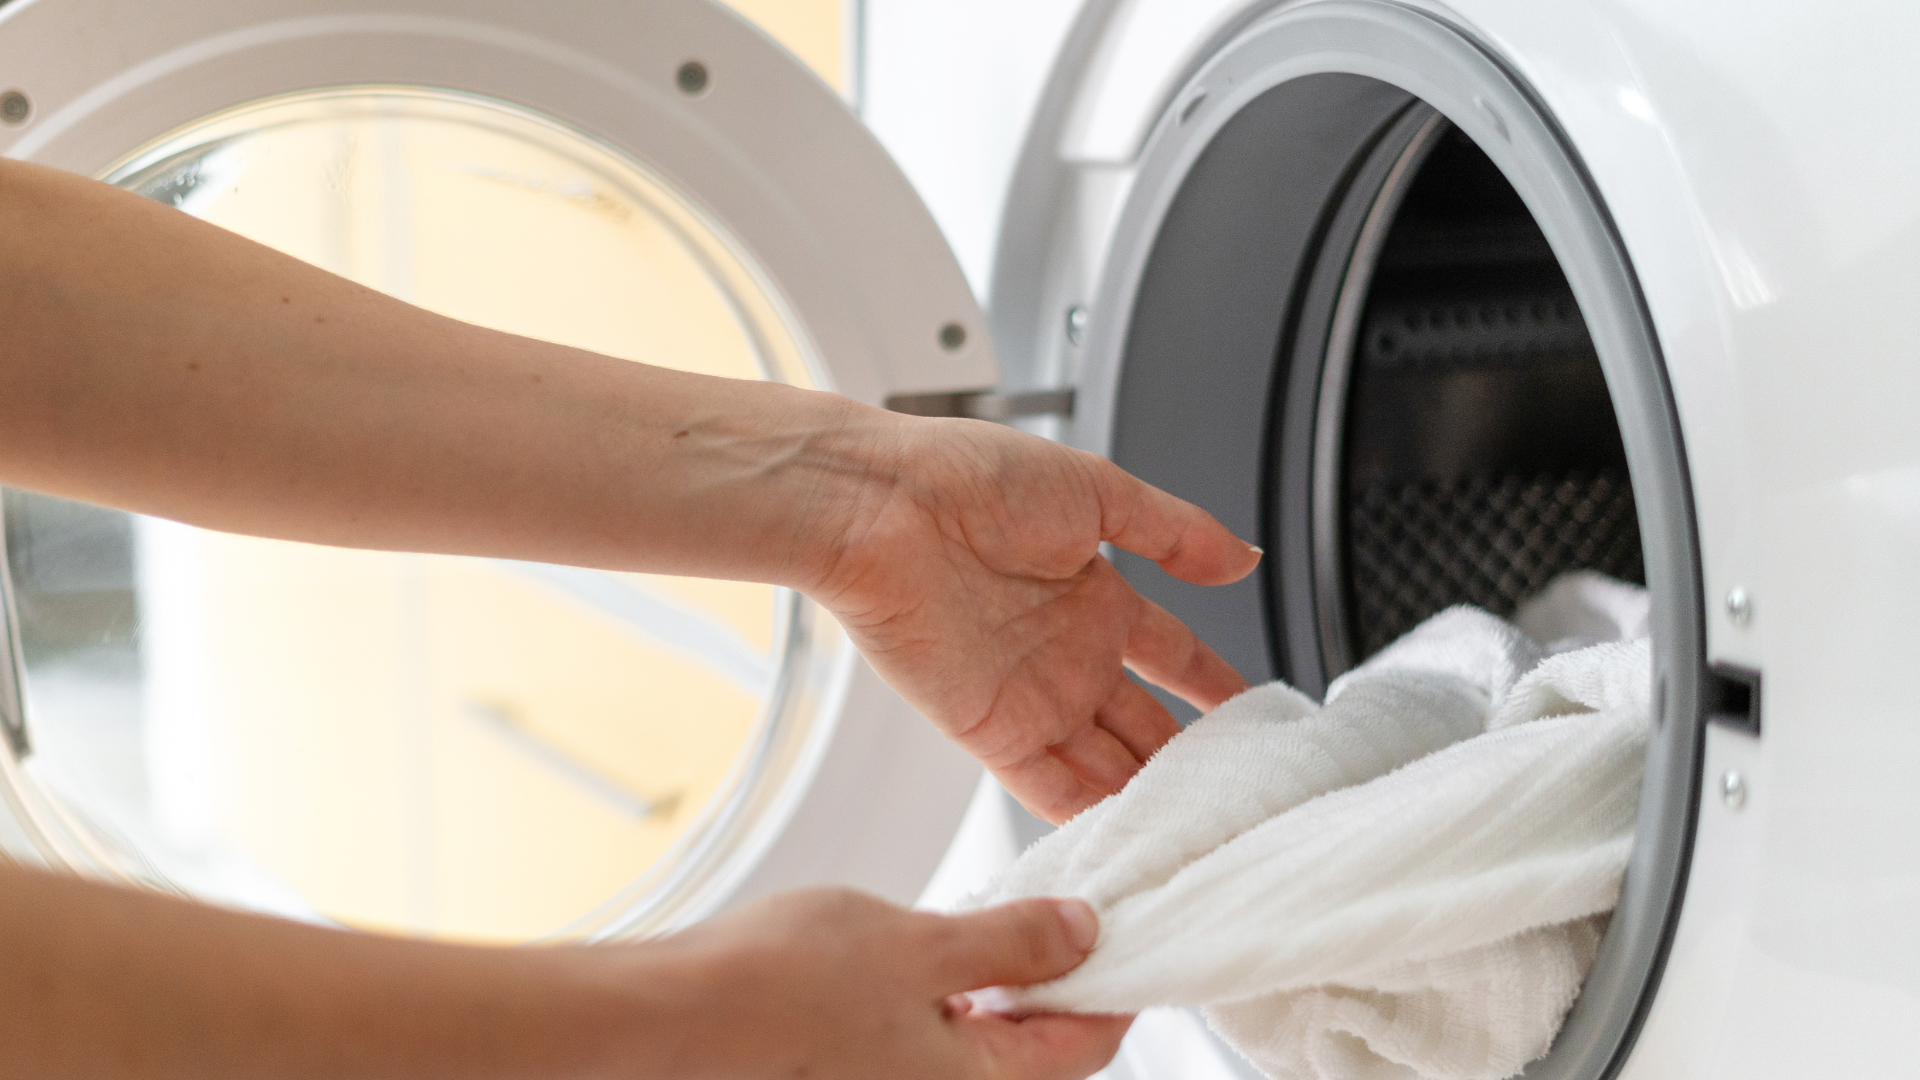
If you’ve noticed that your dryer isn’t producing heat like it used to, it may be time to replace the heating element. This essential component is responsible for generating hot air that dries your clothes, so a malfunctioning element can be a major inconvenience. Luckily, replacing a heating element is a relatively simple DIY task that you can do yourself.
In this article, we’ll guide you through the general process so you can get your dryer working like new again. Steps can vary by model and brand.
Step 1 – Unplug the dryer and assemble your tools
Make sure the dryer is completely unplugged before you begin any work. You will need the following materials:
- Screwdriver – Use the screwdriver to remove the dryer’s back panel and access the heating element.
- Multimeter – This tool will help you test the heating element for continuity and determine if it needs to be replaced.
- Pliers – You may need pliers to remove and replace wire connections and other components.
- Work gloves – To protect your hands while working with electrical components.
- Replacement heating element – You’ll need a new heating element that is compatible with your dryer’s make and model, which can be ordered online.
Step 2 – Remove the back panel
- Move the dryer away from the wall to access the back panel.
- Locate the screws holding the back panel in place – they are usually located along the top and bottom edges of the panel.
- Remove the screws from the back panel with a screwdriver.
- Some dryer models may have additional clips or fasteners holding the back panel in place. In this case, use a flathead screwdriver (or a putty knife) to move the panel away from the clips.
- Once all screws and clips are removed, carefully lift the back panel away from the dryer.
It’s important to be careful when removing the back panel as it may be heavy and can cause injury, or damage to the dryer. Additionally, be sure to keep track of all screws and other fasteners you remove so you can easily reattach the panel once you’ve completed your repair.
Step 3 -Locate the heating element
Once you have removed the back panel you should be able to see the heating element, which is usually a long, narrow metal tube or coil. It is typically located near the bottom of the dryer, behind the drum.
Take a close look at the heating element to confirm if it is damaged or broken. If you see any signs of damage, such as cracks or breaks, it will need to be replaced. If it appears fine, you can try testing it for continuity with your multimeter. If it doesn’t have continuity, it will need to be replaced.
Step 4 – Remove the old heating element
- Disconnect the wires: Take a photo of the wiring or make a diagram so that you know how to reconnect the wires. Carefully disconnect the wires that are connected to the heating element.
- Remove the heating element: Once the wires are disconnected you can remove the old heating element. Depending on the model, it may be held in place with screws or clips.
- Clean the area: Use a vacuum or cloth to clean any debris or dust that may have accumulated around the heating element.
Step 5 – Install the new heating element
- Verify that you have the correct replacement heating element for your dryer make and model. Refer to your dryer’s manual or manufacturer’s website for guidance.
- Install the new heating element into the compartment. Carefully align the mounting holes and secure the element with screws. Make sure the element is positioned correctly and not touching the metal housing of the dryer.
- Reconnect the wires to the new heating element. Follow the wiring diagram in your dryer’s manual or on the back of the dryer to ensure correct wiring.
- Reinstall the back panel of the dryer or any other parts that were removed to access the heating element compartment.
Step 6 – Test your new heating element
Test the new heating element by turning on the dryer and running it on a high heat setting. Make sure the element is heating properly and there are no strange noises or smells.
Finally, make sure the dryer is properly grounded and the venting system is free of any obstructions or damage. This will ensure the safe and efficient operation of your dryer.
If this didn’t solve your problem
Sometimes other issues with your dryer can mimic a broken heating element. Here are some other things to investigate if replacing your heating element didn’t fix the issue:
- Faulty thermostat: A dryer’s thermostat is responsible for regulating the temperature inside the drum. If the thermostat is faulty, it may not be able to accurately read the temperature, which can cause the dryer to stop heating properly.
- Burned out thermal fuse: The thermal fuse is a safety device that shuts off the heating element if the dryer overheats. If the thermal fuse is burned out the dryer will not heat up at all.
- Broken start switch: The start switch is what initiates the dryer’s heating cycle. If the switch is broken the dryer will not heat up.
- Malfunctioning timer: The dryer’s timer controls how long the dryer runs. If the timer is malfunctioning it may not allow the dryer to run long enough to heat up properly.
Clogged dryer vent: A clogged dryer vent restricts the airflow in the dryer, causing it to overheat and shut down the heating element.

Apr. 09, 2024
Eliminate the Burning Smell From Your Microwave

Apr. 09, 2024
Fixing a Samsung Freezer That Won’t Freeze

Apr. 09, 2024
Whirlpool Oven Won’t Heat: Here’s What To Do

Mar. 06, 2024
Easy Steps to Clean Your Refrigerator Coils

Mar. 06, 2024
Quick Fixes for an LG Dryer Not Heating

Mar. 06, 2024
How to Fix an Electrolux Dryer That’s Not Drying

Feb. 05, 2024
Why Is Your Whirlpool Washer Lock Light Flashing?

Feb. 05, 2024
Why Is Your Freezer Door Not Sealing?

Feb. 05, 2024
How Does a Ventless Dryer Work?

Jan. 03, 2024