December 9, 2019
Dryer Repair
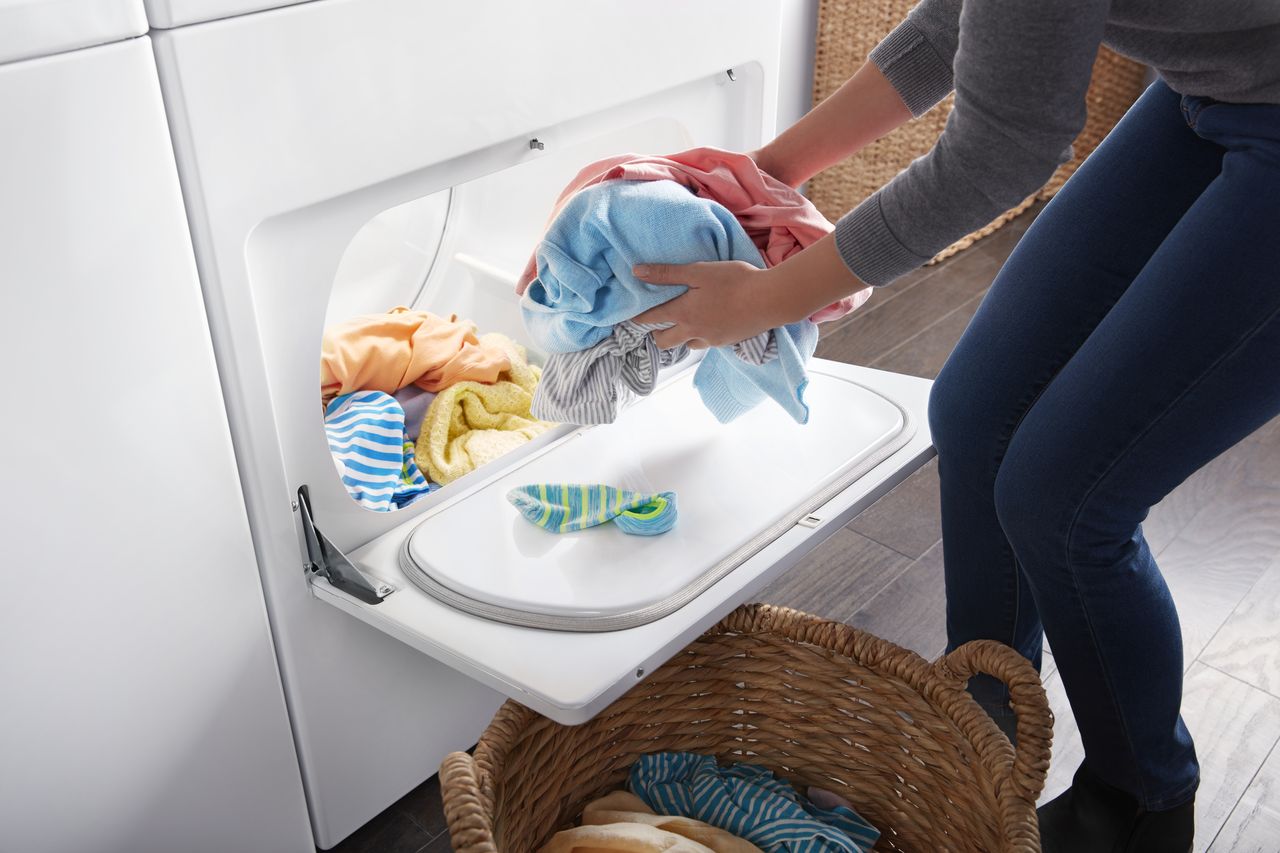
The dryer buzzer is an essential part of many people’s home laundry routines. You know when it goes off that it’s time to fold clothes before they wrinkle or grab a towel while they’re at their warmest and fluffiest. So when your dryer buzzer stops sounding, this can really throw off your routine. Not to mention, allow your clothes to cool and wrinkle.
Dryer buzzers sometimes break. The good news is that they are also very easy to replace if you’re confident with a screwdriver and comfortable opening the back of your dryer’s control panel.
The following instructions are generalized and can vary by model and brand.
Find Your Replacement Buzzer Model
The first step is to find the correct dryer buzzer replacement part. Check the make and model of your dryer and consult with the user’s manual. You’ll find the buzzer on the list of replacement parts with a specific part number that can be ordered online. The same replacement dryer buzzer is likely to work in a wide variety of dryers. This is because Maytag, Whirlpool, and many other appliances were designed and manufactured the same way. The good news is that this should make acquiring the right replacement buzzer into an easy task.
Unplug the Dryer
Once you have the correct replacement dryer buzzer, grab a screwdriver and your work gloves before starting the repair. Begin by unplugging the dryer. This is an electrical repair and therefore, is only safe if done when the dryer is disconnected from the power source. If you do not cut the power to your dryer, even a repair as small as replacing your buzzer can result in dangerous shocks or even electrocution. You may want to push your dryer away from the wall so you have room to get behind it.
Open the Back Panel
if your dryer buzzer has a knob or button, pull it off the front of the control panel and set it on top of the dryer. Then stand behind the dryer and use your screwdriver to remove the rectangular back cover of the control panel. The back panel cover protects the inside of the dryer controls, the electronic components that allow the buttons and knobs to send control signals to the rest of the washing machine.
Carefully remove the back panel cover with your screwdriver. If the screws are hex-shaped without a hole in the middle for an alan wrench, use a nut driver instead. When you remove the screws, set them aside. and metal plate aside.
Remove the Broken Dryer Buzzer
Identify the dryer buzzer based. You can do this with a user’s manual diagram, by tracking its location from the knob post, or by matching it as identical to the replacement part you ordered.
There will be two connections; a screw holding the buzzer bracketed in place (maybe two screws) and a clip of wires. Detach the clip of wires by pressing the catch and pulling. Then loosen and remove the fastening screws holding the old buzzer in place. Set the screws aside and throw away the old buzzer or keep it for electronics recycling.
Connect the New Dryer Buzzer
Get your replacement dryer buzzer and connect its wire clip to the clip of wires connected to the dryer. It’s important to attach the wires in exactly the same way they were attached to the previous buzzer. Fortunately, the buzzer is simple and perfect matching is easier than most. Then align the clip in place. If there is a button, push the post through the appropriate hole. If there is a tab, clip it to the appropriate slot. Secure the new buzzer to the dryer housing with the screws you just removed or new screws that came with the part.
Of course, if your real motivation was to make sure you never hear that loud dryer buzzer again, you can skip this step. Then enjoy the fact that no accidental bump or mischievous family member can cause that buzz to blare through the house.
Close the Back Panel
Congratulations, that was the hard part. Now you can go ahead and reattach the back cover of the dryer control panel. Be sure to tuck in all loose or protruding wires before fully attaching the back panel cover. Use your screwdriver or nut driver to return the screws. You’ll want to tighten each screw securely so that when the dryer gets to spinning, the cover won’t come loose.
Plug In Your Dryer
You are now safe to plug your dryer back in and push it back to the wall as you prefer. If you flipped a breaker instead, you can flip it back now. Be careful with the dryer vent. The slinky round duct that channels moist air from the wet clothes out of the house is loose and very easy to crush when you push the dryer back. Carefully hold the vent up and in a position that air can flow through as you push your dryer. Then stop pushing if you need to leave a little room for the duct.
Run a Quick Timed-Dry Test
It’s time to test your success. All this entails is proving that your dryer still runs and, when it does, that you can trigger the buzzer to sound when the drying cycle is over. Set your dryer to a quick Timed Dry cycle. If you have a turnable knob, you can ease it closer to Done. When you hear the sound of the dryer buzzer, you know your repair worked. If your dryer does not feature a timed-dry function, set it to your shortest possible cycle and wait for the buzz, Congratulate yourself with a pat on the back and feel confident leaving your clothes to fluff once again.
—Repairing your dryer buzzer is much easier than most people would expect. If you rely on that loud, distinctive sound to keep your laundry on track when you’re home and have time to run it, this guide can help you every step of the way. For more smart repair tips or to talk to an appliance repair technician about a repair service your household needs, contact us today!

Apr. 09, 2024
Eliminate the Burning Smell From Your Microwave

Apr. 09, 2024
Fixing a Samsung Freezer That Won’t Freeze

Apr. 09, 2024
Whirlpool Oven Won’t Heat: Here’s What To Do

Mar. 06, 2024
Easy Steps to Clean Your Refrigerator Coils

Mar. 06, 2024
Quick Fixes for an LG Dryer Not Heating

Mar. 06, 2024
How to Fix an Electrolux Dryer That’s Not Drying

Feb. 05, 2024
Why Is Your Whirlpool Washer Lock Light Flashing?

Feb. 05, 2024
Why Is Your Freezer Door Not Sealing?

Feb. 05, 2024
How Does a Ventless Dryer Work?

Jan. 03, 2024