February 15, 2021
Dryer Repair
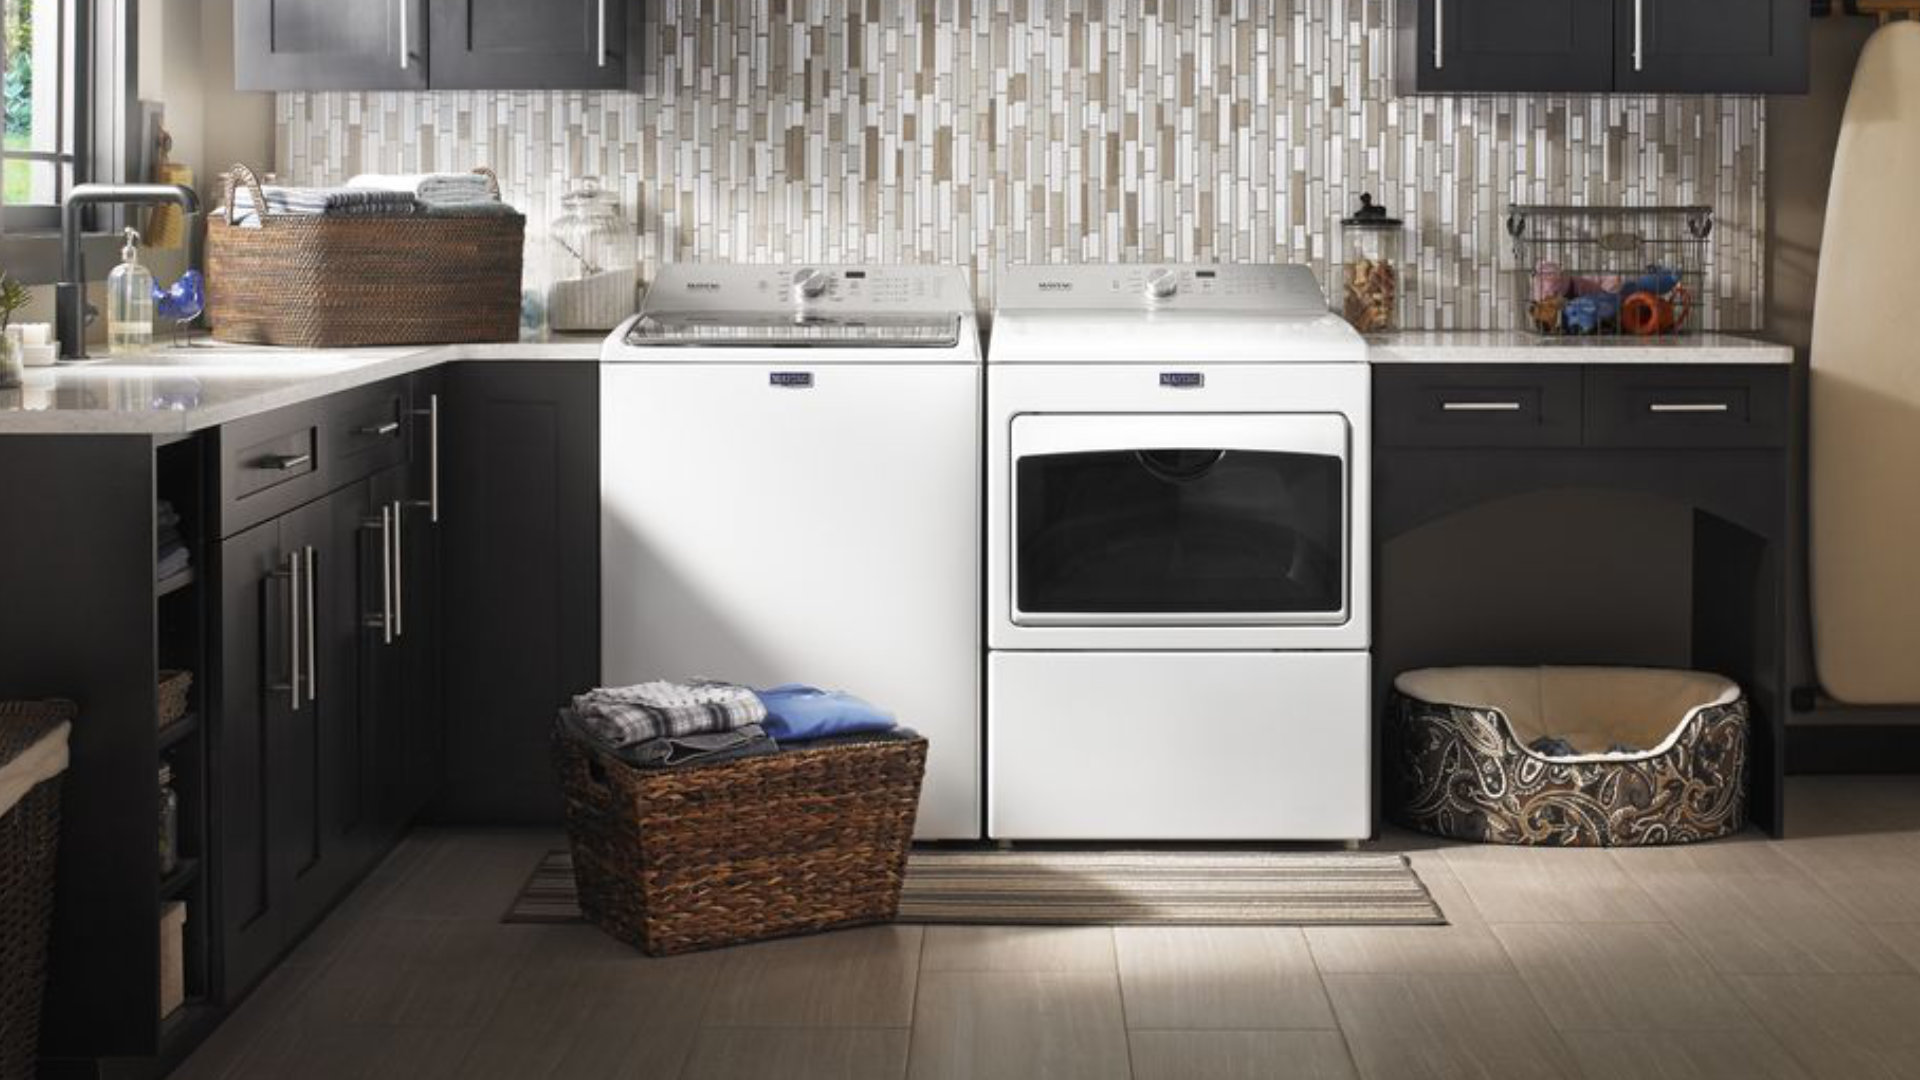
Maytag is a well-respected manufacturer of home appliances such as washers, dryers, and dishwashers. Even though they have a reputation for making quality products, there will sometimes be problems with them that will cause them not to work as well as they should.
One such problem is a Maytag dryer taking too long to dry clothes. If you’re having this problem, it could be one of many things. Fortunately, most of these problems can be solved quite easily.
In this guide, we’ll discuss common causes of your dryer not drying properly and how you can fix them.
This guide covers the following models (and more):
66CB
67C
70C
741C
742C
7MMEP0080WW0
7MMEP0080WW1
MED5600TQ1
MED5620TQ0
MED5620TQ1
MED5621TQ0
MED5630TQ0
MED5630TQ1
MED5640TQ1
MED5700TQ0
MED5700TQ1
MED5720TQ0
MED5800TW0
MED5805TW0
MED5830TW0
Don’t Overload Your Dryer
The first thing to consider before digging into the more technical causes is making sure that you’re not overloading your Maytag dryer when you’re using it. To ensure it works at full capacity, always make sure you never load your dryer up to the top with wet clothes or more than a single wash load. Aim to only fill it up about ¾ of the way, and you should avoid any problems.
This is because when you overload your dryer the hot air circulating around the dryer won’t be able to properly reach each piece of clothing.
Check the Power Source
The second cause to quickly check and eliminate as the source of the problem is the power source of the dryer. To do this:
- Make sure that the dryer is plugged into the power outlet directly and that you’re not using an extension cord.
- Make sure the power outlet you’re using is the right voltage – dryers require a minimum of 220V of electricity from an outlet that can accommodate a 3- or 4-prong cord.
- Inspect the dryer’s circuit breaker to make sure it’s not tripped and there are no blown fuses.
- If any of the first 3 issues are taking place, make sure you rectify the problem and then check if that has solved your dryer not working properly.
Check the Dryer Vents and Lint Filter
If the cause of your dryer not working correctly isn’t as simple as overloading or the power source, then the first place to look is your dryer vents and the lint filter. When they get clogged up with lint, the airflow will be adversely restricted, and your clothes will still be damp even after a full drying cycle. Here’s how to keep your dryer vents and lint filter clean and unblocked:
- Inspect the lint filter, and if clogged up, give it a thorough clean.
- Check your dryer vents for any signs of crimps or pinches, as well as any sign of a build-up of lint that might be restricting the airflow – if there is nothing wrong with it, give it a thorough clean (you can use a vacuum cleaner if you wish).
- If the vents are damaged, they may need to be replaced.
Check the Blower Wheel
Next, you should check the blower wheel. The blower wheel works alongside the drive motor to draw air into the dryer. Sometimes lint and small items of clothing, such as socks, can get past the lint filter and get stuck in the blower wheel, which can cause it to become faulty.
To check the blower wheel:
- Remove the dryer vent so you can assess how strong the airflow is.
- If the airflow is weak, then inspect the blower wheel to see if you can find anything obstructing it.
- If you find nothing obstructing it, then manually rotate the blower when by hand.
- If the wheel “wobbles” when you turn it, then this means it is faulty and will need to be replaced. If it turns around without any problem, then move on to the next possible cause.
Check the Gas Valve Solenoid
If you have a gas dryer, then the next thing to check is your dryer’s gas valve solenoid. The purpose of it is to open the gas valve to let gas flow into the burner assembly – when it is faulty, it adversely affects the operation of the dryer. Here’s how to check it:
- Check the igniter. It should glow and then ignite the gas – if it glows but then goes out without igniting the gas, then it is faulty.
- If you find it to be faulty, then you’ll need to replace both gas valve coils.
Check the Heating Element
The next component to check is the heating element. Its purpose is to warm the air before the air enters the dryer drum, so when the element burns out, the dryer won’t heat properly. Here’s what you need to do:
- Use a multimeter to test the element for continuity.
- If you find that the heating element lacks continuity, it will need to be replaced.
Check the Cycling Thermostat
Another thermostat that is very rarely the cause of a faulty dryer but worth checking is the cycling thermostat. The role of this thermostat is to “cycle” the heat on and off to regulate the air temperature in the dryer. When it’s defective, the dryer will fail to heat properly. To see if it is defective, you’ll need to use a multimeter to:
- Check the cycling thermostat for continuity.
- If it doesn’t have continuity, replace it.
Check the High-Limit Thermostat
Another possible cause of your Maytag dryer taking too long to dry clothes is a faulty high-limit thermostat. Its function within your dryer is to monitor the temperature in the dryer and to shut it off if it deems the dryer is overheating. When it malfunctions, it could shut the dryer down even if it’s not overheating. However, this is a very uncommon cause of a dryer not working correctly, so check out all of the other possible causes first. Once you’ve done that, you can check the thermostat by:
- Using a multimeter to test it for continuity.
- If it doesn’t have continuity, it needs to be replaced.
Check the Moisture Sensor
Finally, there’s a chance the problem is being caused by a faulty moisture sensor. Its role is to monitor the moisture level of the clothes in the dryer during a cycle and to then let the control board know when the clothes are dry. When it doesn’t work correctly, it could be inaccurately telling the control board that the clothes are dry before they are. We recommend that you check all of the other components above first before replacing the moisture sensor, and if none of them are the cause, then replace it.

Apr. 09, 2024
Eliminate the Burning Smell From Your Microwave

Apr. 09, 2024
Fixing a Samsung Freezer That Won’t Freeze

Apr. 09, 2024
Whirlpool Oven Won’t Heat: Here’s What To Do

Mar. 06, 2024
Easy Steps to Clean Your Refrigerator Coils

Mar. 06, 2024
Quick Fixes for an LG Dryer Not Heating

Mar. 06, 2024
How to Fix an Electrolux Dryer That’s Not Drying

Feb. 05, 2024
Why Is Your Whirlpool Washer Lock Light Flashing?

Feb. 05, 2024
Why Is Your Freezer Door Not Sealing?

Feb. 05, 2024
How Does a Ventless Dryer Work?

Jan. 03, 2024