December 14, 2020
Ice Machine
Ice makers are a part of the kitchen that we rarely think about until given a reason. When it happens, however, those reasons are hard to ignore. Ice that smells or tastes bad, for example, will quickly get your example. Ice that is clearly no longer clear, ice that has become cloudy or has flecks in it are also upsetting. When this happens, you’re going to need to clean that ice maker. Of course, most people aren’t sure how to start cleaning the inside and assembly of the ice maker. If your ice smells, tastes off, or is visually contaminated, you can resolve the problem with a careful and thorough ice maker cleaning.
Turn Off Your Ice Maker
The first step is to cut the power to your ice maker. Make it stop creating ice and, ideally, disconnect it from electricity. This can be done in two different steps. Sometimes, only the first step is necessary for a quick cleaning.
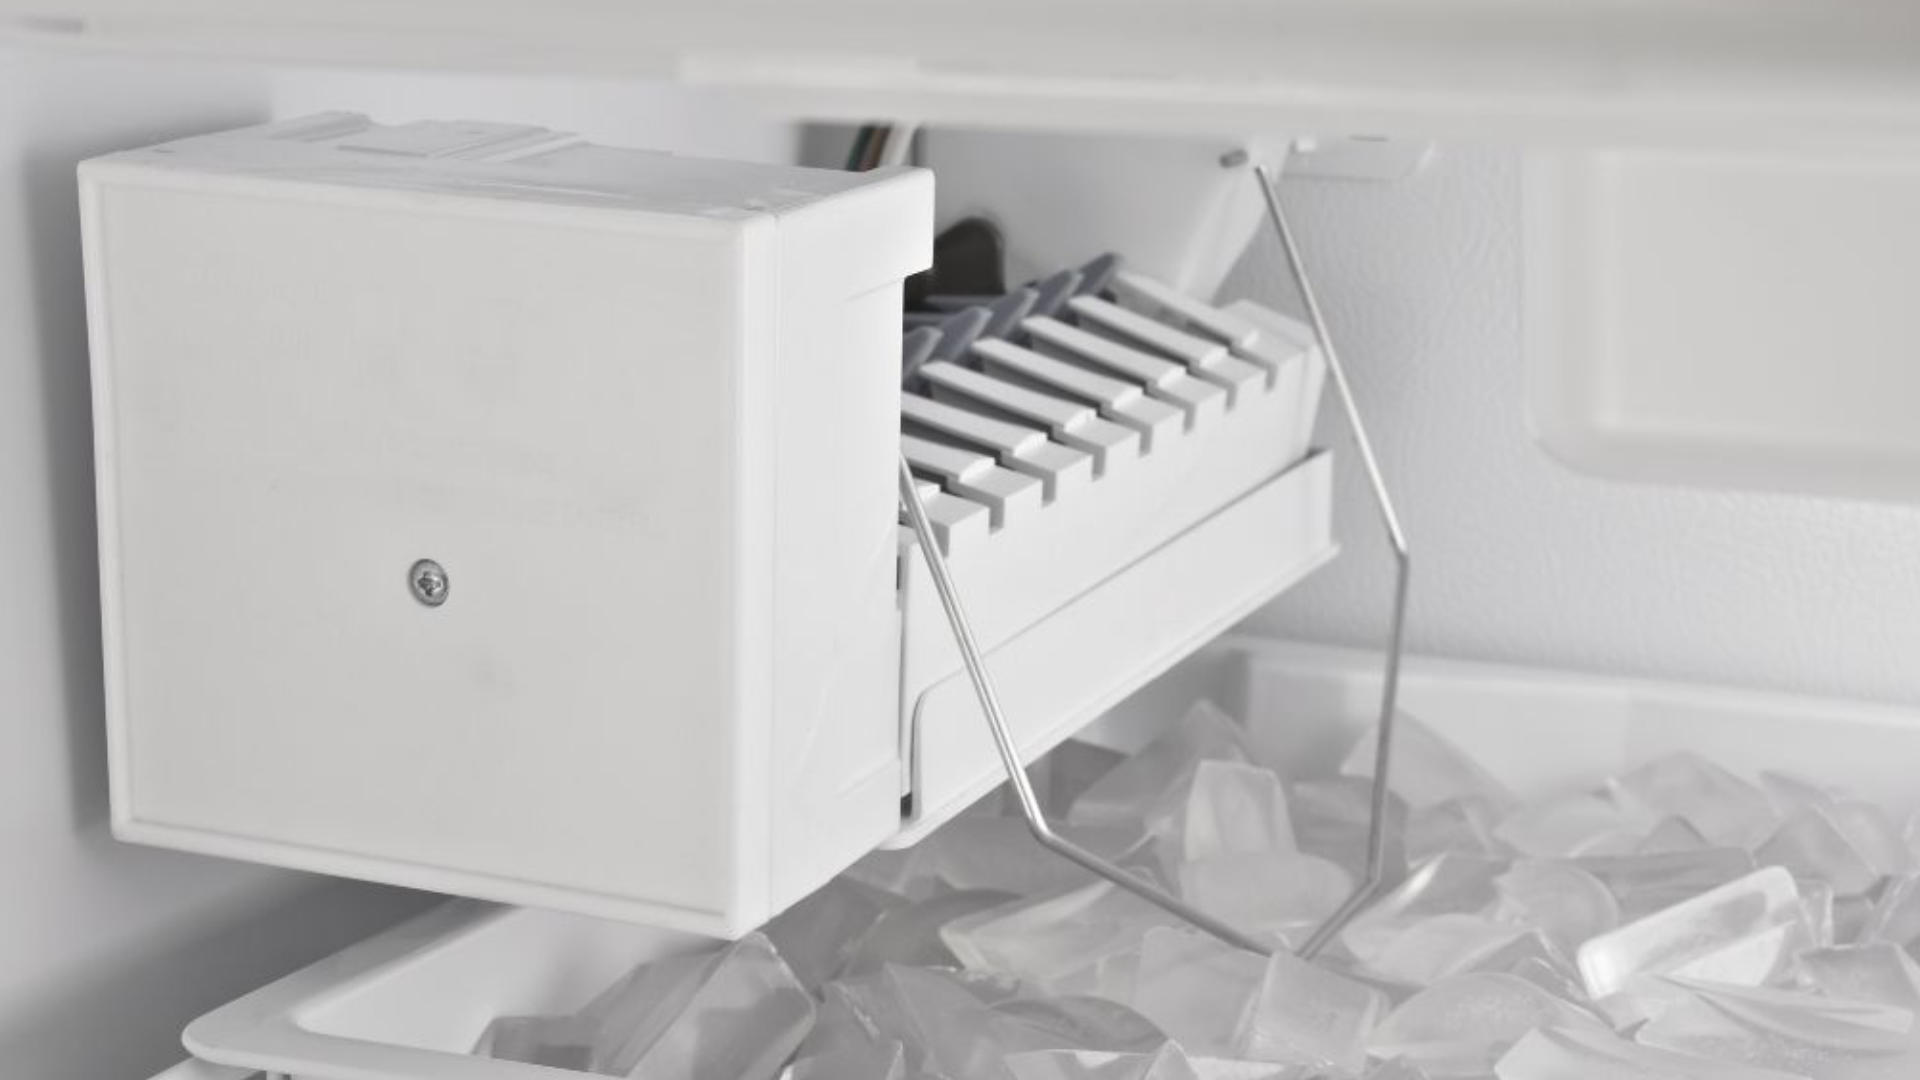
- Flip the Fill-Bar Up
- Start by lifting the fill bar. The fill bar naturally lifts itself when the ice bin is full of ice, stopping the ice production. You can stop the ice production intentionally by lifting the fill bar for yourself. This is a normal first step for any ice maker repair or maintenance.
- Disconnect the Ice Maker Power
- In some cases, it may be appropriate to fully disconnect your ice maker from electricity before cleaning it. If you can see the cable and connector or wire harness, detach them now.
Remove and Clean the Ice Bin
The next step is to clean your ice bin. The ice bin is where your ice is stored after it forms. All your ice sits in the bin so if your bin is dirty, every single piece of ice in your ice maker will also be dirty. Ice maker bins can get moldy, dusty, collect plaque, pick up small pieces of freezer packaging, or accumulate aromas drifting through the fridge and freezer compartments.
- Release the Clamp or Tray
- Some ice bins are locked into place with a simple plastic hook, clamp, or clipped into the tray beneath. If this is true of your ice bin, release the holding mechanism.
- Remove the Ice Bin
- Now you can pull your ice bin out of the freezer and clean it out. Start by dumping all remaining ice into the sink or trash.
- Scrub with Warm Soap and Water
- Take a sponge soaked in warm, soapy water and scrub out the ice bin. Make sure to get both the inside and outside of the bin. Use the touch-test using your fingertips to know if you have fully scrubbed the surface clean.
- Wash with White Vinegar
- Next, wash and rinse your ice bin with white vinegar. Vinegar has two essential functions for cleaning your ice maker. First, vinegar kills any mold or mildew spores that may be lurking. Second, vinegar helps to dissolve mineral residue left by hard water.
- Rinse with Clean Water
- Finally, be sure to thoroughly rinse the ice bin with clean, hot water. Make sure all the soap and vinegar are removed, then set the ice bin out to dry upside-down on a towel while you clean the rest of the assembly.
Melt-Out and Clean the Ice Mold
Your ice mold is where all ice is made. Every piece of ice is formed in the ice mold. The mold decides the shape of your ice and, to a certain extend, its cleanliness. Just like the ice bin, if your ice mold is dirty, so too will your ice be. Ice coming out malformed often means that there are still bits of ice frozen and stuck in the ice mold. If that old ice is dirty or moldy, all the malformed ice made on top of it will also be contaminated.
- Pour Warm Water Through the Ice Mold
- If there is still ice bits, chips, or halves stuck in your ice mold tray, you can easily clean it out. Take a pitcher or a measuring cup of warm tap water and pour it through the ice mold. The warm water will melt any residual ice and encourage a cleaner state for the mold barriers.
- Rince the Ice Mold with Vinegar
- Now, to get rid of any potential mildew or mineral residue, rinse the ice mold out with a measuring cup of white vinegar.
- Wipe Out the Individual Mold Squares
- Each ice cube is made in an individual mold square, and those squares determine the cleanliness of ice exterior. Take a cloth with soapy or vinegar water on it and carefully wipe the inner and outer sides of each ice mold separator.
Change Your Water Filter
The water filter can also contribute to the cleanliness of your ice. Whenever you feel the need to clean your ice maker, do a mental check. Has it been 6 months since your last water filter change? If so, install a new one to ensure you’re fridge is running clean water.
- Locate and Remove the Old Filter
- Find the location of your water filter. Most of the time it will be in your fridge compartment upper corner, lower center, or behind the kickplate grate at the bottom of the refrigerator unit.
- Lock-In the New Water Filter
- Remove the old water filter and click the new one into place. You will likely feel it lock in when the seal is broken and the filter is secure.
Reassemble Your Ice Maker
Now you’re ready to put your ice maker back together. Take all the pieces you’ve worked with and reverse the process so that your ice maker is fully assembled to make you new, clean ice.
- Plug the Ice Maker Back In
- If you removed or disconnected the ice maker wires, reconnect them now and restore electricity to the ice maker.
- Return the Ice Bin
- Fit your ice maker bin back into place. If it locks or snaps in, make sure that it locks or snaps – and is facing the right direction.
- Lower the Fill Bar
- The last step in any ice maker repair is to lower the fill bar and return your ice maker to functionality. It will then begin a new batch of ice with freshly filtered water, a clean ice mold, and a clean bin to fill.

Apr. 09, 2024
Eliminate the Burning Smell From Your Microwave

Apr. 09, 2024
Fixing a Samsung Freezer That Won’t Freeze

Apr. 09, 2024
Whirlpool Oven Won’t Heat: Here’s What To Do

Mar. 06, 2024
Easy Steps to Clean Your Refrigerator Coils

Mar. 06, 2024
Quick Fixes for an LG Dryer Not Heating

Mar. 06, 2024
How to Fix an Electrolux Dryer That’s Not Drying

Feb. 05, 2024
Why Is Your Whirlpool Washer Lock Light Flashing?

Feb. 05, 2024
Why Is Your Freezer Door Not Sealing?

Feb. 05, 2024
How Does a Ventless Dryer Work?

Jan. 03, 2024