March 12, 2020
Microwave Repair
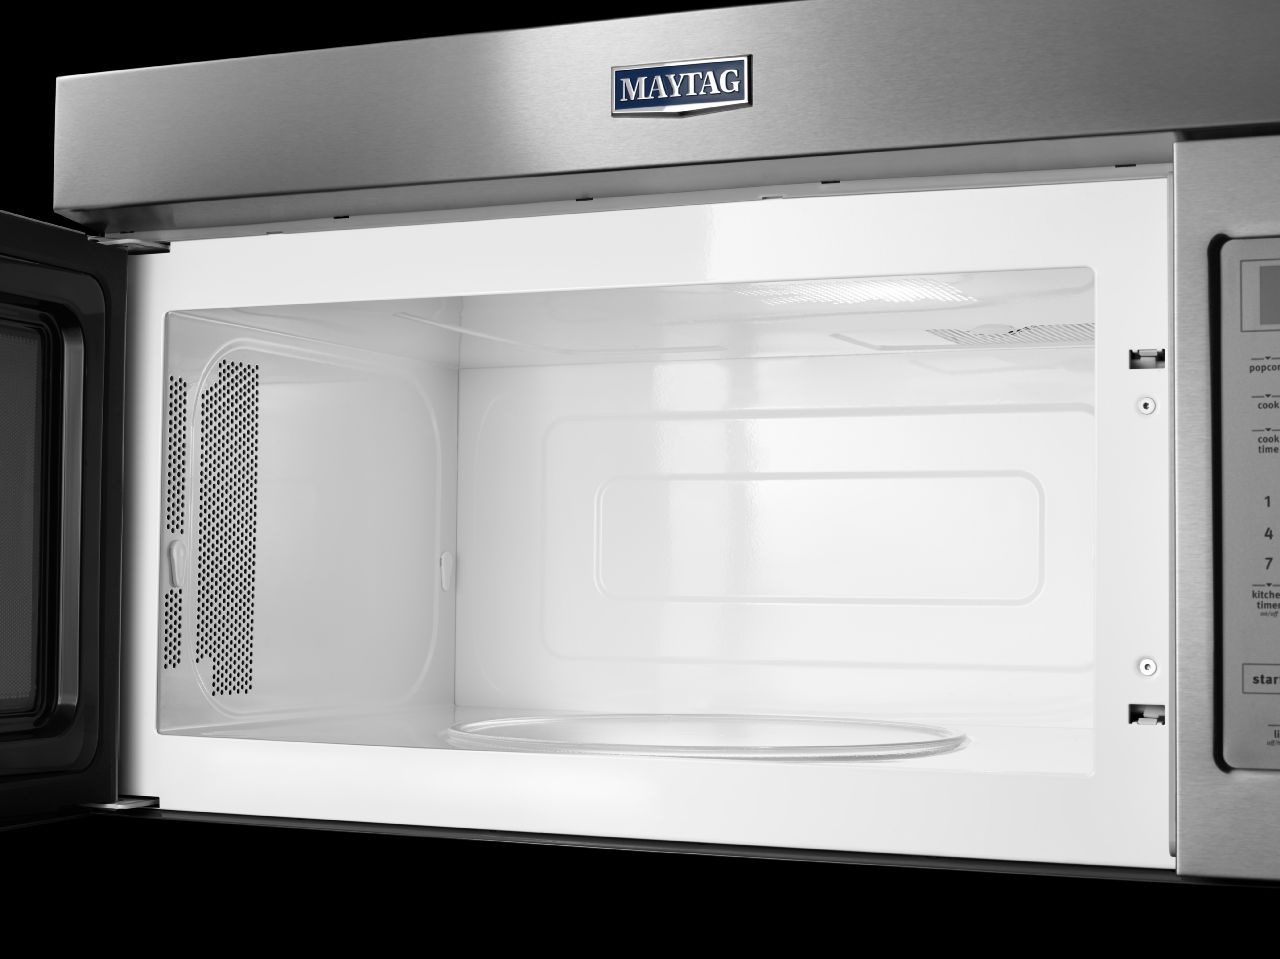
The light in your microwave is an integral part of the experience. The light comes on when you open the microwave and it illuminates your food as it cooks and spins. The microwave light is essential in many recipes, helping you ensure that the contents don’t boil over or explode. So when your microwave light goes out, it’s only natural to plan for a quick bulb replacement.
After all, the microwave is still good. It just needs a new light. But how do you replace your microwave light bulb? The answer might be simple or unnecessarily complex depending on the make and model of your microwave. There are three places where you can find access to your microwave light bulb to replace it: The back panel, an interior wall panel, and inside the microwave cabinet itself. Look in all three places to find your microwave’s accessible light cover.
Of course, before you open up an appliance, it’s important to cut the power. This is especially important for microwaves that have a high-voltage capacitor that can hold a charge for up to three days.
How to Discharge a Microwave
If you open up a microwave cabinet and/or perform an electric repair, know how to discharge the microwave’s high-voltage capacitor.
– Unplug the Microwave
Start by unplugging the microwave. This will prevent any new electricity from flowing through the appliance. It will also disable most of the microwave’s functions.
– Discharge the Capacitor
The high-voltage capacitor can be found inside the microwave cabinet. So to discharge it, you’ll need to fully remove the back and often also the sides of the microwave. Identify the capacitor and the positive and negative leads. The easiest way to discharge the capacitor is to lay a flat screwdriver across the two leads, causing them to short. Only do this with a rubber-handled screwdriver while not touching the metal shank. This will release the electricity stored in the capacitor until the microwave is safe to work with.
Back Panel Light Models
The first place to look for your microwave light bulb access is the back panel. In many models of microwave, there is a rectangular panel that can be removed so that you can reach the socket for the microwave light. Here’s how to find and replace a bulb in the back panel models of microwave.
– Turn the Microwave Around
Start by flipping your microwave around to inspect the back. There will be a number of screws and vents. You are looking for one panel in particular.
– Find the Rectangular Light Panel
Look for a rectangular hatch in the back of the microwave. There may be one or more mounting screws holding the panel in place, or a clip that can be pressed and opened. The key is to find a fully separate panel that is not part of opening the microwave cabinet.
– Open the Panel
Remove any mounting screws and compress any identified clips to open the lightbulb panel. Carefully pull the panel open and set it aside, along with any screws that you removed.
– Change the Lightbulb
Once the panel cover is off, you should be able to reach the microwave light bulb. Remove the old light bulb and throw it away. Then install your new light. Screw it in firmly but do not over-tighten.
– Reassemble
Lastly, put everything back together. Replace the back panel and secure any mounting screws.
Inner Housing Light Models
The next easiest light bulb replacement location is inside the microwave chamber. Just like the back panel bulb replacement, the microwave inner chamber will have an area that detaches to reveal the microwave bulb. This will usually be the clear plastic light housing that allows the bulb to shine through into the rest of the microwave.
– Open the Microwave
Start by opening your microwave door. This repair takes place inside your microwave, so you’ll need plenty of room to maneuver in the tight space. Don’t be afraid to put your microwave on a more comfortable work surface as well.
– Find the Plastic Light Housing
Look for the space where the light usually shines through. This plastic should be shinier and clearer. It can be frosted, light yellow, or crystal clear. This cover should have a mounting mechanism with mounting screws or clips. Find all these things.
– Open the Housing
Next, open the microwave light cover to get at the light. Remove any mounting screws and compress any switches that are necessary to pull down the light cover. If you can’t find access and there are no instructions in the manual, then err on the side of caution.
– Change the Lightbulb
With the cover off, you are free to remove the old light bulb and dispose of it, then install the new bulb. Be sure that you have the right bulb size. The new light bulb will go in quickly and easily. Remember not to over-tighten, as light bulb threads don’t need to be perfectly secure.
– Reassemble
Lastly, put the microwave light housing back together. Fit the light cover into place and return any mounting screws that you removed. If all went well, you just replaced the microwave light.
Inside Cabinet Light Models
As the final type, there are microwaves that have the inner-chamber light only accessible by removing the microwave cabinet completely. This is the most dangerous approach and we advise you discharge the capacitor before poking around inside your microwave cabinet.
– Remove Mounting Screws
Find the mounting screws on the back and sides of the microwave and remove them all. Set all the mounting screws aside somewhere safe.
– Open/Remove the Microwave Cabinet
Once the mounting screws are removed, carefully pull the microwave cabinet away from the core components. With many microwaves, the top and sides unwrap from the rest of the microwave. This will expose many electrical and other internal components.
– Identify the Light Housing
Find the light housing. It will look like a plastic cup or chamber turned away from you. It may be the largest plastic component visible after opening your microwave.
– Remove the Light Housing
Remove all necessary mounting screws and loosen any clips that open the plastic light housing. The bulb will be mounted inside the blastic cup when you remove the light housing from the rest of the microwave.
– Replace the Bulb
Holding the plastic housing, unscrew and discard the old light bulb. Then replace with a new light bulb before fitting the housing back into place.
– Reinstall the Housing
Hold the light bulb housing over the correct area and align the piece for screws. Reattach all mounting screws and secure all clips that hold the light bulb housing in position.
– Reassemble
Complete the repair by putting your microwave back together. Fit the cabinet over the top and sides of the microwave and return each of the several mounting screws that held it in place.
Test Your Success
Last but not least, it’s time to test how successful your repair really was. Plug your microwave back in and open the door. Then run it for a few seconds. Does the light work? Congratulations.

Apr. 09, 2024
Eliminate the Burning Smell From Your Microwave

Apr. 09, 2024
Fixing a Samsung Freezer That Won’t Freeze

Apr. 09, 2024
Whirlpool Oven Won’t Heat: Here’s What To Do

Mar. 06, 2024
Easy Steps to Clean Your Refrigerator Coils

Mar. 06, 2024
Quick Fixes for an LG Dryer Not Heating

Mar. 06, 2024
How to Fix an Electrolux Dryer That’s Not Drying

Feb. 05, 2024
Why Is Your Whirlpool Washer Lock Light Flashing?

Feb. 05, 2024
Why Is Your Freezer Door Not Sealing?

Feb. 05, 2024
How Does a Ventless Dryer Work?

Jan. 03, 2024