January 6, 2020
Microwave Repair
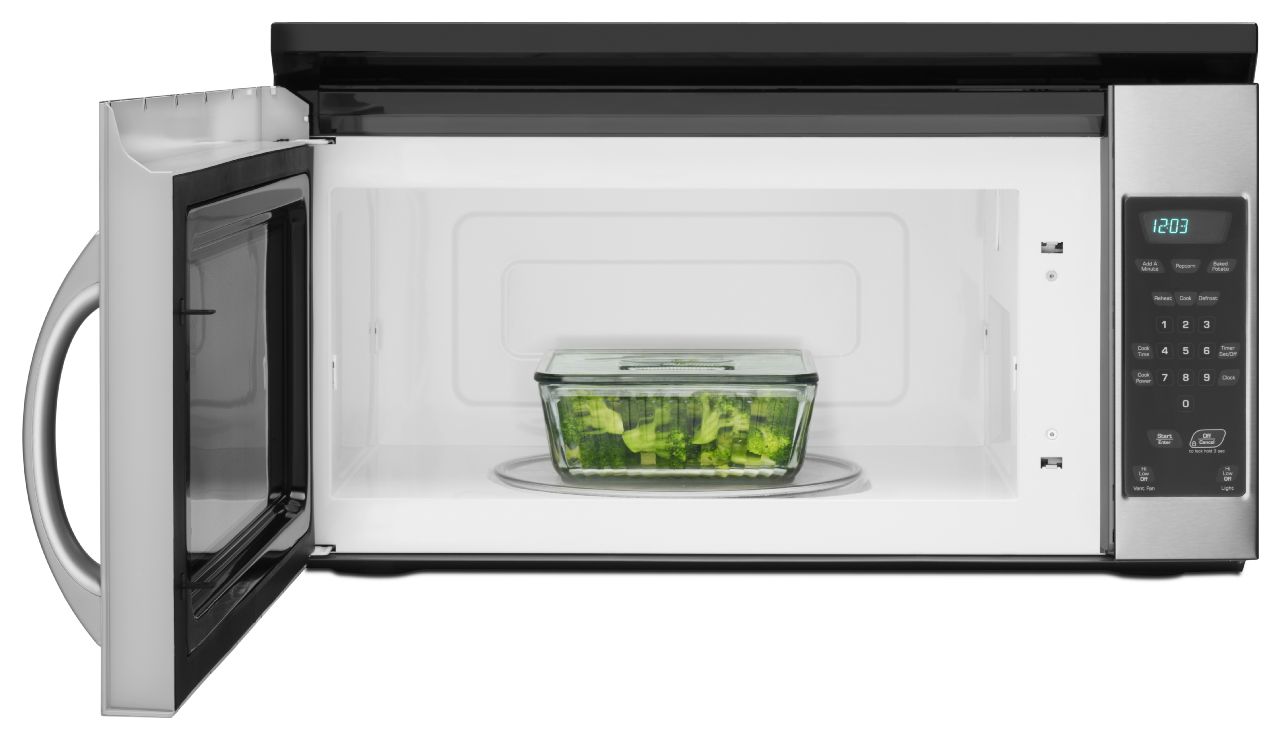
Other than the interior electronics of your microwave the microwave door is the single most complicated and frustrating part about a microwave. For some reason, that double-layer insulated door gets unbelievably dirty, often between the two layers of door where your sponge can never reach. Many people don’t realize that the interior of the microwave door even can be cleaned until something else happens that causes them to replace the door, like a broken handle or cracked glass. Really, it’s surprisingly easy and safe to open up your microwave door, clean the inside, or remove and replace the door. And they all share very similar steps. So today, we bring you a comprehensive run-down of how to clean, remove, and replace your microwave door.
Gather Your Tools
Always start with a smart collection of tools before you begin a project. For each of your possible tasks, you will need a flat-head screwdriver and a hand towel. If you’re replacing your microwave door, you will also need to order the correct part-number of the door based on the make and model of your microwave.
- Flat-Head Screwdriver
- Hand Towel
- Replacement Microwave Door
Prepare Your Microwave for Work
The first step is always to prepare your microwave for work. These steps will encompass both safety and convenience so that your microwave is ready to be worked with.
– Unplug the Microwave
Start by unplugging your microwave from the wall. This is both a safety precaution and to un-tether it so the microwave can be moved.
– Remove the Plate and Roller Guide
Any time you are performing repairs to the microwave, you want to remove the plate and roller guides so that they do not rattle around, or risk falling out and breaking.
– Unmount from The Cabinet if Necessary
You may need to unmount your microwave from an upper cabinet to work on it. To do this, you will need to remove the front cover panel of your controls to reveal the mounting screws. Have a friend hold the microwave in place as you unscrew the mounting brackets and safely lower the microwave to the counter.
– Place Your Microwave on a Work Surface
lay the hand towel on your work surface, most likely the kitchen table, so that you can stand or sit and work as is most convenient for you.
Carefully Pry Out the Inner Door Cover
– Release the Tabs Securing the Door Inner Panel
The inner panel of your microwave door looks secure, but it is really held on with a dozen or so tiny plastic tabs. Use the end of your flat-head screwdriver slipped into the inner panel gap to carefully release these tabs one by one. If you are not tossing the microwave door, be aware that these tabs break easily so go slow if you have to.
– Pry the Inner Panel Away from the Microwave Door
With the tabs released, carefully pry the inner panel out of its socket in the microwave door and set it aside.
Cleaning the Inside of Your Microwave Door
If your goal is to clean the inside of the microwave door window, now is your chance.
– Soak and Scrub the Removed Inner Panel
Set the inner panel to soak, then scrub it thoroughly to remove all the old cooked-on grit and splatter that somehow got in there.
– Take a Sponge to the Inside of the Microwave Glass
Use a soapy sponge to soak and scrub at the inside of the outer window of your microwave door.
– Dry Everything and Return the Inner Panel
Wipe everything clean so there are no smudges inside that will drive you crazy later, then dry both halves of the microwave door and fit the inner panel back into place. You will hear a series of snaps as the tabs take hold.
Remove the Microwave Door
If your goal is to remove or replace the microwave door, continue with this step.
– Have a Friend Hold the Door Steady
With the inner panel removed, have a friend hold the door steady as you begin to work on the hinges.
– Remove the Door Pins
There is a pin in each of the microwave door hinges. As your friend holds the door level, remove the pins and feel the door loosen in the slot
– Pull the Microwave Door Away
Pull the microwave door away. Now is your chance to work on the handle if that is your goal or toss and replace with a new door.
Install a New Microwave Door or Return a Repaired Door
– Have a Friend Hold the Door In Place
Slide the microwave door onto the hinges, lining up the holes, then once again have your friend hold the door in place so it does not slouch or fall as you work.
– Return the Hinge Pins
In the aligned hinged, slide the hinge pins into place through the holes and feel them lock into place.
– Fit the Inner Panel Into Place
With the hinges locked, your friend can let go of the door. Now carefully fit the inner panel back into the groove provided and press it inward until you hear the many tabs snap and click into place.
Return the Microwave to Its Home
– Return or Remount your Microwave
Take your microwave back to the counter or mounting slot where it usually lives. If you keep it mounted, return the mounting brackets and screws, then snap the panel cover back into place to hide the front screws.
– Return the Plate and Roller Guide
Place the roller guide back in your microwave and fit the glass plate back over the coupler now that your microwave is finished moving around.
Test Your Success
– Open and Close the Microwave Door
Finally, it’s time to test your cleaning or repairs with your microwave in a fully functional state. Start by opening and closing the door several times. It should latch and unlatch as usual and feel natural in your hand. Or, as natural as it ever felt.
– Give It a Whirl
Now punch in a few seconds to see if the microwave starts up and the light inside reveals your new, clean, repaired microwave door all the way through. If it works, congratulations. Whatever your microwave door goal was, you most likely accomplished it. For more appliance repair guides or for professional assistance with your appliances at home, contact us today!

Apr. 09, 2024
Eliminate the Burning Smell From Your Microwave

Apr. 09, 2024
Fixing a Samsung Freezer That Won’t Freeze

Apr. 09, 2024
Whirlpool Oven Won’t Heat: Here’s What To Do

Mar. 06, 2024
Easy Steps to Clean Your Refrigerator Coils

Mar. 06, 2024
Quick Fixes for an LG Dryer Not Heating

Mar. 06, 2024
How to Fix an Electrolux Dryer That’s Not Drying

Feb. 05, 2024
Why Is Your Whirlpool Washer Lock Light Flashing?

Feb. 05, 2024
Why Is Your Freezer Door Not Sealing?

Feb. 05, 2024
How Does a Ventless Dryer Work?

Jan. 03, 2024