July 6, 2020
Microwave Repair
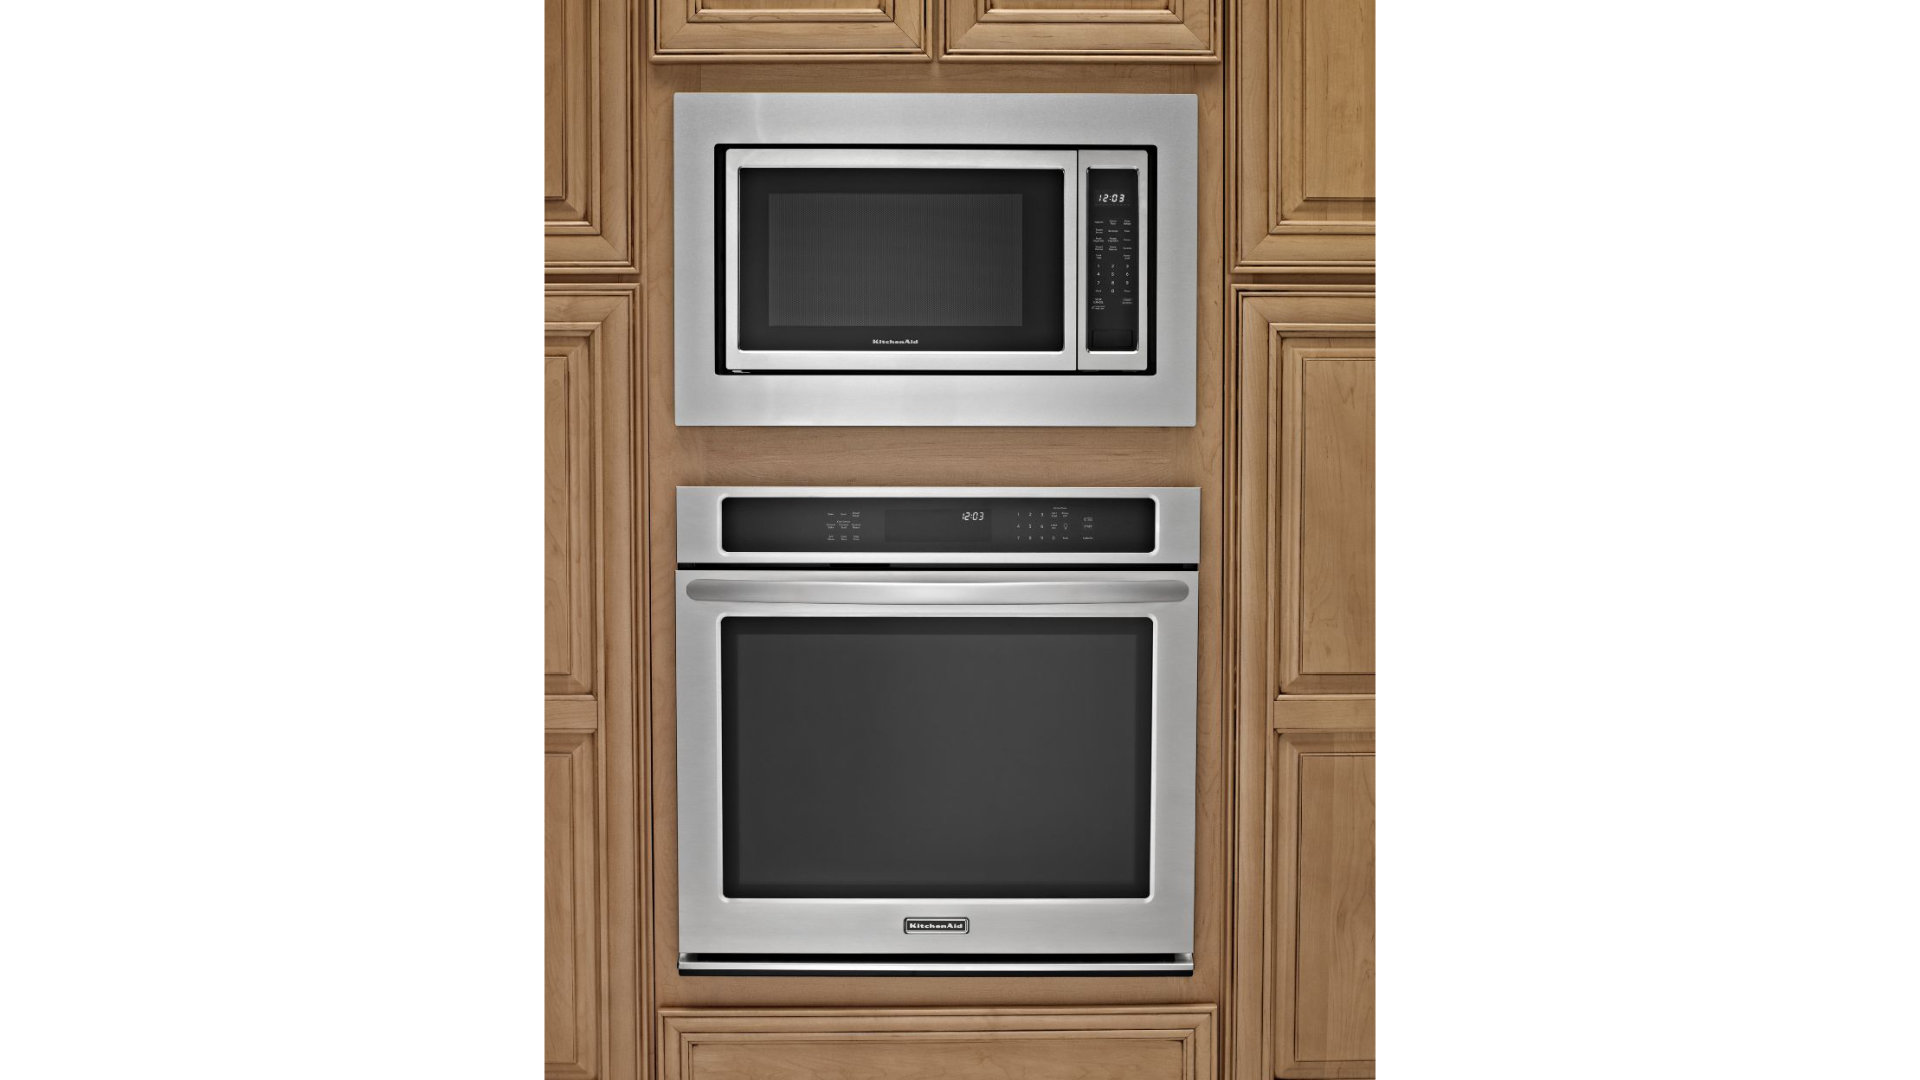
Keeping a microwave in good repair usually just involves a little light cleaning. Microwaves are self-contained appliances that are built to be sturdy in the home and kitchen environment. However, every now and then, your microwave might develop a problem that you could easily fix with a screwdriver and a little know-how.
Most of the microwave components can only be accessed by opening the microwave cabinet. For most microwaves, this unique wrap-around cabinet design that is rarely seen in other appliances. A microwave cabinet is actually made up of three sides only. The front panel is part of the interior and the door. The back panel is mass of its own and an extension of larger components. The bottom is the base of the microwave. Only the top and sides can or need to be removed when repairs are necessary.
But how do you remove the microwave cabinet? Whether you’re checking on the magnetron or just changing the light bulb, it’s necessary to remove this outer cabinet before you begin. Most likely, you will also want to reinstall the cabinet when the internal repair is complete. We’re here to show you how.
Variable Steps
The first thing to remember is that this guide cannot know the make and model of your microwave. Most microwaves are built the same way but there are always small differences between models. These differences might include the location of specific screws, the type of screw-heads used (and thus drivers needed), and the number of securing points. Other than that, the process should be recognizably similar between microwaves.
Supplies You Need
- Screwdriver
- Work Gloves
Start with supplies. This is a very simple maneuver, usually the beginning of a more complex repair, so you only need two supplies. You will need a screwdriver, sturdy, probably Phillips-head (the cross). For some microwaves, you may need a slot (flat) screwdriver or a nut (hex) screwdriver instead.
In addition, you will also want a pair of well-fitting work gloves. The edges of appliance panels tend to be sharp when exposed because it is un-rounded metal. Be careful and don’t risk cutting yourself. Wear work gloves when taking apart any appliance, including your microwave.
Safety First
Pull the power plug out of the wall. A microwave is an electronic device, meaning that it can electrocute you during repairs if you’re not careful. This makes it necessary to cut off the electricity before you continue. The safest and most assured way to do this is to pull the plug. Fully disconnect your microwave from the wall.
When you open the microwave, wear your work gloves to prevent hand cuts.
Lastly, beware of the high-voltage capacitor. The capacitor in a microwave is usually shielded, but it is capable of retaining a deadly charge for several hours after the microwave is unplugged. Unless discharged safely, the capacitor can be a serious safety risk. However, simply removing the microwave cabinet will not put your capacitor at risk.
Prepare the Microwave
Start by turning your microwave around. Most of the mounting screws and fasteners are found in the back of a microwave. These are your primary screws to remove. There may also be additional screws and clips that will need to be released, but your focus should be on the back of the microwave. Take a closer look at how the screws attach. Mostly, you want to look at the screws around the perimeter of the back panel. These should clearly be securing the sides and possibly top of the microwave cabinet.
Check for Front Mounting
Some microwave models have a few cabinet mounting screws in the front. They are usually along the top, hidden by a special panel or vent. You can use a slot screwdriver to pry that extra panel off the front and check for screws that secure the cabinet arch.
If you find those screws, use your screwdriver to carefully remove them. Set aside both the panel and the screws where you can easily retrieve them later and prevent them from getting lost.
Release the Back-Plate Mounting
Now flip the microwave around and check the back. Look for a perimeter of screws that are clearly securing the lip of the cabinet around the edge. They are the primary method of securing the cabinet and your job is more than half done when they are removed. One by one, extract the screws around the perimeter and set them aside where they, too, cannot be lost.
Release Cabinet Clamps
With the back and possibly front screws removed, the cabinet should be ready to be lifted off and away. However, sometimes there are small clips or clamps around the base to help hold the cabinet in place. Place both hands on either side of the cabinet and lift with a wiggling motion. If the cabinet doesn’t wiggle, check for securing points. You may need to use a slot screwdriver to insert and press on shallow clamps holding the cabinet.
Carefully Remove Microwave Cabinet
From there, you should now be able to lift and remove the microwave cabinet. Use a rocking motion at first to pull the cabinet sides free of the base. Then carefully hold the cabinet on both upper corners to lift the entire thing away together. Do not unwrap your microwave like a present, lifting one side at a time. It’s important that your microwave cabinet is lifted together, all at once, to prevent bending or damage so it can be put back together.
—Congratulations. Your microwave cabinet has been removed and you can now access the internal components more easily. To reinstall your microwave cabinet, simply reverse the steps. Fit the sides over and press to secure them. Then secure the screws in the front and back panels. If you have perfectly reversed the process, then your microwave will be repaired and re-installed in no time.
Of course, not everyone is completely comfortable taking their home appliances apart. If you or someone you know needs microwave repairs and is not confident with a screwdriver, we’d be happy to help. Contact us today for professional appliance repair services.

Apr. 09, 2024
Eliminate the Burning Smell From Your Microwave

Apr. 09, 2024
Fixing a Samsung Freezer That Won’t Freeze

Apr. 09, 2024
Whirlpool Oven Won’t Heat: Here’s What To Do

Mar. 06, 2024
Easy Steps to Clean Your Refrigerator Coils

Mar. 06, 2024
Quick Fixes for an LG Dryer Not Heating

Mar. 06, 2024
How to Fix an Electrolux Dryer That’s Not Drying

Feb. 05, 2024
Why Is Your Whirlpool Washer Lock Light Flashing?

Feb. 05, 2024
Why Is Your Freezer Door Not Sealing?

Feb. 05, 2024
How Does a Ventless Dryer Work?

Jan. 03, 2024