January 14, 2021
Microwave Repair
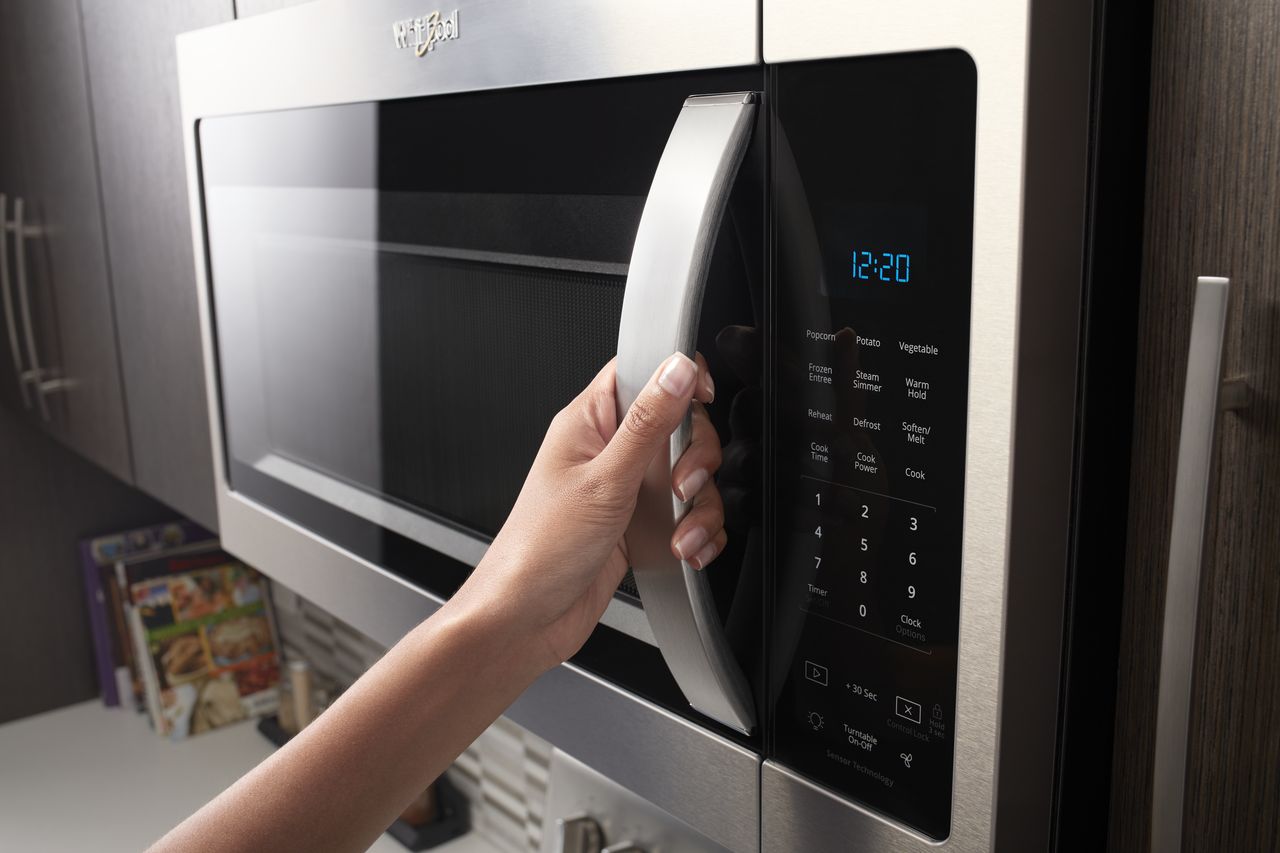
This troubleshooting guide is for a Whirlpool Microwave Oven, Model # WMH53521H. This Over-the-Range Oven achieved an overall score of 83 and came in #1 in the 2020 Consumer Reports Buying Guide.
Tools Needed
- Multimeter (How to use a multimeter)
- 9-Volt battery
- Insulated Needle Nose Pliers
- 2-Insulated Screwdrivers
- Nitrile gloves
Safety Alert
A microwave oven can produce powerful jolts of electricity that could cause injury or death. Please take this caution seriously! Unplug the microwave from its wall socket.
But even after the microwave is unplugged, there is still an electrical charge retained in the capacitor. I recommend that you access the capacitor and remove the charge before beginning.
How To Remove an Electrical Charge From the Capacitor
You will need your nitrile gloves and either the insulated pliers or insulated screwdrivers.
Access the capacitor and remove the two connectors from the terminals.
Touch each terminal with the metal portion of the needle-nose pliers.
If you use two screwdrivers, touch the terminals with each screwdriver and cross the screwdrivers, so they touch each other.
In either case, you should hear a zapping sound and/or see a spark. Once this takes place, the residual charge has been removed.
Damaged or Burned Out Diode
Believe it or not, this small part could be the reason why your microwave is not heating. Let’s consider the role this small part plays in producing enough heat to cook most foods and liquids in less than half the time of pre-microwave days.
How It Works
The diode is plugged into the capacitor and helps convert the AC power output of the transformer to direct current. This application doubles the voltage to nearly 5,000 volts.
The high-voltage is sent to the magnetron which sends microwaves through the waveguide and on into the inner cavity where your food or coffee is waiting to be cooked or reheated.
If the diode is burned out, it will not provide the magnetron enough power to operate.
How to Test the Diode
- Use the transistor radio battery and the multimeter to run a continuity test
- Place the red prong on the positive terminal of the battery
- Place the black lead on the diode and hold the other end to the negative terminal
- If the part tests negative one way or the other or has continuity in both directions when the leads are reversed, the diode has failed
How to Test the Door Switches
Microwave ovens come equipped with at least 3 door switches. The switches are there for safety ensuring that the microwave cannot be started with the door open and that it shuts off when the door is opened in the middle of a cooking cycle. The door switches also signal the microwave to begin heating once the door is closed.
The microwave oven will not heat if any one of these switches are defective. Repair your microwave oven if any one of these switches are defective.
Remove each switch and use your multimeter to assess continuity. Replace any switch that tests negative.
How to Test the Magnetron
The magnetron is the heart of a microwave oven. Once the diode, transformer, and capacitor communicate with each other to convert AC to DC current, the magnetron kicks in and begins to send microwaves into the inner cavity to heat whatever food or drink you desire.
Once again, use the multimeter to measure for a continuous electrical pathway. Once you’ve accessed and removed the magnetron you will note that there are two terminals on one end of the part. Place the prongs of your multimeter on each of the terminals. If the magnetron is working properly, the reading should be less than 1 ohm.
Since the magnetron cannot be repaired it must be replaced. It is not an inexpensive part, running around $150 to $200. At this point, replacing the microwave might be the better option; depending, of course, on how much value your microwave has for you.
How to Test the High-Voltage Capacitor
The capacitor combined with the diode serves to convert AC current to DC current, doubling the voltage. If the capacitor is not working correctly the circuit will stop working and the microwave will not heat. After the capacitor has been discharged:
- Test the capacitor for continuity with the multimeter
- If the capacitor fails the test you will need a new capacitor
Testing the High-Voltage Transformer
The transformer is what powers the magnetron and when it fails it will arc and produce a burning smell. This will be the only “test” needed to know if you need to replace the transformer.
If at any time you ever smell anything burning when the microwave is in operation, turn it off and unplug it immediately, get your microwave model # and place an order for a new high-voltage transformer today!
Why is My Microwave Turning Itself Off?
You better be glad that the microwave is engineered and designed with the safety of the consumer in mind. This too could be a symptom that the high-voltage transformer is defective and needs to be replaced. It could also mean that there is a blown thermal fuse, a blown cavity fuse, or a defective thermoprotector. If it didn’t shut itself off, it would be in danger of a power overload and perhaps start a fire.
Use the multimeter and test each component for continuity.
Defective Control Board
Finally, we have arrived at the last possible reason why your microwave is not heating and needs repair. While it may be uncommon for the control board to be the source of your problem, if you have gone through the previous six possibilities and you still have not found why your microwave is not heating, then consider the control board. When you inspect the control board, look for burn marks or cracks. Do a slow and methodical search. If you see any damage, congratulations! Replace the control board, seal the microwave back up, and pat yourself on the back for the money you saved on a service call.
But maybe troubleshooting and do-it-yourself work is not your thing. If that’s the case, contact us, and let’s see if we can answer any questions you may have. Or if you want that service call and you live in our service area, we’d be happy to help you out.

Apr. 09, 2024
Eliminate the Burning Smell From Your Microwave

Apr. 09, 2024
Fixing a Samsung Freezer That Won’t Freeze

Apr. 09, 2024
Whirlpool Oven Won’t Heat: Here’s What To Do

Mar. 06, 2024
Easy Steps to Clean Your Refrigerator Coils

Mar. 06, 2024
Quick Fixes for an LG Dryer Not Heating

Mar. 06, 2024
How to Fix an Electrolux Dryer That’s Not Drying

Feb. 05, 2024
Why Is Your Whirlpool Washer Lock Light Flashing?

Feb. 05, 2024
Why Is Your Freezer Door Not Sealing?

Feb. 05, 2024
How Does a Ventless Dryer Work?

Jan. 03, 2024