July 11, 2018
Microwave Repair
This guide will detail the steps required to replace the magnetron in a Jenn-Air JMC8130DDC microwave oven. The magnetron is the component responsible for providing the heat in a microwave, and this is a common repair for units that fail to properly heat food items. Please note that there could be some heavy lifting involved in this repair.
Step 1: Remove the Unit from Its Enclosure
Most of the time this model will be installed into a finished kitchen enclosure. To replace the magnetron, we must have side access to the unit. This means that the microwave will probably have to be removed from its current enclosure.
The Jenn-Air JMC8130DDC microwave is held in place by four screws along the outer perimeter of the unit, located behind the oven door. Before attempting to move the unit from its mounted location, be sure and remove the turntable and assorted hardware to prevent movement and possible damage. Store this safely to the side for now.
Remove the four screws, one in each corner, and gently slide the unit forward. Be careful not to slide it too far forward, as it could fall from the enclosure. Once you have the unit pulled out sufficiently, rotate it to allows access to the plug hidden behind it. By rotating it, part of the microwave is still supported by the enclosure, but make sure that you keep the unit well supported from falling.
After you have unplugged the microwave, carefully slide it out and move it to a suitable workspace, such as the kitchen counter. Be sure to protect the kitchen counter, since the microwave may have sharp metal ends that could damage some surfaces. Also, make sure that the cord is placed on top of the microwave where it won’t trip anyone during the move.
Step 2: Remove Side Panel
The magnetron on this unit is on the right side when facing the microwave front, so it is the right side panel you will need to remove. The side panel has two parts, a black metal strip, and the panel itself. The black strip (on the left when facing the panel) should be removed first. Remove it and set it aside along with the screws.
Once the strip is removed, you will find screws that were hidden by it that hold the side panel. Now remove the side panel, which is held in place by screws along its perimeter, top of the unit, and the back. Remove the side panel and set it to the side.
Step 3: Remove the Magnetron Cover
After the side panel is removed, you should see the magnetron cover. It is about two-thirds the size of the side panel itself, situated in the bottom left. Remove the four screws that hold this cover in place and set it to the side. If you are using a drill as a screwdriver, take care not to strip out any screw heads by making sure the driver is firmly set before applying power.
Step 4: Discharge the Capacitor
Once the cover is removed, you will have access to the magnetron, diode, and charge capacitor. Since the capacitor can continue to hold a charge after it is unplugged, you will want to discharge it to prevent shock and possible damage to components.
Very carefully, use a screwdriver or other metal tool that has an insulated handle to cross out the two leads on the capacitor. You can use two tools and have them touch to do this, but make sure that neither you nor any other parts of the microwave come into contact with the conductor end touching the capacitor lead.
Do this several times to make sure that the capacitor is properly discharged.
Step 5: Remove the Magnetron
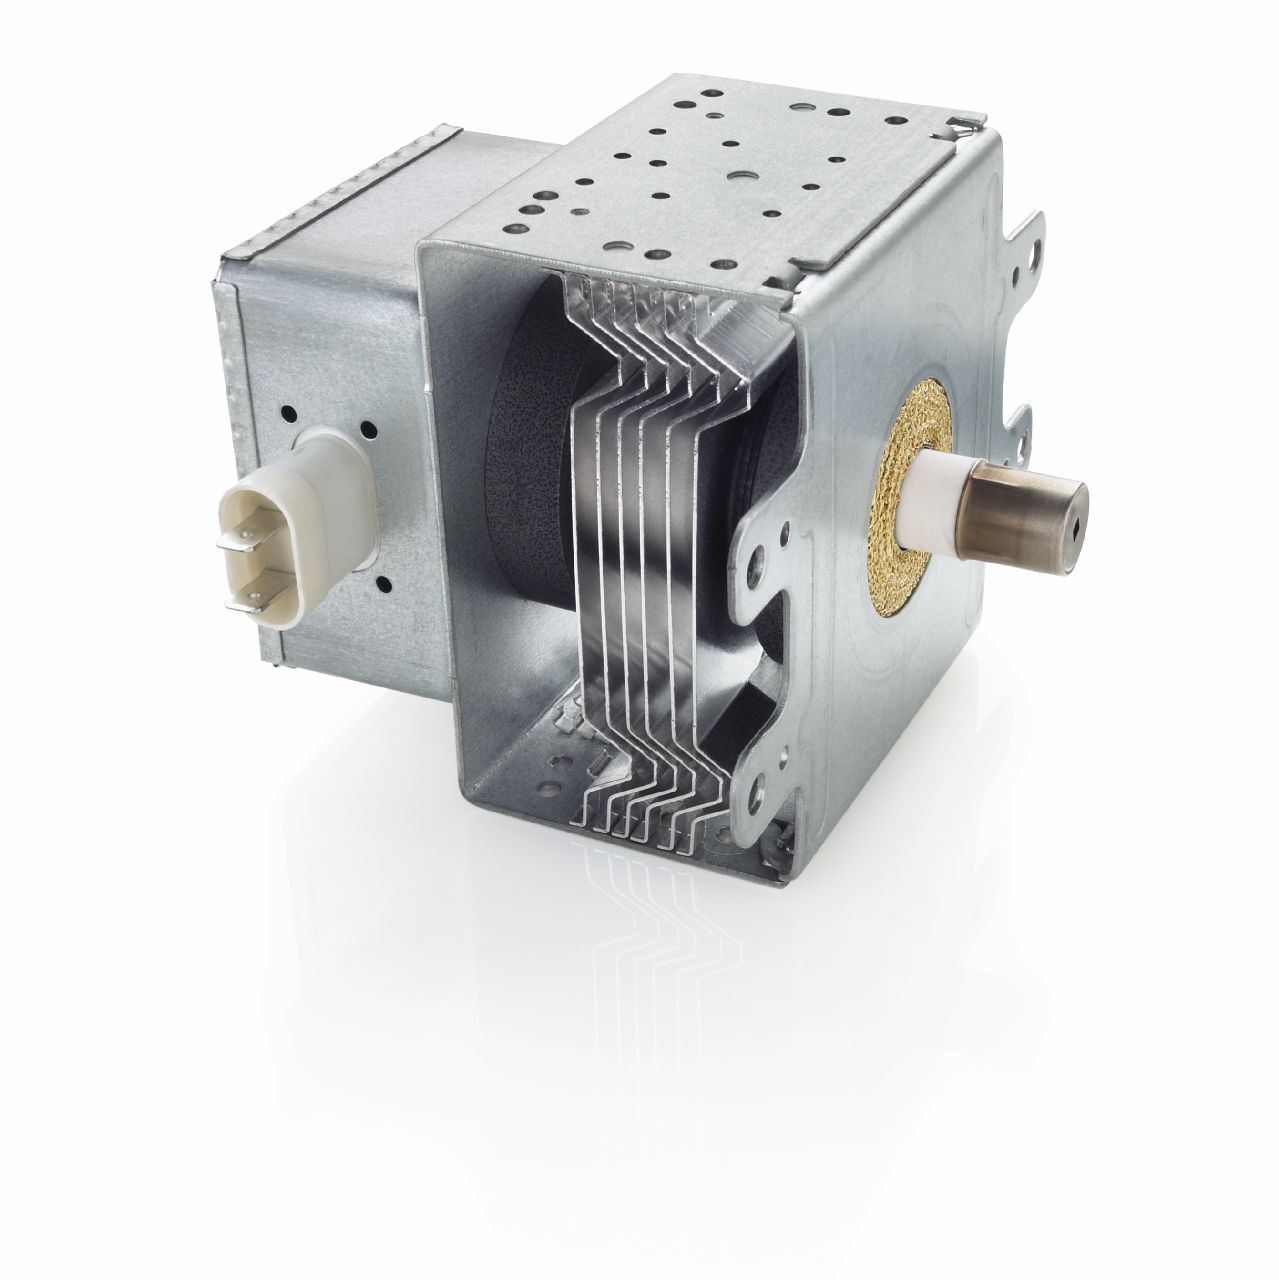
The magnetron is located at the top edge of the cover area. For those not familiar with a magnetron, it looks almost like a large silver power transformer. In most cases, it will be clearly labeled. Once you have it located, unplug the electrical connector from the magnetron located on the bottom of the component.
Now that you have unplugged the electrical connector on the bottom, remove the two thermostat connectors on top of the magnetron. These are slip fit connectors, so use a pair of needle nose pliers or another tool to pull them off. Be careful not to break the thermostat connectors while removing them since we will be reusing the thermostat.
The magnetron is held in place by one screw on its top wave guide and two on either side of its base. When removing these five screws, be sure to support the magnetron so that it doesn’t fall.
Step 6: Transfer the Thermostat to the new Magnetron
Once the old magnetron is free, you should see the thermostat on its top. The thermostat is supported by a small plate held by a single screw. Remove the plate holding the thermostat. Once you have it in hand, set the old magnetron to the side.
Mount the thermostat plate to the new magnetron in the same way that it was attached to the old one via the single screw. Note that there is a tab that aligns the plate and keeps it from twisting. Be sure that it is properly located in the corresponding hole.
Step 7: Install the New Magnetron
Now that we have the thermostat attached to the new magnetron, we can install it. The magnetron should go into place as the old one was located. The unit is held by four side screws and one top screw. Be sure to support the component when installing since it could fall before a screw is in place.
Once the new magnetron is bolted in place, reattach the bottom electrical plug and the two top thermostat connections. Be careful when attaching an electrical connection and don’t force them in place, otherwise, you could bend a connector.
Step 8: Replace the Magnetron Cover
With the new magnetron in place and connected, we can replace the cover. It is held in place by four screws and should fit as it did previously.
Step 9: Replace the Side Panel
The side panel and side strip can now be replaced. The side panel should go on first, and it is held in place by screws on its perimeter, top, and back. Once that is in place, attach the black strip to the left side of the unit.
Step 10: Operation Complete.
At this point, the magnetron has been replaced, and the repair is complete. The microwave can now be reinstalled to its enclosure. Be sure to make sure the unit is fully supported when reconnecting the plug, and once slid back into place reattach the four mounting screws. Replace the turntable and any assorted hardware.
We have over 34 years of experience in the appliance industry with 53 certified technicians. Dan Marc Appliance Factory Certified Care is BBB Accredited with an “A+” rating. Contact us for all of your appliance needs.

Apr. 09, 2024
Eliminate the Burning Smell From Your Microwave

Apr. 09, 2024
Fixing a Samsung Freezer That Won’t Freeze

Apr. 09, 2024
Whirlpool Oven Won’t Heat: Here’s What To Do

Mar. 06, 2024
Easy Steps to Clean Your Refrigerator Coils

Mar. 06, 2024
Quick Fixes for an LG Dryer Not Heating

Mar. 06, 2024
How to Fix an Electrolux Dryer That’s Not Drying

Feb. 05, 2024
Why Is Your Whirlpool Washer Lock Light Flashing?

Feb. 05, 2024
Why Is Your Freezer Door Not Sealing?

Feb. 05, 2024
How Does a Ventless Dryer Work?

Jan. 03, 2024