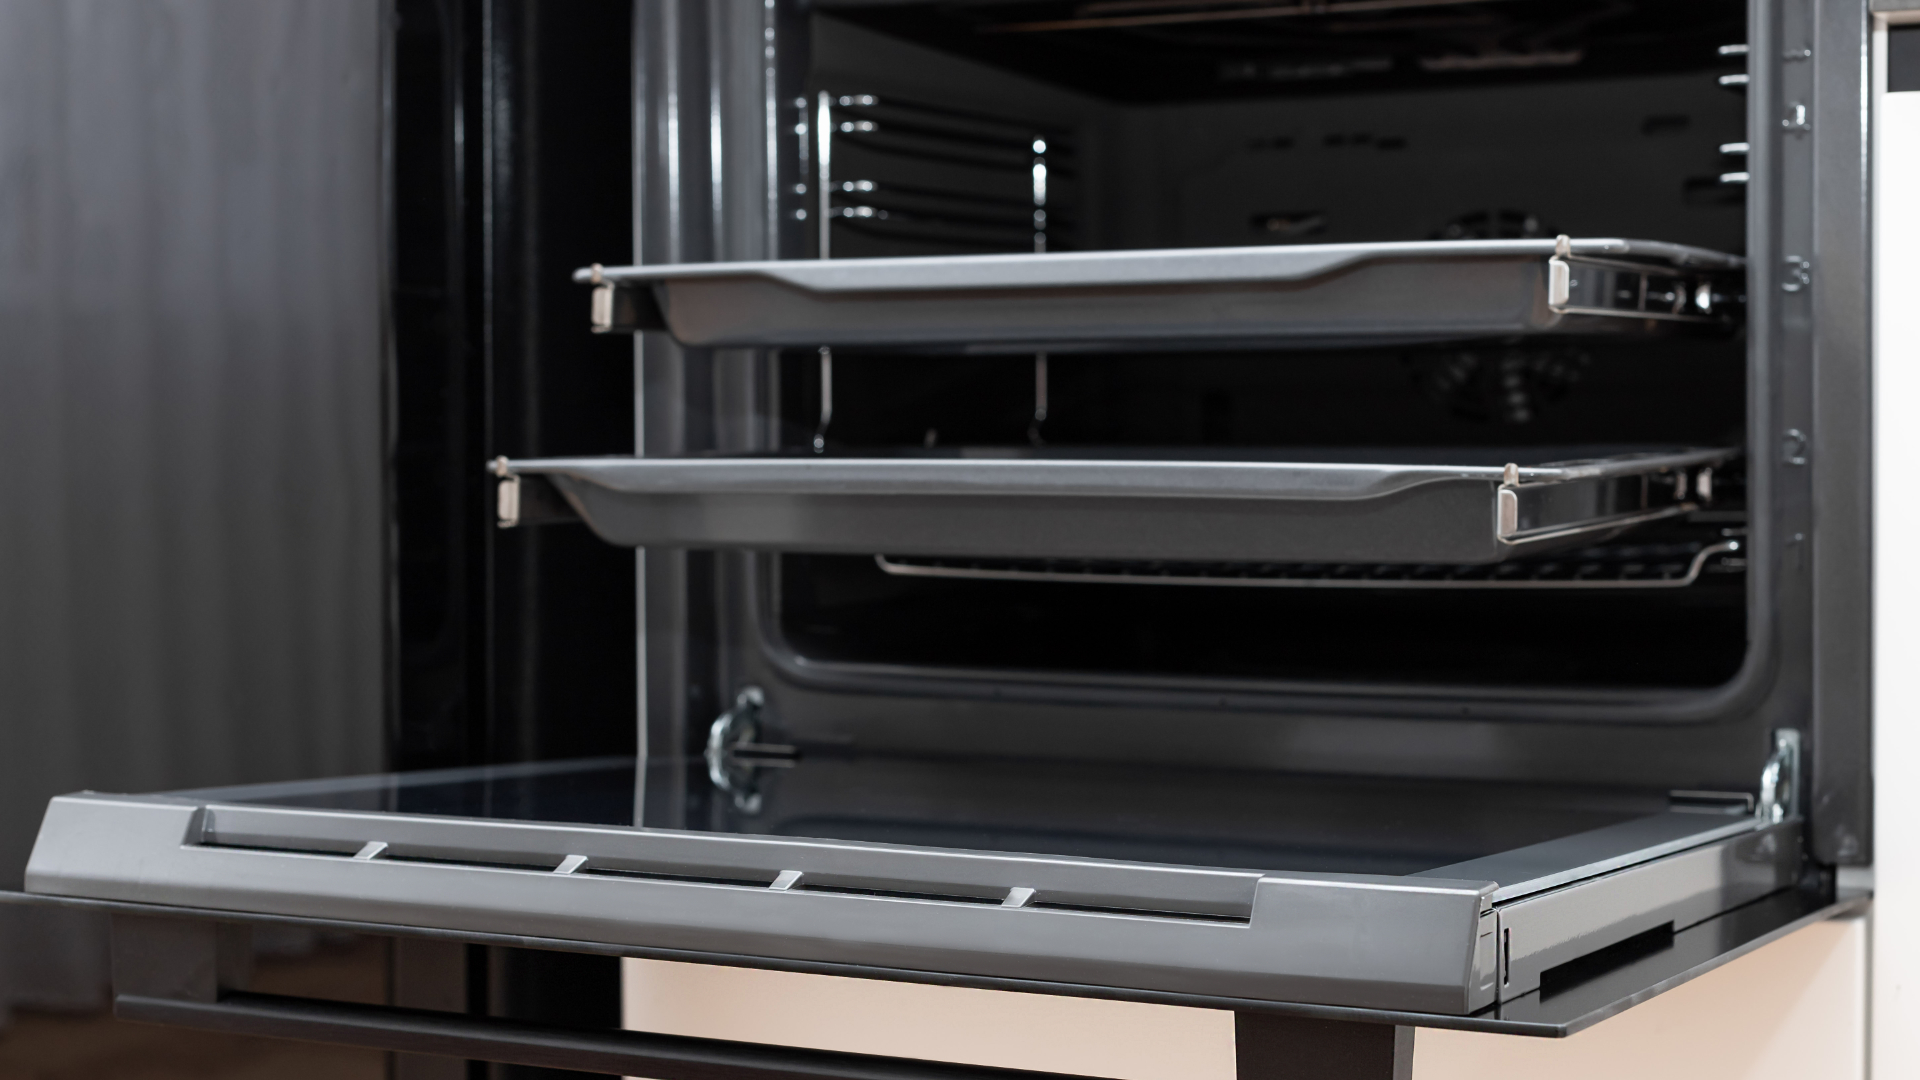
When your GE oven displays an F9 error code, it usually points to a fault in the door switch. This comprehensive article will outline the different reasons why this can happen and how to fix the issue.
Our guide relates to all major GE oven models, including the following:
4132990
42069
4242590
4252990
4352590
ABS300J1WW
BP76GS1
CGS980SEM1SS
JB250DF1WW
JBP23DN1WW
JBP24BB4WH
JBP24WB4WW
JBP26GV3
JBP26WB4WW
JBP64BB4WH
JBS55DM2WW
JGBS66REK1SS
JGP329SET1SS
JGP336BEV2BB
JGP336WEV4WW
JGP633SET1SS
Turn your oven off and on again
It may sound simple, but the first thing to do if your GE oven is presenting an F9 error code is to try turning it off and on again. Ensure your oven is turned off for at least one minute, then turn it back on again and check for error codes. This can sometimes clear the error without any further action needing to be taken.
Clean the door switch
The F9 Error code with the GE oven suggests that the door switch is faulty. Usually, there is nothing serious to be concerned about, and the problem is caused by debris that has become lodged in the door switch. This is a common issue that is just caused by grease and grime that builds up over time through regular use of your oven.
In order to solve this issue:
- First, in order to prevent any problems with the electrical circuit, make sure you disconnect the power connections first. You can do this by unplugging the appliance from the wall or turning off the circuit breaker that powers your oven.
- Take a moist cloth and clean the door switch carefully of any dirt.
- Close the door after carefully cleaning the switch and the problem ought to be resolved.
- Turn your oven on again and check if the error code has been cleared. If it hasn’t, move on to the next step of our guide.
Check that the door switch is not jammed or broken
Sometimes, the issue with the door switch can be more than just grease and grime. Your door switch may be jammed, have rotated, or have broken components. To complete the second part of this check you will need an ohmmeter in order to measure the door switch’s resistance.
To check the entire door switch:
- Disconnect your oven from the power.
- Open the door of your oven. You will need to remove three screws under the oven’s control panel. To release the mounting pins on the control panel’s upper corners, raise it straight up and tilt it in your direction.
- Examine the door lock system. The mechanism is located behind the control panel, to the bottom left.
- Rotate the cam to ensure the door lock mechanism can move without sticking.
- Check to see if there are any broken parts or if any part of the mechanism is faulty.
To check the six-pin connector:
- On the right side of the door lock mechanism, you will find the six-pin connector.
- Adjust the door lock mechanism’s cam so it is unlocked. Use an ohmmeter to measure the resistance between Pin 3 and Pin 1 of the door lock connector. Resistance should be zero. If the resistance is not zero, replace Lock Switch 2 of the door lock mechanism.
- If that does not solve the issue, set the door lock mechanism’s cam to the locked position by rotating it. Use the ohmmeter to measure the resistance between Pin 3 and Pin 2 of the door lock connector. Resistance ought to be zero. If the resistance reading is different from zero, replace switch 1 of the door lock mechanism.
If you can see that any part of the door lock mechanism is broken, you will need to replace it. You can order a replacement part from the manufacturer. Once the part has been replaced, turn on your GE oven and check to see if the error code has cleared.
Check for pinched or broken wires
If you could not find an issue with the door locking mechanism, there could be an issue with the wiring. While the power is still off and the control panel removed, examine the wires connecting the control panel to the door lock mechanism.
Wires should not be damaged or pinched. You can also look for wires with insulation that has frayed. A map of the wiring can be found in the owner’s manual, and this will help you see how the wiring should look.
If there are any flaws, fix the wiring as necessary provided you are comfortable doing so. Otherwise, you will need to contact an electrician.
Once the wiring is fixed, the F9 error code should be cleared and your oven should be working again.
Replace the control board
If you have been unable to find the source of the error code, the main control board may need to be replaced. Because the board is difficult to test, you will need to replace it before knowing if this will solve the issue. A replacement control board can be sourced from GE.
This solution is only for the most experienced DIYer, so it may be preferable to contact an experienced technician to help you solve the problem.

Eliminate the Burning Smell From Your Microwave

Fixing a Samsung Freezer That Won’t Freeze

Whirlpool Oven Won’t Heat: Here’s What To Do

Easy Steps to Clean Your Refrigerator Coils

Quick Fixes for an LG Dryer Not Heating

How to Fix an Electrolux Dryer That’s Not Drying

Why Is Your Whirlpool Washer Lock Light Flashing?

Why Is Your Freezer Door Not Sealing?

How Does a Ventless Dryer Work?

