June 8, 2020
Oven Repair
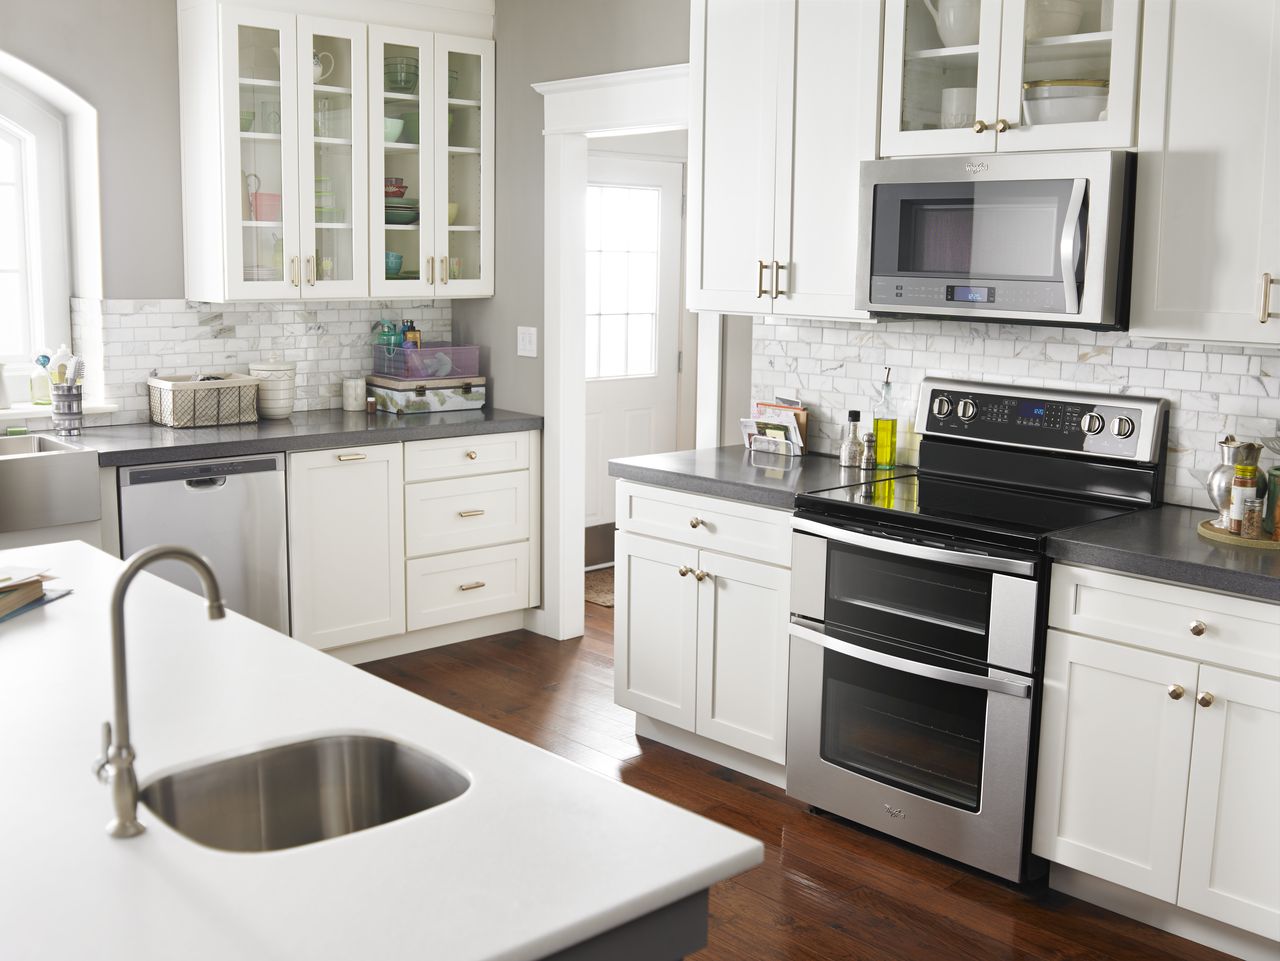
A stove and oven need to be balanced in order to cook properly. Otherwise, the heat won’t distribute right and your food will slosh to one side of every pan. It’s important to know how your oven is leveled and how to fix it if the oven is not level for some reason. The feet of your stove and oven are designed to help you keep the top of the stove level. This is why they are called leveling legs. Most stoves and ovens have two stationary back feet and two adjustable front feet that can raise or lower the front two corners of the stove. This can help you account for an uneven floor, kitchen rugs, tile, and a few minor manufacturing flaws as well. The design is simple. The front two feet of your stove are flat plastic disks that connect to the stove with a long corkscrew post. This corkscrew is what allows you to set the level and height of the oven feet. The parts are called leveling legs and can be bought universally by screw size from most replacement part outlets.
Why Replace Oven Leveling Legs
Most of the time, leveling legs factor into the first approachable layer of appliance repairs. Adjusting the level of your oven’s feet, for example, might correct an uneven heating or tilted cakes. However, because leveling feet are usually made of plastic, they sometimes break. A hard impact, as can happen during a fall or a move, can crack a leveling leg into pieces. An impact might break the footpad off of the post so that the stove is no longer properly supported.
When this happens, you’ll naturally need to replace one or both leveling legs. Fortunately, this is a very easy repair. You don’t even have to unplug the stove to do it.
Gather Your Supplies
- Wood Blocks
- Channellock Pliers
- Bubble Level
- Replacement Leveling Legs
The first step to any repair is to gather your supplies. This ensures you can complete the entire repair from start to finish. Your list of supplies is short for this quick replacement. First, you’ll need wood blocks to prop the stove upon while you’re working on the feet. Small sections of 2×4 are more than sufficient, or even a few phonebooks if you have them laying around.The Channellock pliers are mostly necessary if your leveling leg is broken or shattered inside the socket.
The bubble level will help you adjust the new leveling feet so that your stove is flat.
Last but most important, you need the right size of replacement leveling legs. Check the make and model of your oven to look up the right size replacement part to order.
Pull the Stove Forward
The first step is to pull the stove slightly forward. Don’t worry, you don’t need to get behind the stove for anything. We will only be working on the front legs. Just pull the stove forward enough that you could tilt it back a few inches. It needs a little space away from the back wall to do this. If your stove is built into the cabinetry, you may need to remove a few screws sunk into the particle board to move the stove. This will be necessary to fix the legs. If your stove is very heavy, don’t be afraid to ask a friend for help lifting the front of the stove and pulling it forward a few inches.
Lift and Prop the Front of the Stove
Now that you’ve moved the stove forward, it’s time to prop it up. Grab your blocks of wood or phonebooks and have them at the ready. With the help of a friend, lift the front edge of the oven and then prop the wood or phonebooks underneath. The smartest place to put the wood or phonebooks is just behind the existing leveling legs. This way, you will be able to reach the legs comfortably while the stove is propped up.
If the stove is not high enough for you to work with after placing the first prop, you can prop it a second time. Again, lift the front edge of the stove until there’s room for another prop. Slip the second prop on top of the first on both sides before letting the stove back down.
Remove Leveling Leg
The next step is to remove the old leveling legs. If the legs are intact, then this task is easy. Grasp the leg that you plan to replace and twist it counterclockwise. This will loosen it in the socket and unwind the screw so that the leg extends until it falls out. If the leg gets stuck or is too stiff to twist with your hands, try work gloves or your pliers.
If the leveling leg has broken into pieces in the socket, you may need pliers to un-jam and remove them. This is why you brought the channel lock pliers. Use the pliers to pry out each piece or twist them away from each other to free the broken leg. Once the socket is clear of the jamming pieces, the rest should fall out more easily.
Install the New Leveling Leg
Grab your replacement leveling leg(s) and get ready to reinstall. This process is pretty simple, as you’ve probably already guessed. Line up the screw with the socket and turn clockwise until the feet are approximately the same length as the back feet and each other.
Remove the Blocks
Now you can remove the blocks and set your stove down on the new foot for the first time. Very carefully, have a friend lift the front edge of the stove while you remove the wooden blocks or phonebooks from underneath. Then slowly lower the stove until you feel the feet settle on the ground.
Test and Correct the Level
Now is the crucial moment when you make the repair count. Test and adjust those legs. Start by giving the stove a push from one corner. Find out if it wobbles. If the stove wobbles, adjust the front feet until it no longer wobbles. Do this by having a friend slightly lift the stove while you twist the leveling leg clockwise to shorten it or counterclockwise to lengthen it.
Grab your bubble level and lay it on the top-left edge of the stove. Lower or raise the front left foot until the bubble is centered. Then lay the level on the top front edge. Match the right foot to the left foot. Then check all the top edges to ensure your stove is now completely level.
Push Stove Back Into Place
Congratulations, you have just successfully replaced and adjusted a new leveling leg for your oven-stove. Congratulate yourself as you push the appliance back toward the wall as the final and only step of your repair cleanup.

Apr. 09, 2024
Eliminate the Burning Smell From Your Microwave

Apr. 09, 2024
Fixing a Samsung Freezer That Won’t Freeze

Apr. 09, 2024
Whirlpool Oven Won’t Heat: Here’s What To Do

Mar. 06, 2024
Easy Steps to Clean Your Refrigerator Coils

Mar. 06, 2024
Quick Fixes for an LG Dryer Not Heating

Mar. 06, 2024
How to Fix an Electrolux Dryer That’s Not Drying

Feb. 05, 2024
Why Is Your Whirlpool Washer Lock Light Flashing?

Feb. 05, 2024
Why Is Your Freezer Door Not Sealing?

Feb. 05, 2024
How Does a Ventless Dryer Work?

Jan. 03, 2024