January 28, 2020
Refrigerator Repair
The light in your fridge is a vital part of using the appliance. After all, you have to be able to see your food to store and manage it accurately. So when your Whirlpool refrigerator light goes out, replacing it is a necessary maintenance task you want to take care of quickly. Fortunately, this is a fairly easy fix that does not take a professional to perform if your fridge is in good shape.
Today, we’re here to share a quick and simple guide on how to replace the light in the cool food compartment of your Whirlpool Refrigerator.
Supplies
Start by making sure you have the right bulb to replace your refrigerator bulb. You can discover the correct bulb in one of two ways. The recommended way is to look up your Whirlpool fridge’s model number and the correct replacement part. However, the lightbulb is not proprietary and if you can match the size and wattage, any correctly fitted lightbulb should be sufficient. You may also need a screwdriver depending on the model.
- Screwdriver
- Exact Replacement Bulb
Step 1: Unplug the Fridge
Your first step for any electrical repair is to unplug the appliance. While changing your fridge light, you may need to come in contact with exposed wires. This means the best way to ensure your safety is to cut the power to your fridge during the repair. Make sure that the fridge cannot short or electrocute by any means. The two approved ways to cut the power is to pull the plug from the wall and to flip the breaker that powers your fridge. If you can’t reach the fridge plug, the breaker maybe your best option.
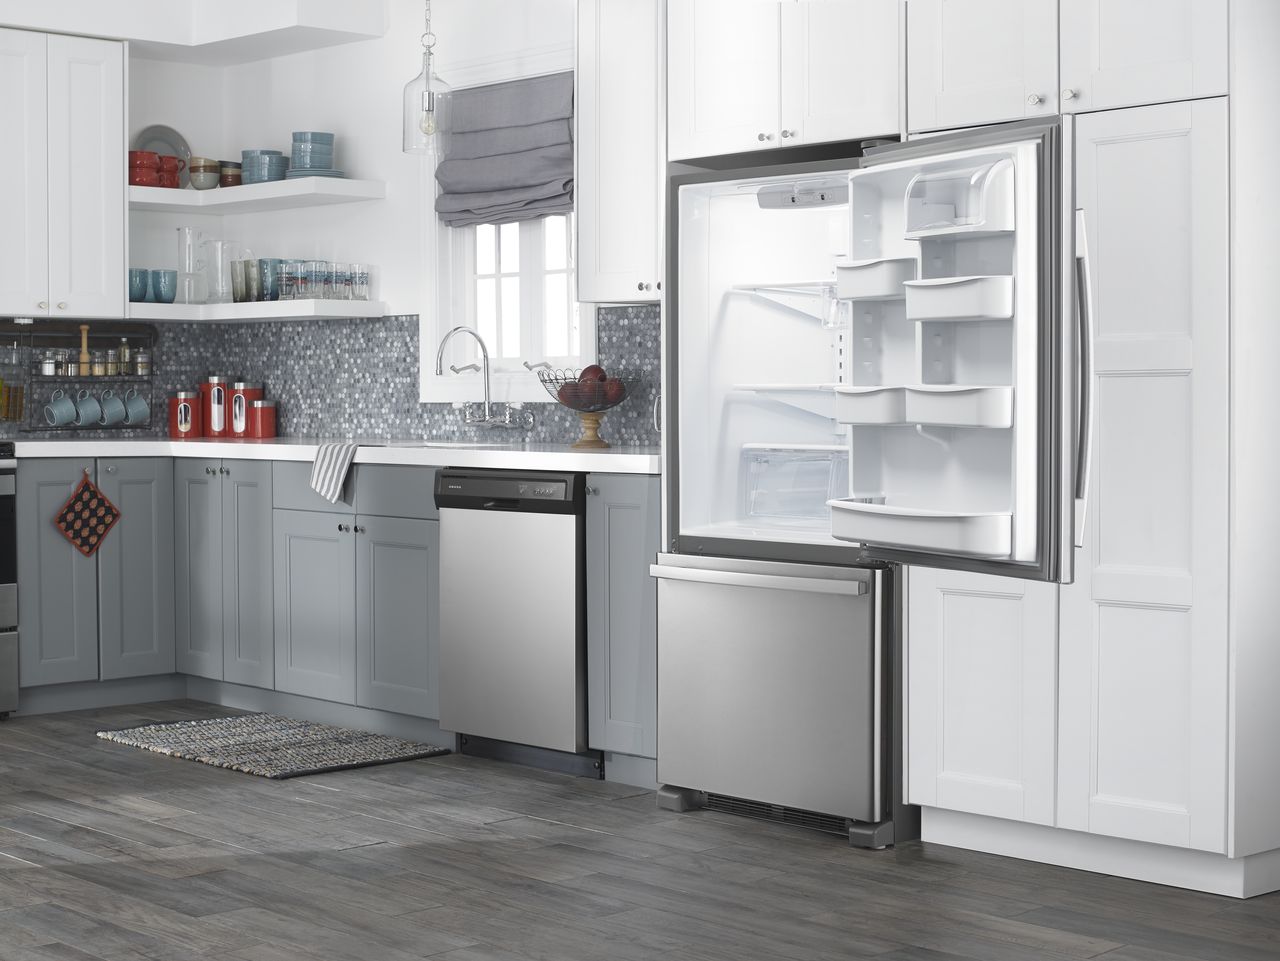
Step 2: Locate the Bulb
The fridge light is located in the center or front-center of the top of your fridge. You will need to pop open the light cover in order to replace the bulb. Take a close look at the housing to determine its manner of opening. Not all Whirlpool fridges are the same. Many can be opened by depressing plastic locking tabs. However, you may need to remove a few housing screws as well, if the bulb cover is screwed shut.
Step 3: Remove the Housing Screws
If the light cover is secured with screws, grab your screwdriver. Hold the light cover in place as you remove each of the mounting screws. Set each screw aside so you can find them later, as you’ll need them when the bulb is changed. The best type of screwdriver to use has a magnetic tip so that the screws don’t fall into the fridge when they are fully loose.
Step 4: Pull Back the Light Cover
When all the screws are released, unlatch and pull away from the light cover. Now you should be able to reach the now-dark bulb. You may need to press a latch or button to release the cover completely. Do not force the cover open, as this can break the plastic tabs that hold it in place. Be careful with the light cover and when it is free, set it aside with any mounting screws you may have removed.
Step 5: Unscrew Throw Away the Old Bulb
Carefully unscrew the old bulb from the socket and pull it away from the housing. If you’re curious, look closely at the bulb to see why it burned out. An old incandescent (filament) bulb will likely have a burnt or broken filament in the center. If the bulb is yellowed or looks a little charred, you should keep an eye on the next bulb in case there is a power issue with your fridge light socket. You can now throw away the old bulb, as it is of no further use.
Step 6: Install the New Fridge Bulb
Unpackage the new bulb and set it into the socket. Screw it gently into place, turning it clockwise, until you feel a firm stop. Be sure the bulb looks correct in the housing and, if it has a filament, that the filament is intact. You’ve now passed the halfway point and critical step of your fridge light replacement. Time to put your fridge light assembly back together.
Step 7: Replace the Cover & Screws
Reverse whatever process you used to remove the cover in order to put the cover back into place. If there were tabs or clamps, press the cover back into place and make sure it clicks firmly. If there were screws, place and secure them back in. This completes your fridge light replacement. Time to test.
Step 8: Plug Fridge Back In
Reach behind the fridge and firmly push the plug back into the socket. Never forget to plug your refrigerator back in after a repair or maintenance service. If you flipped the breaker, then flip your breaker back to the ‘on’ position to restore power to your fridge.
Step 9: Test the Light
Finally, you’re ready to test your fridge light. With the refrigerator plugged back in, open and close the fridge door to ensure the light comes on. Consider pressing the door latch for a more direct test. If all has gone according to plan, you should now have a brilliantly shining new Whirlpool refrigerator light. Open and close the door and/or press the button several times to be sure the circuit is working correctly.
—There are many appliance repairs that can be done safely and easily at home without the help of a service professional. This is great for your budget and makes sure that expert time is focused on an emergency or dangerous repairs that homeowners cannot do themselves. Replacing your refrigerator light is no more complex than any other lightbulb. Other refrigerator repairs are a little more challenging but just as approachable. If you’re comfortable wielding a screwdriver and have work gloves that fit, you can tackle many appliance repairs that others might find daunting. Contact us today for more quick repair tips and how-to guides or to schedule a service for a more complex repair need.

Apr. 09, 2024
Eliminate the Burning Smell From Your Microwave

Apr. 09, 2024
Fixing a Samsung Freezer That Won’t Freeze

Apr. 09, 2024
Whirlpool Oven Won’t Heat: Here’s What To Do

Mar. 06, 2024
Easy Steps to Clean Your Refrigerator Coils

Mar. 06, 2024
Quick Fixes for an LG Dryer Not Heating

Mar. 06, 2024
How to Fix an Electrolux Dryer That’s Not Drying

Feb. 05, 2024
Why Is Your Whirlpool Washer Lock Light Flashing?

Feb. 05, 2024
Why Is Your Freezer Door Not Sealing?

Feb. 05, 2024
How Does a Ventless Dryer Work?

Jan. 03, 2024