March 19, 2020
Refrigerator Repair
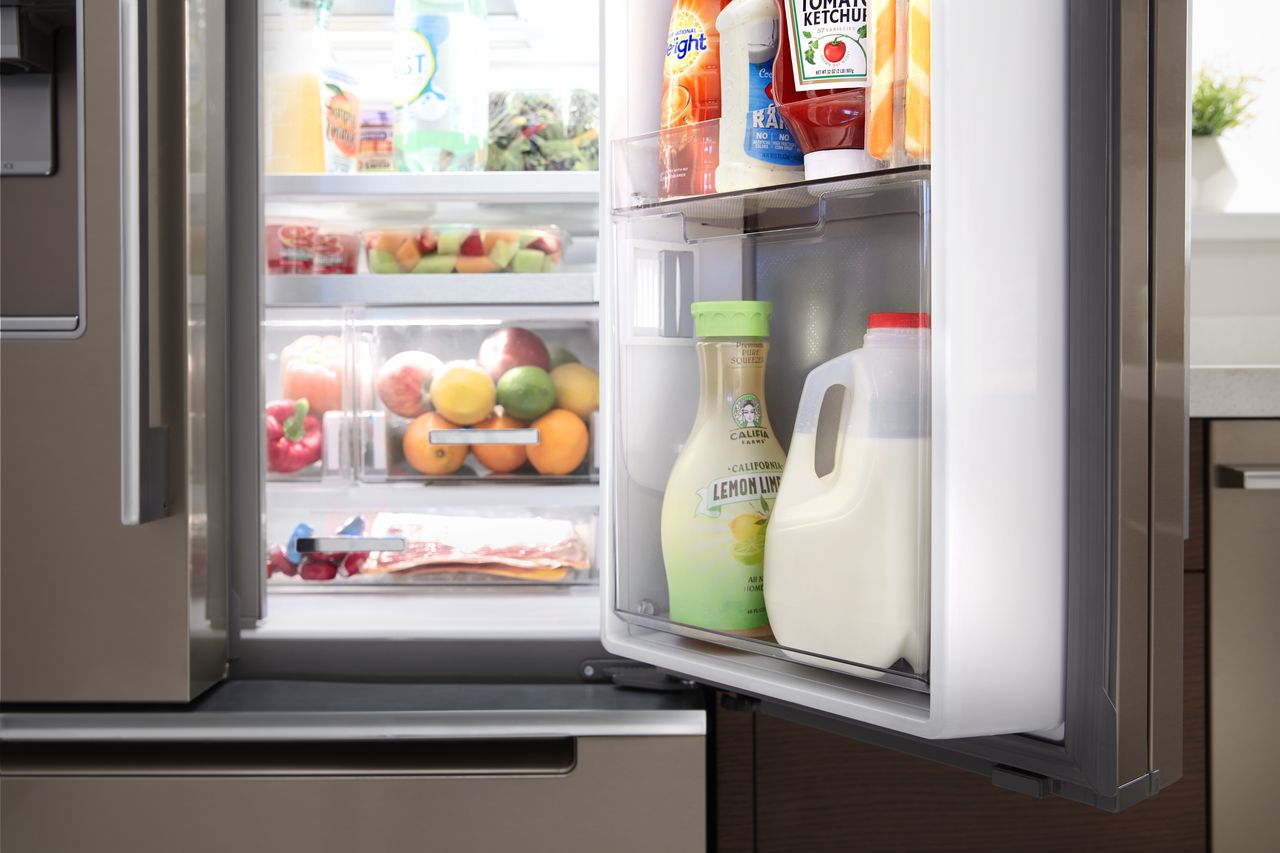
Your refrigerator needs to seal closed. If the door doesn’t close all the way and seal, then your refrigerator won’t be able to hold in the cold air and your food will get warm. This can lead to food spoilage and unpleasantly high power bills as your fridge keeps pumping cold air into the rest of the house. If your fridge door hangs open, this only makes the situation worse, as the light will stay on generating heat of its own and casting it onto the upper shelf of food. When your fridge door is not sealing closed, you need a fix fast. In fact, you can often fix this problem faster than a repair person can make it out to your home if you’re willing to do a little investigation and DIY work. Don’t worry, your door seal is not an electrical part so you won’t need to worry about unplugging the fridge or risk of a spark. Let’s take a look at the five different ways that a fridge-owner can repair a refrigerator door that won’t close and seal.
Keeping Your Fridge Items Cold During Repairs
If you’re going to be working with your fridge door open for an extended period of time, you may want to turn off the fridge just to save electricity. And if you’re worried about specific food items getting too warm while you work (meats, for example) then pop them in the freezer for the project. If your work takes less than two hours, they probably won’t have time to freeze and they definitely won’t spoil.
Check for Items Blocking the Door
The first step, as you probably already know, is to check the door to see if anything is blocking the swing-shut. Don’t automatically assume there’s something wrong with your refrigerator, there are all sorts of ways you can pack a fridge that can ever-so-slightly occlude the door from closing. This risk is especially high on the hinge-side of the shelves but anything protruding too far or blocking the wing can become a problem.
Check items near the hinges to see if anything is trying to stick out the back-gap of your fridge door when it’s open or occlude the hinges themselves. From there, try pushing everything on the shelves back by about two inches so that nothing is on the edge of the shelf or protruding off the edge of the shelf. This may require some rearrangement.
Check the door. Make sure that nothing is too crammed into the door and that the fridge door is not to heavy with drinks or dense food items, as this can also cause problems with your fridge door closing. As a last resort, try taking everything out of your fridge and testing to see if the door closes and seals. If it does, repack more carefully and test as you do so to make sure no fridge-packing technique causes the problem to repeat. Then teach your household what to avoid.
Wash the Refrigerator Door Gasket and Door Pocket
Your next trick is to make sure the refrigerator gasket-pocket meeting is totally clean. Spills and built-up grime can get in the way of a firm seal where the rubber gasket suctions to the fridge door pocket. Take a wet sponge and surface cleaner and thoroughly wash both the fridge door gasket Pay attention to the inner folds of the rubber seal, as well, because they can hide grime that will creep back out to cause further problems.
Then identify the door pocket, the specific surface that the rubber gasket seals onto. Scrub this as well, and any sticky, crusty, or grimy surfaces nearby. Dry both the gasket and the door pocket to make sure that your test results are not based on water suction. Then see if a clean pair of surfaces will now form the seal you need to maintain a cold refrigerator.
Oil the Door Gasket
Your next step is an old home repair trick that has been bouncing around the internet and through word-of-mouth for decades: Vaseline. Once the door gasket and pocket are clean, get yourself a little tub of vaseline or non-brand-name petroleum jelly. Dip your finger in the vaseline and then lightly rub a layer of vaseline over your refrigerator door gasket. Rubber gets hard and less flexible as it gets older and vaseline will help it spring back up and become ‘stickier’ to form that suction seal.
Be careful not to gob it on, just apply the vaseline in a thin layer like you would rub it on your skin. Then try closing the door to see if you have restored its ability to seal.
Adjust the Refrigerator Door Hinges
Next, check the door hinges. Take everything out of the refrigerator door and let it fall open. If it hangs mostly in place, your door hinges are balanced and likely not the problem. If it swings wide then your fridge door hinges are no longer balanced and the top hinge is likely loose. This will cause the door to ‘slouch’ forward which can result both in the swinging action you’re seeing now and an incomplete seal with the door pocket.
Grab your screwdriver and tighten the upper hinges of your fridge door. If you have one, place a bubble level first on top of the fridge to make sure it is level (if not, adjust the feet). Then place the bubble level on top of the door and tighten the top hinge until it is level and no longer swinging. Now push the door closed. If it seals, congratulate yourself and restock your fridge.
Replace the Refrigerator Door Gasket
Finally, you may need to replace your refrigerator door gasket. This is most likely if the gasket clearly appears to be shrunken and hard (old door gaskets do this) or twisted, torn, or broken in some way. Replacing the door gasket is actually surprisingly easy if you have a replacement with the correct part number for your fridge’s make and model. Lift the gasket fold on the inside of the door to reveal a set of securing screws. Loosen the screws but do not remove them all the way. Pull the old door gasket out and fit the new one into its place, slotting the long flap of the gasket into the slip in the door that was loosened by the screws.
Tighten the screws again by lifting the fold of the new gasket until it is in place. Then try closing your door.
Hopefully, one or all of these repair fixes has left you with a refrigerator that seals once again, If you are still having problems, it’s time to call a professional to figure out what went wrong. For more home how-to guides on appliance repair and maintenance, check out the blog! For home appliance repairs beyond your DIY capabilities, contact us today!

Apr. 09, 2024
Eliminate the Burning Smell From Your Microwave

Apr. 09, 2024
Fixing a Samsung Freezer That Won’t Freeze

Apr. 09, 2024
Whirlpool Oven Won’t Heat: Here’s What To Do

Mar. 06, 2024
Easy Steps to Clean Your Refrigerator Coils

Mar. 06, 2024
Quick Fixes for an LG Dryer Not Heating

Mar. 06, 2024
How to Fix an Electrolux Dryer That’s Not Drying

Feb. 05, 2024
Why Is Your Whirlpool Washer Lock Light Flashing?

Feb. 05, 2024
Why Is Your Freezer Door Not Sealing?

Feb. 05, 2024
How Does a Ventless Dryer Work?

Jan. 03, 2024