October 15, 2018
Refrigerator
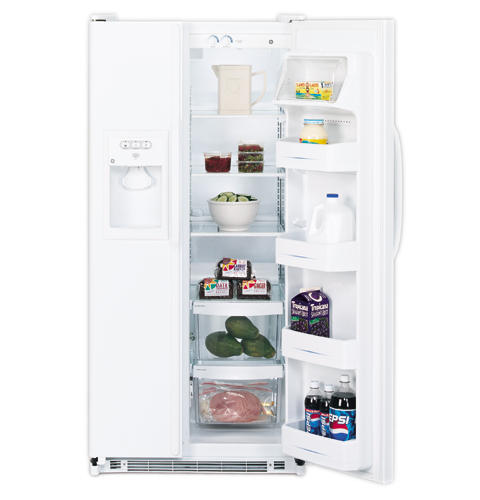
Opening the door to your GE refrigerator model GSS20IEMWW and discovering the temperature is well above its normal setting is bound to send you into panic mode. Not only is your food at risk of spoiling, but the possibility of needing a new refrigerator just became a reality. However, before you jump to conclusions and head to your nearest appliance store, take a moment to assess the situation. Although a warm fresh food compartment is concerning, there are easy to repair malfunctions that cause this symptom. To help you troubleshoot your appliance, we’ve created a list of components that may be behind your refrigerator’s sudden temperature increase.
Before starting any of the repairs listed below, unplug your refrigerator, or if you can’t reach the outlet, shut off the appliance at the circuit breaker. Wearing safety goggles and work gloves is highly recommended.
The Damper Control Assembly
The damper in your refrigerator controls the flow of cold air traveling from the freezer to the fresh food compartment. If the damper gets stuck in the closed position, air flow becomes restricted, meaning your refrigerator’s temperature will begin to rise. Replacing a faulty damper control assembly is a repair job most appliance owners can handle themselves.
How to Replace the Damper Control Assembly in Your GE Refrigerator
-
Open the door to the fresh food compartment, and locate the damper control assembly in the top left corner. Before gaining access to the damper, you will need to remove its cover. To do so, simply unthread the two screws securing the cover to the wall of the refrigerator. Take the cover off the damper and set it down somewhere safe.
-
Before removing the damper control assembly, disconnect the wire harness running to the refrigerator ceiling. Once the wires are no longer attached, pull the damper off the fresh food compartment wall. Because the damper is placed on the wall with adhesive, you may need to use a little force when removing it. After you’ve successfully detached the damper, slide the temperature sensor out of its housing. Clear away any adhesive left on the wall before installing the new damper control assembly.
-
To start the installation process, remove the adhesive backing on the damper’s foam gasket, and attach the gasket to the new damper. Then, peel the second adhesive backing off the gasket and align the damper control assembly with the opening in the refrigerator’s wall. Make sure to press down firmly on the damper to ensure the adhesive’s grip is secure.
-
Reconnect the wire harness, and slide the temperature sensor into its housing in the refrigerator’s corner.
-
Grab the damper control assembly cover and position it over the damper. With the screws you removed earlier, reattach the cover.
-
After you’ve closed the fresh food compartment door and plugged your appliance back in, monitor the temperature inside your refrigerator to ensure it begins to drop to the proper setting.
The Defrost Thermostat
The defrost thermostat in your appliance controls when the defrost heater turns on and off. If the thermostat is malfunctioning, the heater will not turn on, which will lead to frost build-up on the evaporator coils. When this occurs, the airflow traveling through the coils becomes restricted, meaning your refrigerator will not cool. To replace the defrost thermostat, follow the repair guide provided below.
How to Replace the Defrost Thermostat in Your GE Refrigerator
-
Start by opening the freezer door and removing all shelves and bins in the compartment. Once you have access to the rear panel, pull off the light bulb cover and unscrew the freezer light bulb.
-
Unthread the screws holding the rear panel in place and take the panel out of the freezer.
-
The defective defrost thermostat is clipped onto the refrigerant tubing. Carefully pull it off the tubing. With a pair of wire cutters, cut the wires connected to the thermostat. Make sure to cut as close to the thermostat as possible. After the thermostat is cut off the wires, strip the ends of the wires with your wire cutter.
-
Now it’s time to install your new thermostat. Before connecting the wires from the new thermostat to the wires in the freezer, you may want to shorten the wires running out of the thermostat by cutting them and then stripping the ends. Once the wires are the appropriate size, use wire nuts to connect the ends of the wires. After the wire connections are secure, clip the new thermostat onto the refrigerant tubing.
-
Reassemble your freezer compartment by first reinstalling the rear panel. Once the panel is secure, screw the freezer light bulb back in and replace the light bulb cover. Next, reinsert the compartment’s shelving and bins.
-
To finish off your repair, close the freezer door and plug your appliance back in. Remember to keep tabs on the temperature in your fresh food compartment to ensure it begins to climb.
Other Possible Malfunctions
The Evaporator Fan Motor is a crucial component in your refrigerator’s cooling system. When the motor is functioning properly, it draws air over the evaporator coils and disperses the cooled air throughout the freezer and fresh food compartment. A faulty evaporator fan motor will stop the circulation of air, causing the temperature in your refrigerator to rise.
The Defrost Control Board decides how often the defrost cycle takes place. A defective control board will stop the defrost cycle from happening, which leads to ice accumulating on the evaporator coils. Icy evaporator coils cause airflow issues, meaning there will be less chilled air moving from your freezer to your appliance’s fresh food compartment.
The Defrost Heater is activated when the defrost cycle begins. When functioning properly, the heater usually turns on between two and three times a day for thirty minute periods. During that time, the component produces enough heat to melt the frost off the evaporator coils. If the defrost heater is no longer working, the ice on the coils will continue to build-up, which will ultimately affect the temperature in your refrigerator’s fresh food compartment.
Determining the cause behind your refrigerator’s temperature discrepancy can be difficult. If you are having a hard time pinpointing which possible malfunction is plaguing your appliance, please contact us today to schedule a repair appointment with one of our highly trained appliance repair technicians.

Apr. 09, 2024
Eliminate the Burning Smell From Your Microwave

Apr. 09, 2024
Fixing a Samsung Freezer That Won’t Freeze

Apr. 09, 2024
Whirlpool Oven Won’t Heat: Here’s What To Do

Mar. 06, 2024
Easy Steps to Clean Your Refrigerator Coils

Mar. 06, 2024
Quick Fixes for an LG Dryer Not Heating

Mar. 06, 2024
How to Fix an Electrolux Dryer That’s Not Drying

Feb. 05, 2024
Why Is Your Whirlpool Washer Lock Light Flashing?

Feb. 05, 2024
Why Is Your Freezer Door Not Sealing?

Feb. 05, 2024
How Does a Ventless Dryer Work?

Jan. 03, 2024