February 24, 2019
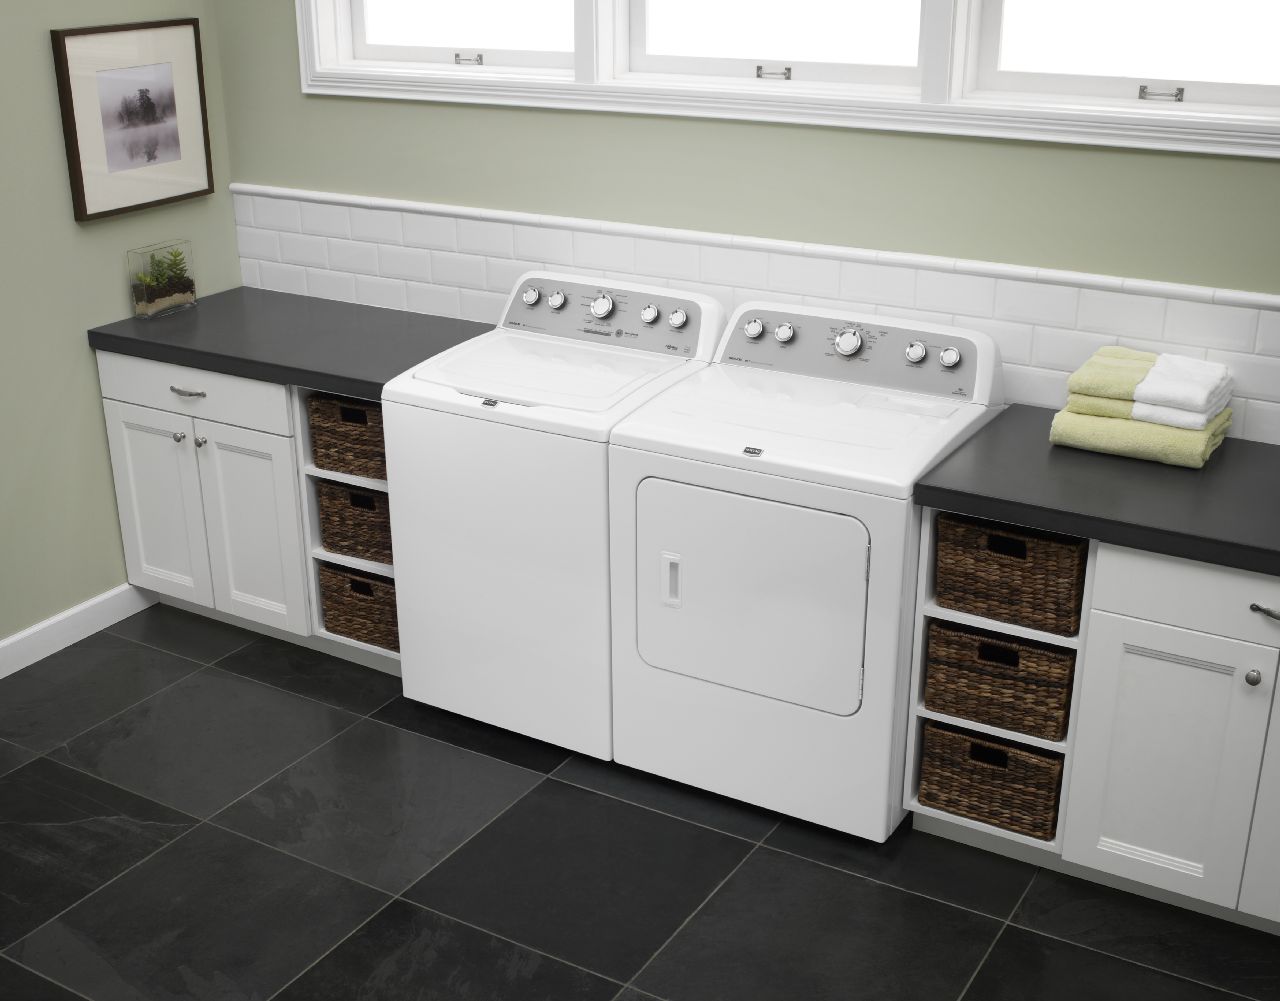
Washer Repair
When your washer’s motor isn’t working, it can be difficult to isolate the cause. Anything from a part that enables the agitation motion to the motor itself could be at fault. If your washer has a computer, it can quickly point out if the motor stator needs to be replaced. This part carries the electrical current near the motor. If it has snapped wires around its poles, then the stator can’t get all of the energy it needs
1. Unplug the washer and turn off the water supply lines.
Every repair should start with you unplugging the appliance. You will need to tilt the appliance backward at an angle during the repair, and that means pulling the appliance away from the wall. Turn off the water supply lines and pull the drain line free from the wall if necessary so you have plenty of space to tilt the machine.
2. Dismantle the bottom of the washer.
During this step, you might want to ask for assistance. Have a second person help you tilt the appliance backward at a forty-five degree and rest it against a secure box or support. Then look at the bottom of the washer and locate the rotor around the central shaft.
Line one of the holes around the edge of the rotor with a hole in the stator behind it. Then put a screwdriver through both holes to lock the rotor in place against the stator so it doesn’t spin as you try to loosen it. Use an Allen wrench to loosen the shaft with the screwdriver in place. Then loosen the bolt completely free of the threads
Then hold the stator in place as you pull free the three tabs holding the lengths of wire in place around the circumference of the stator. Do this before removing the stator so you don’t have to worry about tugging or stretching the wires. Then pull the stator way from the bottom of the washer. You may need to wiggle it and apply force to pry it out of the bottom casing. Once it’s free the motor shield it will fall forward. Set this part aside for now
3. Install the new stator.
On the interior side of the stator, you will find another circular metal bracket. Pry it out and apply grease on the four cut-outs along the exterior edge. Then flip the part grease-side-down and put it in the middle of the new motor stator. Next, reattach the wiring. Start with the black wire harness. Match up the harness with the arrow imprinted along the side of the stator. If the arrow is difficult to find, locate the three ports that connect to the wire harness and look closely to their left to find the arrow. Push the three teeth between the poles of the stator and listen for the click of the two locking tabs to make sure it’s fully engaged. Then press the white wire harness into place over the three ports to the right. Flip the stator around so the wiring faces the bottom of the washer. Slide the motor shield into place and orient it so the molded depression is to the right.
4. Reassemble the washing machine.
The motor rotor is going to be held in place inside the central drive shaft. But you need a tight (but not permanent) seal. Add blue thread locker inside the drive shaft to help the rotor adhere to the part. Carefully orient the rotor so the lines along the inside of the central hole match the ones around the exterior of the drive shaft. If these don’t interlock properly, you might accidentally force the rotor into place and that can make it impossible to remove later. This can be tricky when you can’t see the configuration, so line them up to the best of your ability and rotate the rotor slightly as you push it into place until you feel the lines interlock. Press the rotor firmly into place along the drive shaft. Next, use the Allen wrench to tighten the rotor in place most of the way. Hold the rotor in place as you tighten it. Then rotate the rotor until one of the holes lines up with a hole in the stator. Put a screwdriver through the two holes to lock the rotor and stator together as you tighten the rotor’s bolt the rest of the way. Be careful to not overtighten it
If you have more repairs you want to make on your washer or other major appliances, go to Dan Marc Appliance here. Our trained appliance repair technicians can answer your questions or repair your malfunctioning appliance.

Apr. 09, 2024
Eliminate the Burning Smell From Your Microwave

Apr. 09, 2024
Fixing a Samsung Freezer That Won’t Freeze

Apr. 09, 2024
Whirlpool Oven Won’t Heat: Here’s What To Do

Mar. 06, 2024
Easy Steps to Clean Your Refrigerator Coils

Mar. 06, 2024
Quick Fixes for an LG Dryer Not Heating

Mar. 06, 2024
How to Fix an Electrolux Dryer That’s Not Drying

Feb. 05, 2024
Why Is Your Whirlpool Washer Lock Light Flashing?

Feb. 05, 2024
Why Is Your Freezer Door Not Sealing?

Feb. 05, 2024
How Does a Ventless Dryer Work?

Jan. 03, 2024