May 27, 2020
Dryer Repair
Dryers are not particularly finicky machines. They are complex, in that they involve a spinning drum and high-electricity heating, but they are also usually very sturdy. This is why there are dryers rattling around in houses that are 15 or even 20 years old. Of course, something eventually breaks but this is often not the end of the dryer. If, for example, your dryer stops starting when you push the start button or press the knob, it might be a simple failure of the start switch itself. Especially if the dryer was performing well in every other way right before the failure.
So today, we’re here to help you take care of the simple home repair of replacing that dryer push-to-start switch. It’s easier than you might think, as long as you have the right part and take the proper safety precautions.
Safety First
– Disconnect the Power
This is an electrical repair so it’s vital that you disconnect the power as your very first move. Unplug the dryer from the wall, carefully pulling the very large power plug out of the wall socket. Place the plug on the ground or loop it over the top of your dryer for convenience. Do not, at any point, touch the metal prongs with your bare hands.
Gather Your Supplies
It’s a smart idea to get all the supplies you need before starting a repair. This way, you can complete the repair smoothly from start to finish. The most important part, of course, is your replacement start switch. Make sure you have the correct model based on the parts guide in your dryer’s user manual. If you don’t have the user manual (most don’t) you can look up its make and model online.
- Screwdriver
- 1/4 inch Nut Driver
- Work Gloves
- Replacement Start Switch
Setting Up
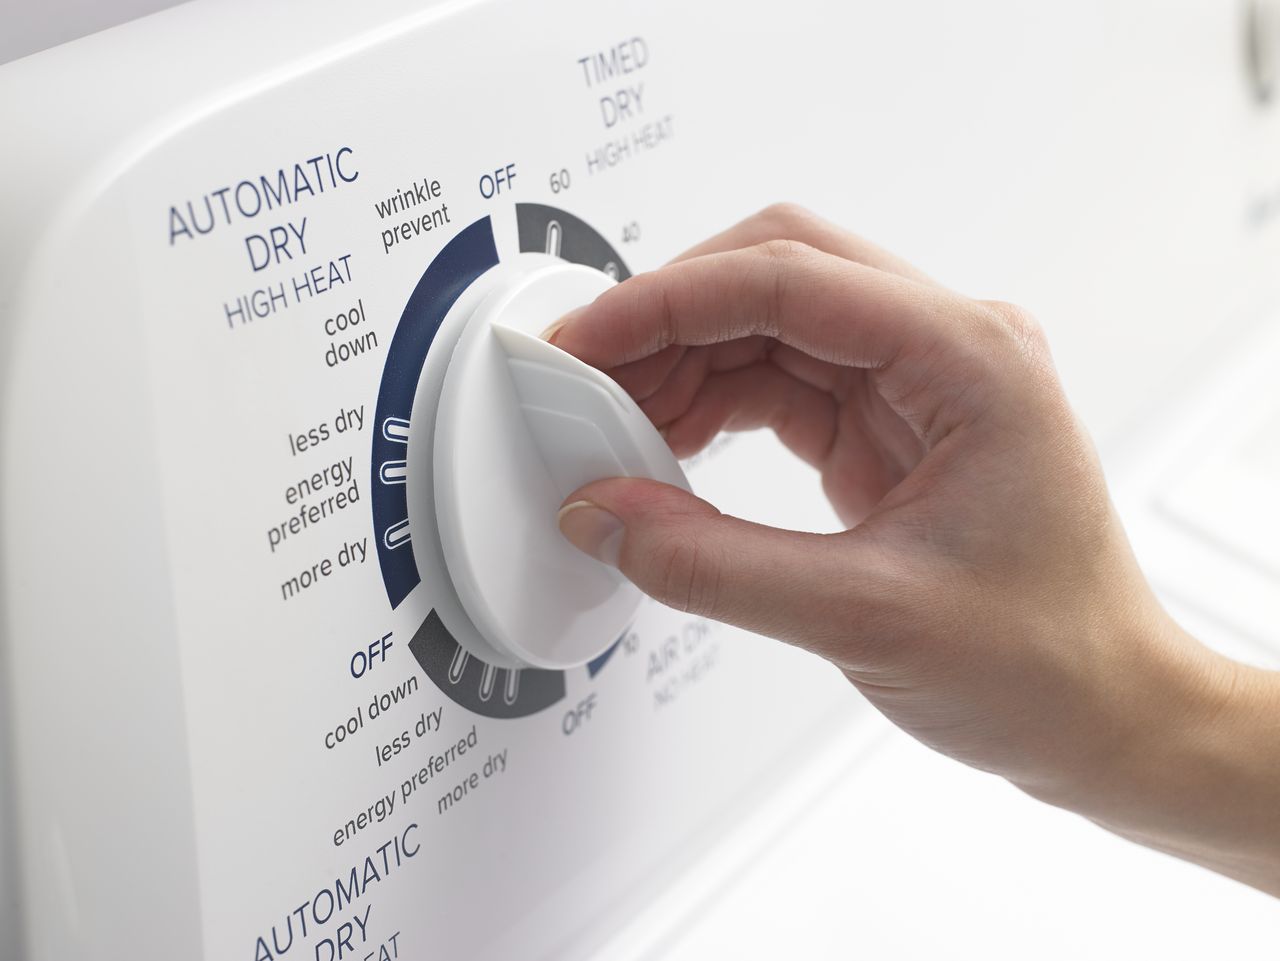
– Remove Push-to-Start Button/Knob
Your first step in the repair is simple. Pull the push-to-start button or knob off the post. Set it aside somewhere safe. You’ll need it again at the end of the repair.
– Pull Dryer Away from Wall
Next, pull your dryer away from the wall. You will be going in through the back of the control panel so will need room to work.
Remove the Back Panel
– Loosen the Back Control Panel Mounting Screws
Standing behind the dryer, you will see that the top control panel is backed by a plain metal panel fastened with several nut-screws. Use your nut driver to remove them and collect each screw as it is removed.
– Carefully Lift and Pull Back Panel Away
With your work gloves on, carefully lift and pull the back panel away from its placement. You should see the exposed parts of the control panel now.
– Set Panel and Screws Aside
Set the metal panel to the side and make sure all the screws that go with it are gathered and set in the same place. Consider using a small bowl or Tupperware to keep track of the screws.
Uninstall the Old Start Switch
– Identify the Broken Switch
Look inside the control panel housing and identify the broken start switch. You can find it by location, knowing where it is on the front, or by matching it in appearance to your replacement part.
– Snap a Phone Photo of the Wiring
Use your phone to take a picture of how the wiring is connected. You will need to replicate this configuration later, so will want a visual reference.
– Disconnect the Wires
Carefully pull the wires off their mounting points on the old start switch. It is safe to let the wires fall while you continue removing the switch.
– Release the Locking Tab
There is a locking tab holding the start switch in place. Press and release it to it is no longer holding the switch.
– Rotate and Pull the Switch to Remove
The switch won’t pull out directly. You will need to rotate the starter switch while pulling until it comes loose. You are now holding the broken part freely in your hand.
– Discard the Old Switch
It is safe to throw away the start switch or set it aside for electronic recycling now.
Install the New Start Switch
– Align the New Switch With the Locking Tab
Now take your new push-to-start switch and align it with the locking tab facing the direction your switch was facing when you removed it. The switch should settle faintly into place.
– Rotate to Set the Switch Into Place
Carefully rotate the new starter switch until it locks into the locking tab and clicks firmly into place. It is now mounted correctly and ready for the wires.
– Connect the Wires Exactly as they Were Before
Reference your phone for certainty, then reconnect the dryer wires to the new switch exactly as they were connected to the old switch. This will allow the switch to start the dryer. You have just replaced the switch component successfully.
Reassemble Your Dryer
– Align the Back Panel
Now you’re ready to put your dryer back together. Start by aligning the back panel with its grooves again.
– Return the Back Control Panel Mounting Screws
When the panel is aligned, it will line up with the screw holes in the back of the dryer. With your nut-driver, reattach all the mounting screws. Twist them firmly, but not too tightly, into place.
– Return the Push-to-Start Button/Knob to the New Post
With the dryer back together, retrieve your button or knob that was removed earlier and set it firmly onto the post provided by the new washer starter.
– Push Your Dryer Back Into Place
It is now safe to push your dryer back into place along the wall. Just be sure not to crush or crinkle the silver tubing which is your dryer’s vent for moist air it’s pulling out of the clothes.
Test Your Success
– Restore Power to Your Dryer
Now that everything is back together, you can safely plug your dryer back in. Again. be careful not to touch the prongs if you do this. For some, it may be a bit of a reach, so don’t be afraid to ask a friend or climb on your dryer.
– Push to Start
Finally, you’re ready to test. And the good news is that this test is incredibly simple. All you have to do is “push to start”. If the dryer starts, you win.
Congratulations!
You have just completed a basic home appliance repair and deserve a pat on the back. Time to celebrate with nice warm towels or something equally dry and satisfying. For more home appliance repair insights or to call a technician for appliance concerns, contact us today!

Apr. 09, 2024
Eliminate the Burning Smell From Your Microwave

Apr. 09, 2024
Fixing a Samsung Freezer That Won’t Freeze

Apr. 09, 2024
Whirlpool Oven Won’t Heat: Here’s What To Do

Mar. 06, 2024
Easy Steps to Clean Your Refrigerator Coils

Mar. 06, 2024
Quick Fixes for an LG Dryer Not Heating

Mar. 06, 2024
How to Fix an Electrolux Dryer That’s Not Drying

Feb. 05, 2024
Why Is Your Whirlpool Washer Lock Light Flashing?

Feb. 05, 2024
Why Is Your Freezer Door Not Sealing?

Feb. 05, 2024
How Does a Ventless Dryer Work?

Jan. 03, 2024