January 3, 2024
Dryer Repair
Dryers are one of the most reliable home appliances around—they rarely have issues and can last for 13 years or more. However, to ensure your dryer has a long, functional life, you need to keep it properly maintained.
One of the most important aspects of dryer maintenance is keeping the dryer duct clean and free from lint. Lint buildup can decrease your dryer’s efficiency, causing it to work harder to dry your clothes. Overheated lint in and around the duct can even pose a fire risk!
Our guide will walk you through the steps to thoroughly clean your dryer duct and help prolong the life of your dryer.
What is a Dryer Duct?
A dryer duct or dryer vent is a pipe that connects the dryer to the outside of your building. It allows hot, moist air to escape and prevents moisture from building up inside your home and causing mold and mildew.
How Does a Dryer Duct Work?
A dryer duct is usually vented to the outside via a vent on the wall of the building. During the dryer’s operation, hot air, moisture, and lint particles travel through the dryer duct to the outside. This prevents moisture from building up in your home and also ensures lint does not build up inside your dryer.
When a dryer duct has not been cleaned for a long time, it can get partially or even completely blocked with lint. This means that the hot, moist air can’t be properly removed, which can cause the dryer to be less efficient. It can also lead to fire risk, as more lint particles remain in the dryer.
It’s hard to tell if your dryer duct needs cleaning without disconnecting it and looking inside. However, dryer ducts should be cleaned regularly, so if you haven’t cleaned yours within the last year there’s a good chance it will benefit from a thorough clean.
Steps to Cleaning Your Dryer Duct
Before you begin cleaning your dryer, ensure you have the following tools on hand:
- A vacuum cleaner with a hose attachment
- Screwdriver
- Long-handled brush (optional for shorter ducts)
- Dust mask
- Duct tape
Step 1 – Unplug Your Dryer
For safety reasons, always disconnect your dryer from its power source when you’re doing maintenance work.
Step 2 – Disconnect Both Ends of the Dryer Duct
First, locate both ends of the dryer duct. You will probably have to move your dryer away from the wall to get access. One end will be attached to the back of the dryer, and the other to the exterior vent.
The connections will vary depending on your model and type of exterior vent. Most ducts are attached to the back of the dryer with a clip or clamp, but it may also be held in place with duct tape. This will need to be replaced once you’re finished cleaning.
Inspect the duct and its connections carefully before beginning to remove it to ensure you don’t accidentally do damage.
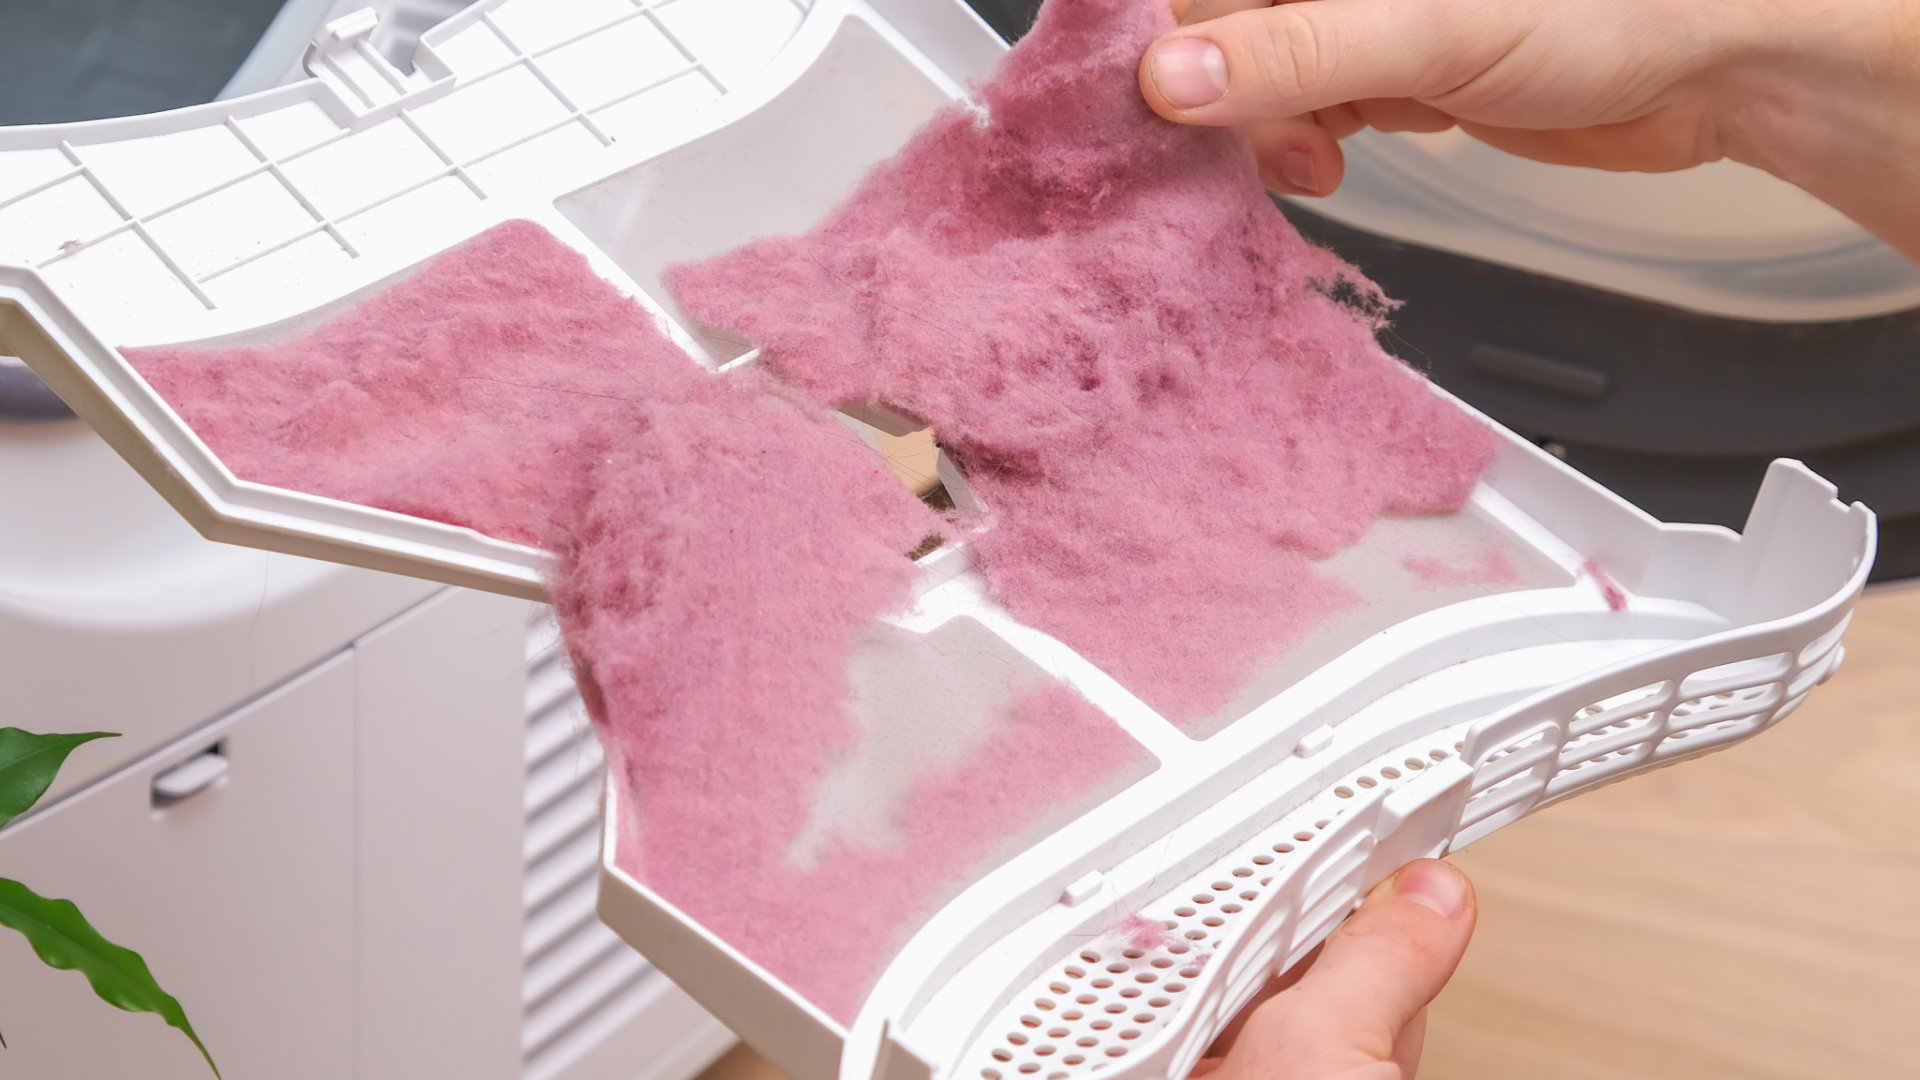
Step 3 – Clean the Lint Trap
Before you clean the dryer duct, don’t forget to clean the lint trap! Think of the lint trap as the first “stopping point” for lint on the way to the duct—if the trap is overly full, lint is more likely to end up in the duct.
To clean the lint trap:
- Remove the lint trap from the dryer. Location can vary, so check your user manual. In many cases, lint traps are located within the dryer door opening, at the bottom.
- Manually remove any clumps of lint.
- Use a soft, dry brush to remove any remaining small pieces of lint.
- Put the lint trap back in place.
Step 4 – Clean Where the Duct Attaches to the Wall
There will likely be a buildup of lint around the exterior vent where the duct attaches to the wall. Use your vacuum’s hose attachment to get rid of any lint and dust buildup around the vent.
Step 5 – Clean Where the Duct Attaches to the Dryer
When you remove the duct from the dryer, you’ll probably notice lint buildup in the duct housing, particularly if it’s been a long time since you last cleaned the duct. Use your vacuum cleaner to thoroughly clean away all visible lint.
Step 6 – Clean the Duct
Now it’s time to clean the duct itself! This process will differ depending on how long the duct is.
- First, use your vacuum’s hose attachment to vacuum out all lint and dust from both ends of the duct hose.
- Look through the duct to see if you can see any remaining dust. If there is dust you can’t reach with the vacuum, you’ll need to use a long-handled brush to loosen it.
- Once you’ve loosened the lint with a brush, repeat the process of vacuuming. Repeat these steps until the duct is totally clear of lint.
Step 7 – Put the Dryer Back Together
Reconnect the duct to the back of the dryer and to the exterior vent. Clip or screw the duct back into place at both ends, ensuring it is held firmly in place.
Return the dryer to its original position, then restore power.
Dryer Duct Maintenance
You should clean your dryer vent every 12 months in order to maintain optimal drying performance and reduce the risk of fires. If you have a large family and use your dryer multiple times a day, you may need to do this every 6 months.
It’s also essential to clean out the lint trap every single time you use your dryer. This will prevent lint from getting to the dryer duct in the first place and is also a great way to ensure your dryer is operating safely and efficiently.

Apr. 09, 2024
Eliminate the Burning Smell From Your Microwave

Apr. 09, 2024
Fixing a Samsung Freezer That Won’t Freeze

Apr. 09, 2024
Whirlpool Oven Won’t Heat: Here’s What To Do

Mar. 06, 2024
Easy Steps to Clean Your Refrigerator Coils

Mar. 06, 2024
Quick Fixes for an LG Dryer Not Heating

Mar. 06, 2024
How to Fix an Electrolux Dryer That’s Not Drying

Feb. 05, 2024
Why Is Your Whirlpool Washer Lock Light Flashing?

Feb. 05, 2024
Why Is Your Freezer Door Not Sealing?

Feb. 05, 2024
How Does a Ventless Dryer Work?

Jan. 03, 2024