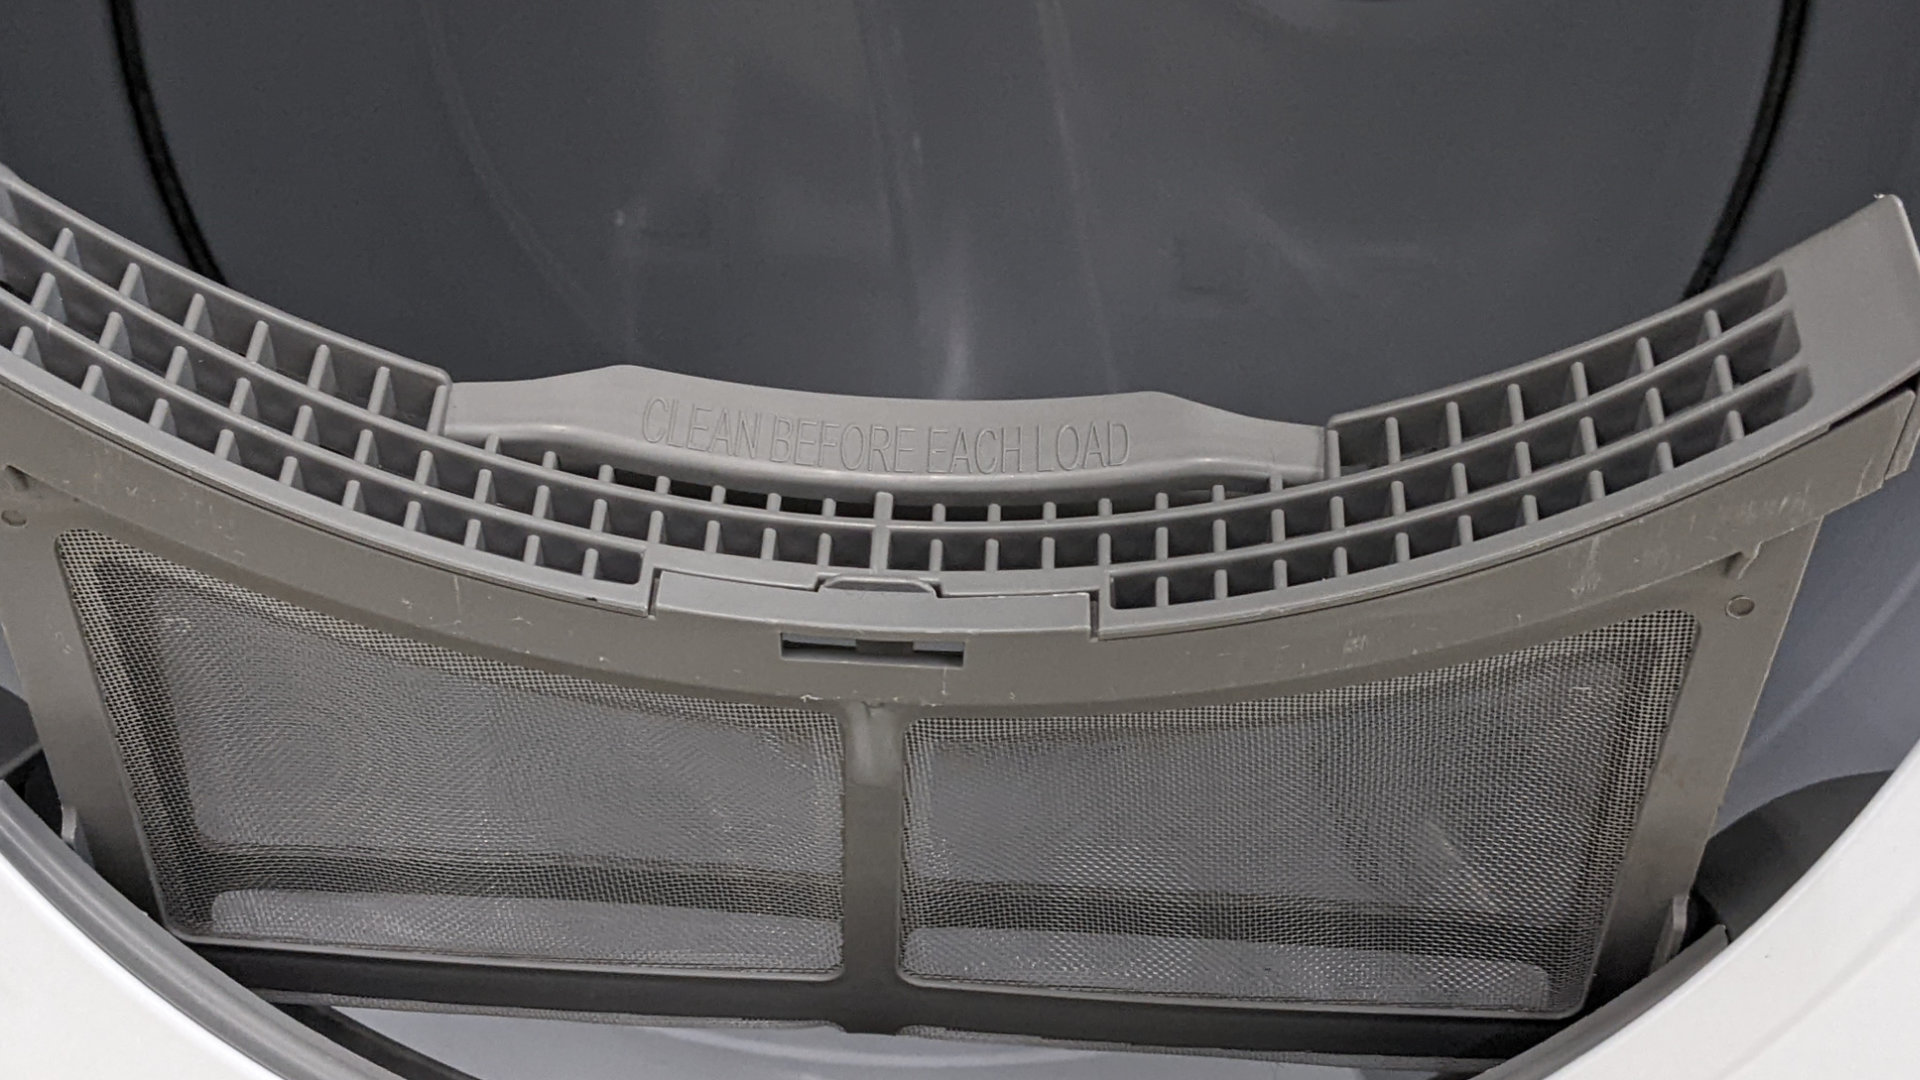
If your dryer won’t start and just makes a clicking noise, this guide will tell you exactly what you need to do to fix it.
Usually, this problem is caused by a faulty thermal fuse, door switch, start switch, dryer belt, or main control board. To find out which component is responsible simply start with step one and work your way down the list until your dryer starts working again.
Step 1 – Check the thermal fuse
The thermal fuse is a safety device in your dryer that is there to monitor the temperature in your dryer and if it overheats, turn it off. If your dryer is not starting and is making a clicking sound it could be because the thermal fuse has blown. If this is the case, it will need to be replaced.
Here’s how to check, and if necessary, replace the thermal fuse:
- Switch the power off.
- Locate the thermal fuse. Depending on your dryer’s make and model, you’ll have to remove the rear panel or the bottom-front panel to gain access to the thermal fuse. If you’re not sure where it is in your dryer, check your user manual.
- Once located, remove the thermal fuse.
- Next, test it with a multimeter to check for continuity.
- If it fails the continuity test, replace it. If fine, put it back into your dryer and move on to the next step.
- Once you’ve installed a new thermal fuse, check if your dryer now works. If not, continue to the next step in this guide.
Step 2 – Check the door switch
The next step is to check the door switch. The purpose of the door switch is to monitor the door opening and closing. If the door switch becomes faulty, your control board won’t know if the door is closed and your dryer might not start. The easiest way to check if the door switch is working is to close the door and check if you can hear a clicking sound when the door shuts. If you can hear a click, this usually means the door switch is working, but to make sure, it’s a good idea to check it with a multimeter.
Here’s how to check, and if necessary, replace the door switch:
- Switch the power off.
- Locate the door switch. Depending on your dryer’s make and model, you’ll have to remove either the door panel or the control panel to be able to access the door switch. If you’re not sure where it is in your dryer check your user manual.
- Once located, remove the door switch.
- Next, test it with a multimeter to check for continuity.
- If it fails the continuity test, replace it. If fine, put it back into your dryer and move on to the next step.
- Once you’ve installed a new door switch check if your dryer now works. If not, continue to the next step in this guide.
Step 3 – Check the start switch
If your dryer has a start switch it might have become faulty and as a result, your dryer isn’t able to start. The best way to determine if the switch is faulty is to check it with a multimeter.
Here’s how to check, and if necessary, replace the door switch:
- Switch the power off.
- Locate the thermal fuse. To access the start switch you’ll have to remove the control panel.
- Once located, remove the start switch or disconnect the wiring.
- Next, test the start switch with a multimeter to check for continuity.
- If it fails the continuity test, replace it. If fine, put it back into your dryer and move on to the next step.
- Once you’ve installed a new start switch, check if your dryer now works. If not, continue to the next step in this guide.
Step 4 – Check the dryer belt
Another common cause of a dryer not starting is a faulty dryer belt. The dryer belt goes around your dryer drum and helps to rotate it during a cycle. If it becomes defective or snaps, your dryer won’t be able to start up.
Here’s how to check, and if necessary, replace the dryer belt:
- Switch the power off.
- To access the dryer belt, you’ll most likely need to remove the top control panel and the front panel. If you’re not sure how to remove these panels or which one you need to remove to access the belt, check your user manual.
- Locate the dryer belt and inspect it for damage. You also need to check if it’s positioned in the center of the drum and is attached to the idler and motor pulleys.
- If damaged the belt will need to be replaced. If the belt has come out of position, reposition it. If the belt is fine, move on to the next step.
- Once the new belt has been installed, check if your dryer now works. If not, move on to the final step in this guide.
Step 5 – Replace the main control board
If you still haven’t found the cause of your dryer not starting, the final step is to replace the main control board. The main control board is responsible for telling all of the components in your dryer what to do so if it becomes faulty your dryer won’t be able to operate. To replace the main control board, simply locate the existing one, remove it, and install the new one.

Eliminate the Burning Smell From Your Microwave

Fixing a Samsung Freezer That Won’t Freeze

Whirlpool Oven Won’t Heat: Here’s What To Do

Easy Steps to Clean Your Refrigerator Coils

Quick Fixes for an LG Dryer Not Heating

How to Fix an Electrolux Dryer That’s Not Drying

Why Is Your Whirlpool Washer Lock Light Flashing?

Why Is Your Freezer Door Not Sealing?

How Does a Ventless Dryer Work?

