July 31, 2023
Dryer Repair
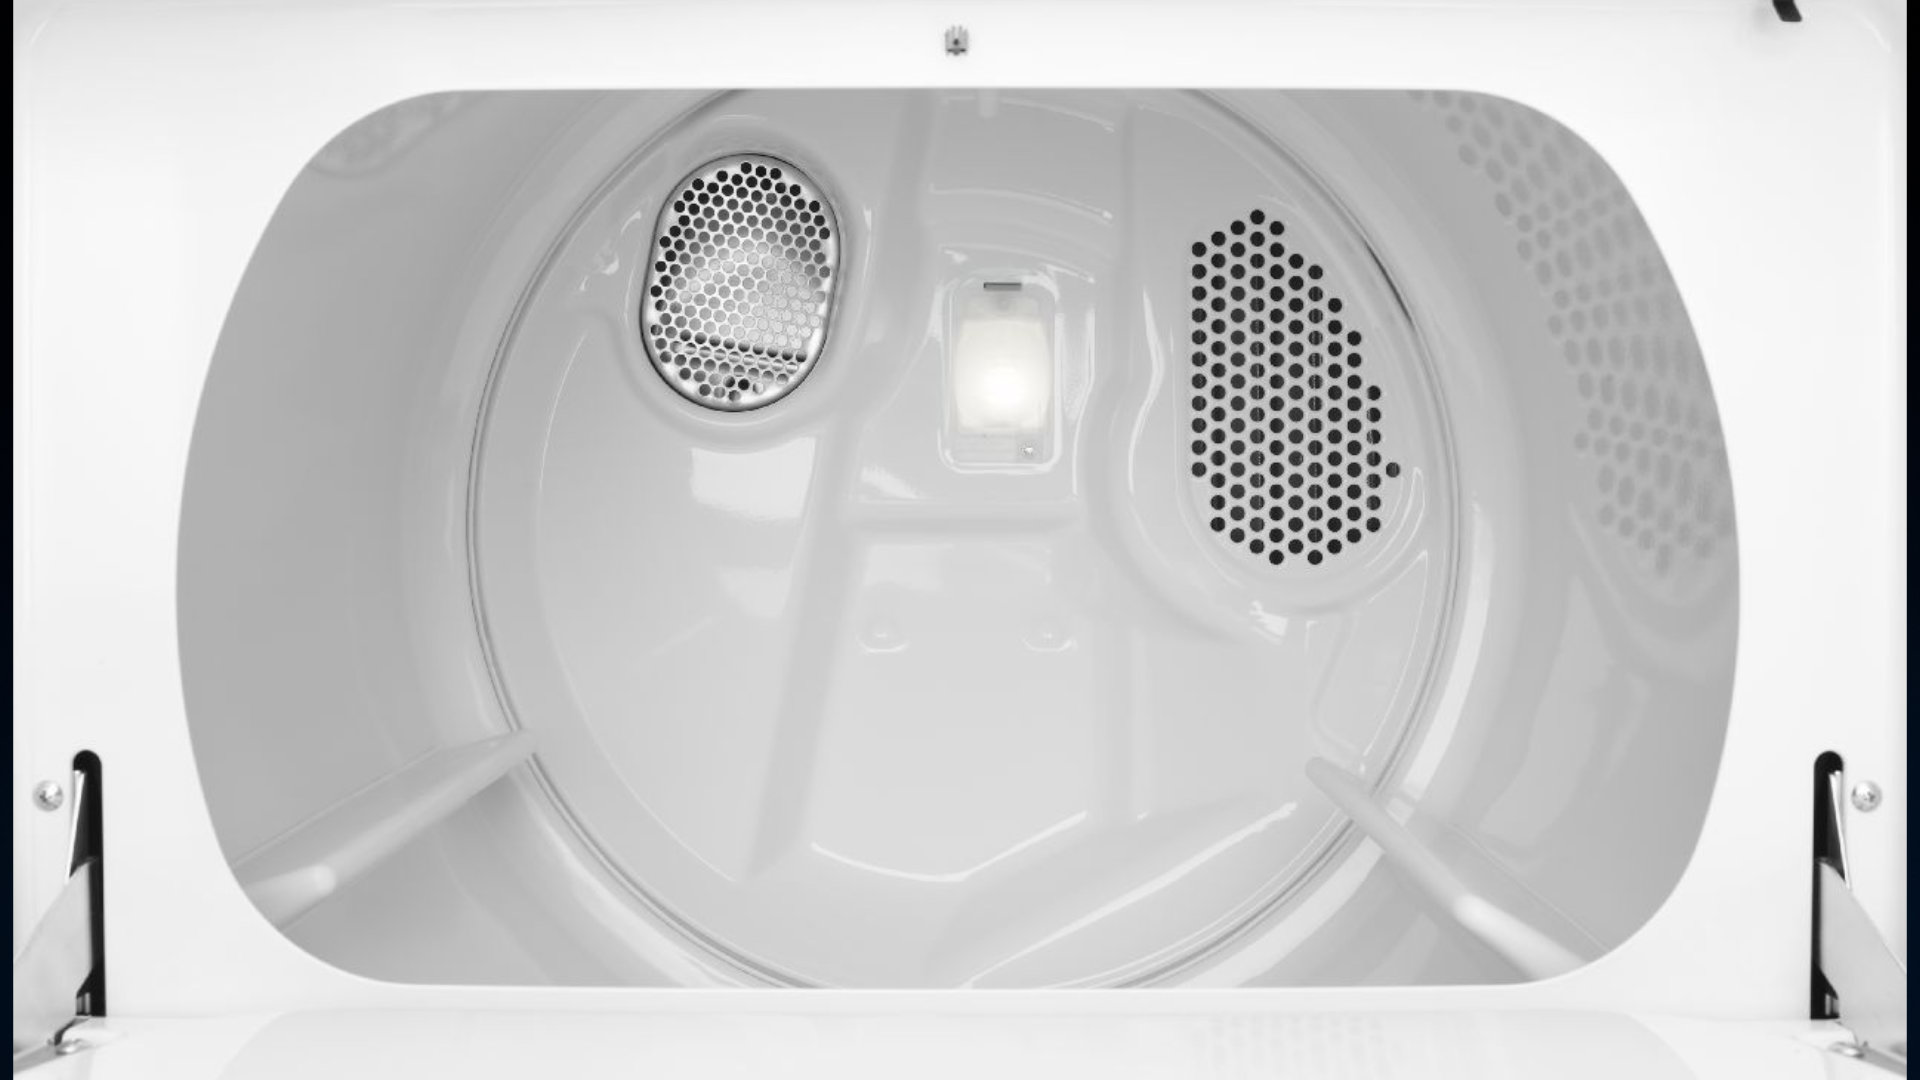
You’re in the right place if your Amana dryer is not heating. By following the steps in this guide, you will discover which component within your dryer is faulty so you can repair or replace it. Start with step one, and work through the guide until your dryer is heating again correctly.
All major Amana dryer models are covered in this guide, including the following model numbers:
- ALE643RBW
- CE2402/P7762235W
- CE2402/P7762335W
- CE4317L2/PCE4317L2
- CE4317W2/PCE4317W2
- CE8317W2/PCE8317W2
- CE8407W/PCE8407W
- DLE330RAW
- DLG330RAW
- LEA30AW
- LEA60AW
- LGA30AW
- LGA60AW
- NDE2330AYW
- NDE2335AYW
- NDE7800AYW
- NDG2330AWW
- NED4655EW1
- NED5100TQ1
- NED7200TW10
- NED7300WW1
Step 1 – Check the heating element
The heating element heats the air before it enters the dryer drum during a cycle. This means it’s the most critical component within your dryer when it comes to heating. Over time, the heating element can burn out or become damaged, preventing it from operating correctly.
To diagnose a potential issue with the heating element, inspect it for signs of damage and test it with a multimeter to ensure it has continuity. If the element is defective, it will need to be replaced.
Checking the heating element involves the following steps:
- Disconnect the power to the dryer.
- Unscrew the dryer’s back panel (for some models, you’ll need to remove the front panel and dryer drum).
- Locate the heating element’s metal casing.
- Disconnect the wiring harness attached to the heating element casing.
- Inspect the element for signs of damage. If it is damaged, it will need to be replaced.
- If there are no signs of damage, use a multimeter to test the heating element terminals for continuity. If no continuity is detected, the heating element needs to be replaced. If continuity is detected, you can reattach the wire harness and move on to the next step.
- If you replace the heating element, the final step is to test that it works. Turn your dryer on and check to make sure it can now heat properly. If your dryer still doesn’t heat, move on to the next step.
Step 2 – Check the thermal fuse
The thermal fuse is a safety measure in your dryer that prevents overheating. If the dryer becomes excessively hot, the thermal fuse will blow, causing the dryer to stop heating. Unfortunately, a blown thermal fuse can’t be repaired and must be replaced.
If you discover that the thermal fuse has blown, it’s crucial to identify the reason so you can prevent it from happening again. Typically, a blown thermal fuse occurs due to lint buildup, which restricts airflow and causes the dryer to overheat. If your thermal fuse has blown, you must thoroughly clean out the vent and lint filter before installing a new one.
Check the thermal fuse by following these steps:
- Disconnect the power to the dryer.
- Locate the thermal fuse—it is usually situated at the rear of the dryer, either on the blower housing or near the heating element casing. For gas dryers, it’s usually located close to the burner.
- Once you locate the thermal fuse, disconnect the wiring harness attached to it.
- Use a multimeter to test the thermal fuse. If no continuity is detected, the fuse has blown and you need to replace it. If continuity is detected, reattach the wire harness and move on to the next step.
- If you had to replace the thermal fuse, now make sure it works. Do this by turning your dryer on and checking that it can now heat properly. If your dryer still doesn’t heat, move on to the next step.
Step 3 – Check the gas valve solenoid
Gas dryers have two or more gas valve solenoid coils, which open the gas valve ports to allow gas into the burner assembly. A defective gas valve solenoid will stop the dryer from heating. If you have an electric dryer, you can skip to the next step.
To determine if a solenoid coil has failed, check whether the igniter glows but then shuts off without igniting the flame. If it doesn’t ignite the flame, one or more of the solenoids has likely failed. You should replace all of the gas valve solenoids as they usually come in a set, and this guards against other solenoid coils failing in the future. Once you’ve replaced them, check to see if your Amana dryer can now heat correctly. If not, move on to the next step.
Step 4 – Check the high-limit thermostat
The next step in our guide for how to repair an Amana dryer that’s not heating is to check the high-limit thermostat. This component monitors the temperature in the dryer during a cycle and signals to the control board to turn the dryer off if it determines that the dryer is overheating. It must be replaced if it becomes faulty and incorrectly records the temperature.
Checking the high-limit thermostat involves the following steps:
- Disconnect the dryer from the power.
- Locate the high-limit thermostat. The high-limit thermostat is located at the rear of the dryer (its exact location varies depending on the model). You will likely need to remove the dryer’s rear panel or, for some models, the front panel. If you’re not sure where it is, check your owner’s manual.
- Disconnect the wiring harness attached to the thermostat.
- Use a multimeter to test the thermostat. If no continuity is detected, the thermostat is faulty and needs replacement. If continuity is detected, you can reattach the wire harness and move on to the next step.
- If you replace the thermostat, the final step is to test that it works. This can be done by turning your dryer on and checking to make sure it can now heat properly. If your dryer still doesn’t heat, move on to the next step.
Step 5 – Check the cycling thermostat
The cycling thermostat ensures the air temperature in your dryer is correct during a cycle. It achieves this by monitoring the temperature to tell the control panel when to turn the heat up or down.
Checking the cycling thermostat involves the following steps:
- Disconnect the power from the dryer.
- Locate the cycling thermostat. The cycling thermostat can be found at the rear of the dryer in most models. If you’re not sure where it is, check your owner’s manual.
- Once you’ve located it, disconnect the wiring harness attached to the cycling thermostat.
- Test the cycling thermostat. If no continuity is detected during the multimeter test, the thermostat is faulty and needs replacement. If continuity is detected, you can reattach the wire harness and move on to the next step.
- If you replace the cycling thermostat, the final step is to test that it works. When you turn your dryer on, check that it is now heating properly. If your dryer still doesn’t heat, move on to the next step.
Step 6 – Check the incoming power
The final step is to check the incoming power. Amana dryers require 240 volts of electricity (120 volts in each leg) to heat correctly during a cycle. If your dryer isn’t receiving the correct voltage, it will not operate correctly.
The incoming power can be tested with a multimeter. If each leg doesn’t have 120 volts, reset the circuit breaker. If that doesn’t fix the problem, call a technician to come and inspect your dryer.

Apr. 09, 2024
Eliminate the Burning Smell From Your Microwave

Apr. 09, 2024
Fixing a Samsung Freezer That Won’t Freeze

Apr. 09, 2024
Whirlpool Oven Won’t Heat: Here’s What To Do

Mar. 06, 2024
Easy Steps to Clean Your Refrigerator Coils

Mar. 06, 2024
Quick Fixes for an LG Dryer Not Heating

Mar. 06, 2024
How to Fix an Electrolux Dryer That’s Not Drying

Feb. 05, 2024
Why Is Your Whirlpool Washer Lock Light Flashing?

Feb. 05, 2024
Why Is Your Freezer Door Not Sealing?

Feb. 05, 2024
How Does a Ventless Dryer Work?

Jan. 03, 2024