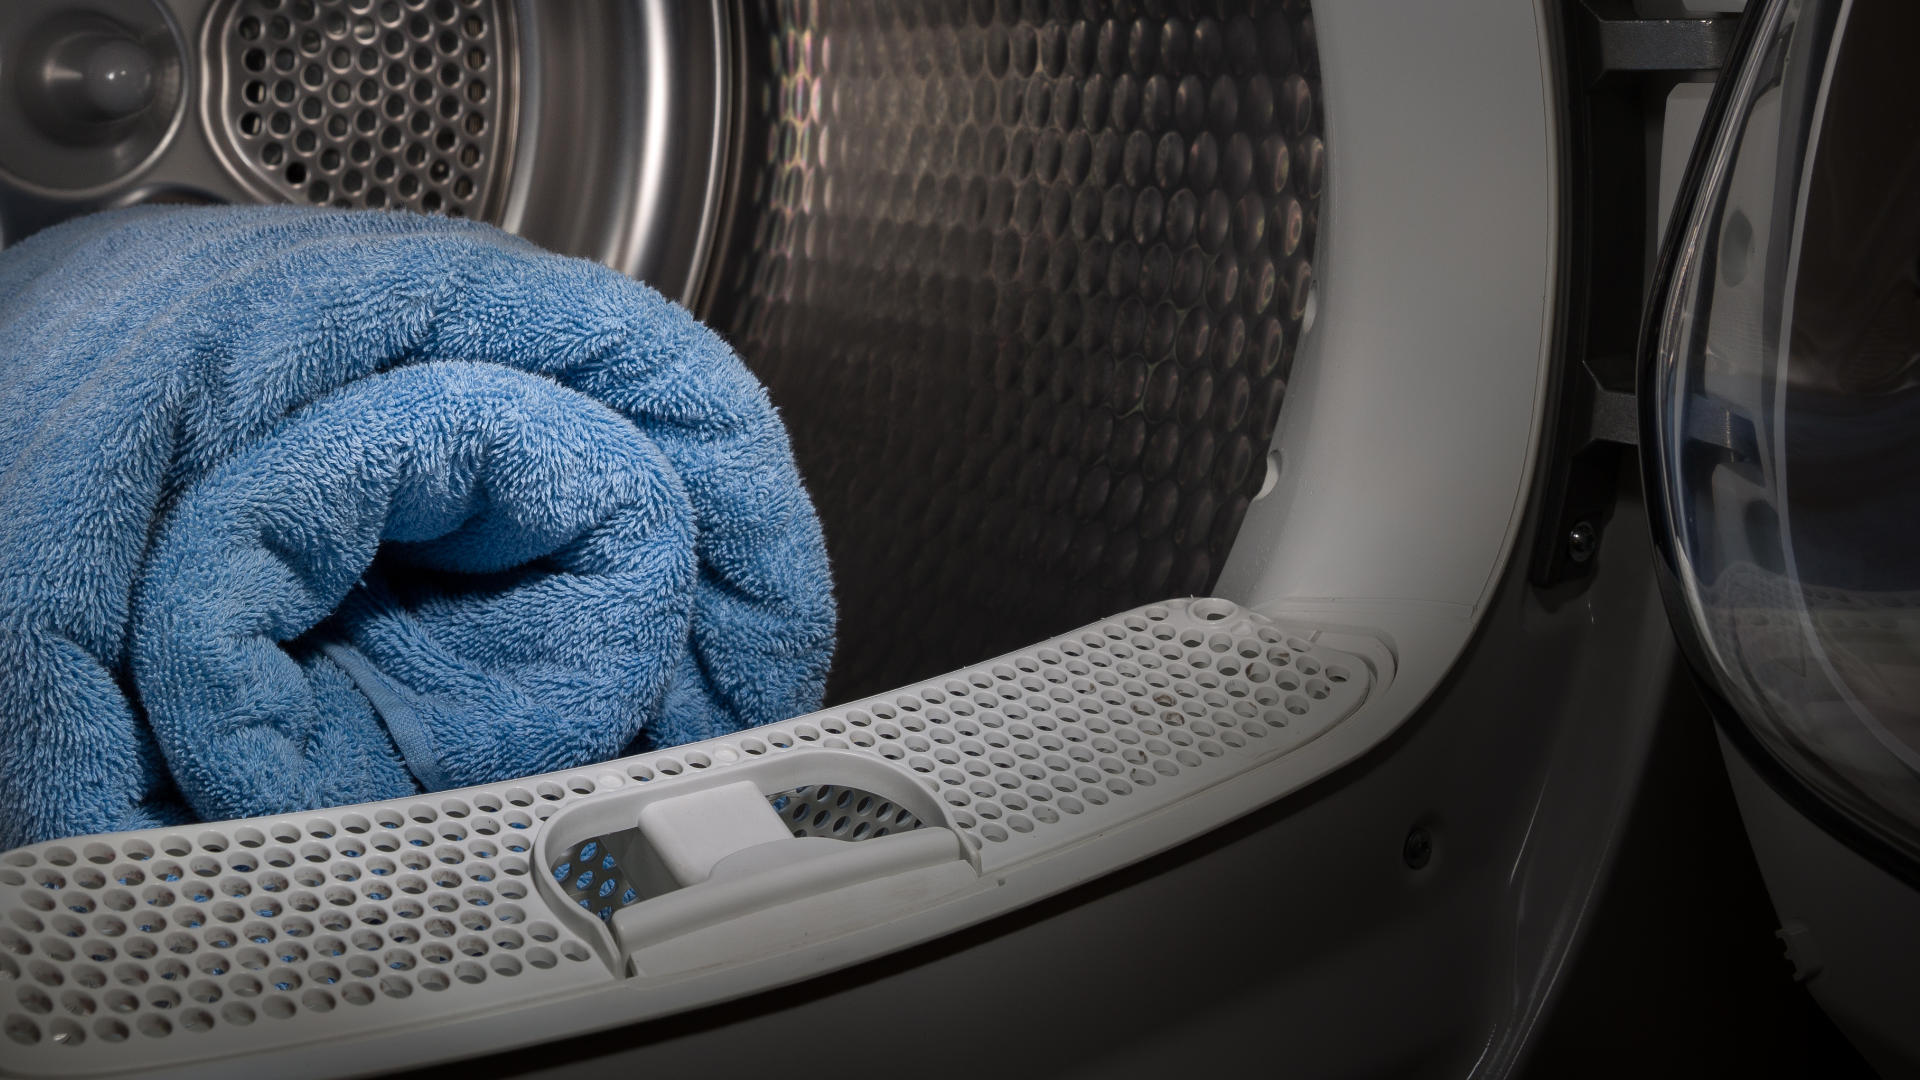
For dryers to operate correctly, they must rotate to distribute heat around the dryer’s drum. The main component in the dryer that makes this happen is the drum belt.
The drum belt in your dryer is located inside the dryer panels and goes around the drum. When the dryer is overloaded with clothes or too much pressure is applied to other components within the dryer, the drum belt can begin to fray and eventually snap. When the belt snaps, your dryer drum will not be able to rotate around, so it needs to be replaced.
Thankfully, it is quite easy to replace. Simply follow our 5-step guide below.
Step One: Disconnect the Dryer
The first step is to disconnect your dryer from the power source. You can then pull your dryer out from its cabinet (if applicable) so that you will be able to work on it.
Step Two: Remove the Old Belt
The next step is to remove the old belt from the dryer; to do that:
- Remove the top panel on your dryer. You’ll need to remove the screws that hold it in place, and then it should unclip at the front and slide off.
- Remove the control panel. You’ll need to remove the screws that go down through the plastic tabs on the back of the control panel unit and then lift the control panel up and out slightly. Disconnect the wire harnesses by unlocking the tabs, and then you’ll be able to fully remove the control panel.
- Open the dryer door and remove the two screws that are located just below the lint filter (they might be in slightly different locations depending on the specific make and model of the dryer).
- Remove the screws that secure the top of the front panel to the support piece. You can then pull the panel out slowly and disconnect the wire harness that connects to the door switch.
- There should be a wire harness that is connected to the light bulb, which you can disconnect.
- Remove the support piece by removing the screws. You might have to also remove a screw that connects the control board to the support piece.
- Once the support piece is removed, you can disconnect the top wire harness from the harness restraints and place it out of the way.
- You can now release the wire harness that is connected to the sensor, which you can find at the bottom of the dryer.
- Remove the screws that hold the bulkhead in place. You can then remove the bulkhead from the dryer and set it aside out of the way.
- You can now have full access to the old drum belt. Remove it by releasing it from the idler pulley and the motor shaft and pulling it out from the dryer.
- You should now be able to lift the dryer drum off the rear (and front if you have them) drum rollers and pull the drum out of the dryer cabinet.
Step Three: Install the New Belt
Now that you’ve removed the old belt, it is time to install the new belt. To do this:
- Carefully place the belt around the drum – make sure that the groove side of the belt sits against the dryer drum.
- Lift and place the drum back inside the dryer cabinet onto the drum rollers, ensuring that it is flush against the rear bulkhead.
- Ensure that the belt is in the center of the drum the whole way around.
- Reconnect the new belt to the idler pulley and motor pulley in the same position that the old one was.
- You can test that the drum belt is on correctly by turning the drum around slowly. When you turn it around, the blower should turn as well as the drum – if this is the case, then it is connected correctly, and you can move on to the next step.
Step Four: Put the Dryer Back Together
Once the new drum belt is attached correctly, you will need to put the dryer back together again so you can test it out. To put the dryer back together you need to:
- Reattach the front bulkhead by rethreading the screws back into place. If your model had a screw from the bulkhead into the blower housing, you will also need to rethread that in.
- Reconnect the lower wire harness back into the sensor.
- Reconnect the upper wire harness back into the harness restraints, and connect it to the light bulb.
- Reattach the support piece. You can do this by aligning it into the right slots and rethread the screws back in.
- Put the two harness connectors from the control board back through the opening that is in the support piece.
- Reattach the front panel by clipping it back into place and then rethreading the screws.
- Reattach the console by first connecting the wire harness back up and then securing it in the correct position by rethreading the screws.
- Rethread the two screws that you removed earlier by the lint filter housing.
- You can now reattach the remaining panels and screw them back into place. Your dryer should now be fully reattached and ready to test.
Step Five: Reconnect the Dryer
The final step is to reconnect your dryer back up to its power source and test that the dryer is now working correctly. If your dryer passes the test, then it is fully fixed up and ready to go.

Eliminate the Burning Smell From Your Microwave

Fixing a Samsung Freezer That Won’t Freeze

Whirlpool Oven Won’t Heat: Here’s What To Do

Easy Steps to Clean Your Refrigerator Coils

Quick Fixes for an LG Dryer Not Heating

How to Fix an Electrolux Dryer That’s Not Drying

Why Is Your Whirlpool Washer Lock Light Flashing?

Why Is Your Freezer Door Not Sealing?

How Does a Ventless Dryer Work?

