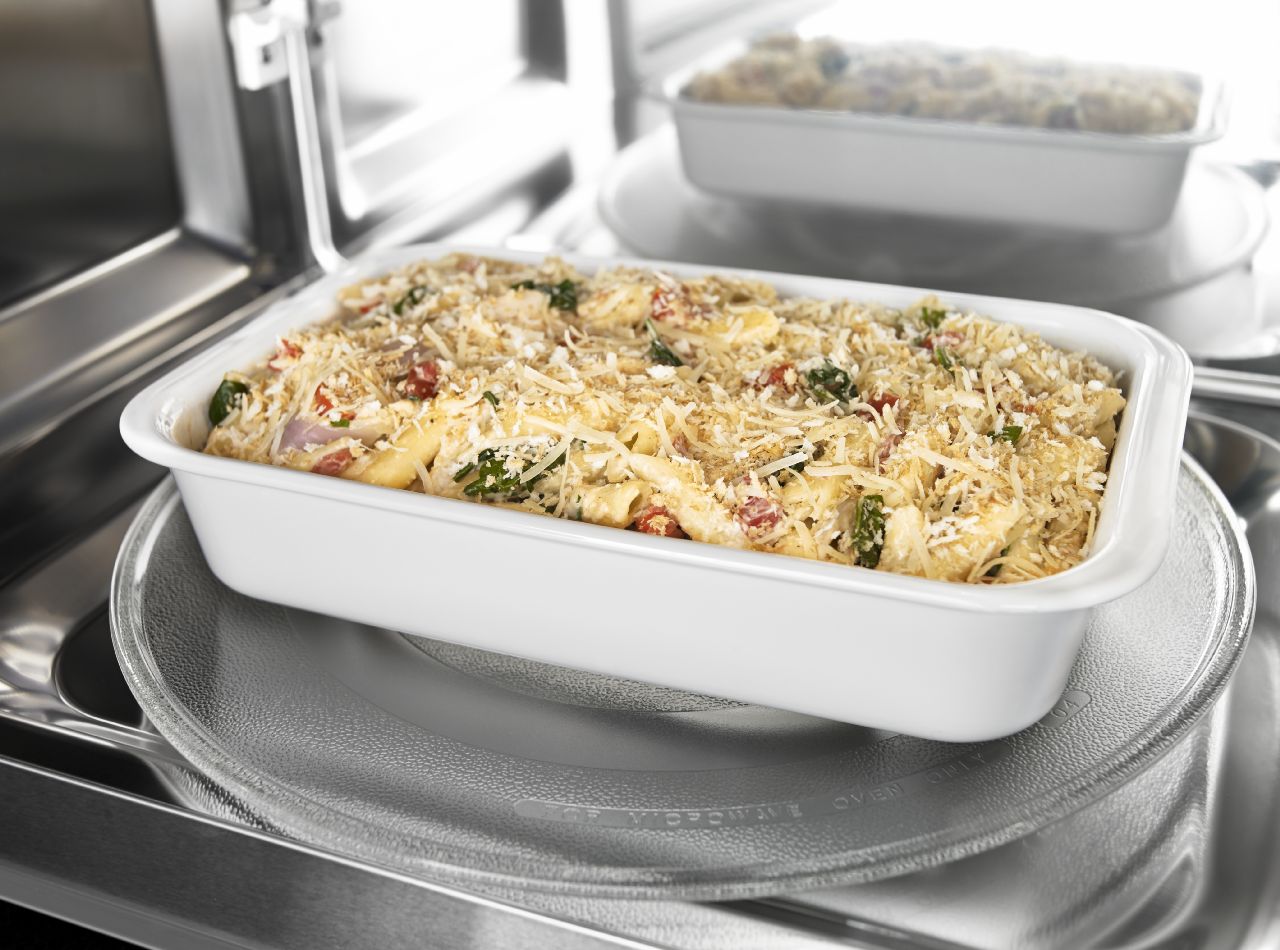
In microwaves, turntables are the mechanisms that make your food go around as part of the process of heating things up. They are spun by a motor mounted on the underside of the microwave. When the turntable motor goes out, the microwave continues to run, but your food may not be warmed through as evenly as it would have otherwise been
The most common symptom of a problem like this is the turntable not working. More specifically, the glass part stops rotating when the microwave is running.
Before you replace it
Once you have identified that the motor is what is causing the turntable to not work properly issue, the first thing you need to do is to order a replacement for the part that has stopped working. You may not be able to order through the manufacturer’s website, but there are several other websites you can order from
- A Phillip’s head screwdriver
- A pair of needle-nose pliers
When you are ready to get started, make sure there is no power going into the unit by unplugging the microwave. This repair will
Step 1 – Open up the underside
The first step you need to take is to open up the underside panel. This will give you access to the bottom of the microwave and the turntable motor
To open up the panel, you will need to remove the mounting screws that hold it shut. Start from the sides and work your way towards the middle. Set the mounting screws in a safe place to the side of where you are working so you can locate them when you are ready to close the panel
Step 2 – Disconnect the wire connectors
Your second step will be to disconnect the wire connectors and detach them. The wire connectors have tiny tabs that hold them in place. They will need to be pressed down so that you can remove them from the motor. Use needle-nose pliers (or a similar type of tool) to make the process easier.
Step 3 – Remove the old motor
The third step is to remove the old motor from the underside of the microwave
Step 4 – Put the new motor in place
After setting the old motor aside, get the new one ready by setting the white spacer from the old motor in the same spot on the new motor. Once the spacer is in the correct position, lift the motor up and put it into place on the underside of the microwave
Step 5 – Install the new motor
The fifth step is to install the new motor
Step 6 – Put everything else back into place
With the new part installed, the last step is to put everything back into place. Close the underside panel and screw the mounting screws back into place. Once the panel is secure, set the turntable back inside the microwave. Finally, when everything is back in place, plug the microwave back in and turn the power back on
After you finish
A simple way to check that you’ve done the work correctly is
That did not fix the problem
If you find that the turntable is still not functioning after replacing the motor, there are two other things that may be causing issues. One of those is damage to the microwave’s glass tray drive coupling. The other is a broken or stripped out glass tray support
For more appliance troubleshooting tips and repair guides, visit the Dan Marc Appliances website. If you’re experiencing an issue with your appliances that are more complicated than you think you can handle, contact us to set an appliance repair appointment with one of our more than 60 certified repair technicians.

Eliminate the Burning Smell From Your Microwave

Fixing a Samsung Freezer That Won’t Freeze

Whirlpool Oven Won’t Heat: Here’s What To Do

Easy Steps to Clean Your Refrigerator Coils

Quick Fixes for an LG Dryer Not Heating

How to Fix an Electrolux Dryer That’s Not Drying

Why Is Your Whirlpool Washer Lock Light Flashing?

Why Is Your Freezer Door Not Sealing?

How Does a Ventless Dryer Work?

