January 7, 2019
Refrigerator Repair
The temperature in the fresh food compartment of your Estate refrigerator model TS25AFXKQ should sit around 34 to 40 degrees Fahrenheit. If the temperature starts dropping below 34 degrees, the food stored in the compartment will begin freezing. Unfortunately, there are a number of maintenance problems and component malfunctions that can lead to a refrigerator being too cold. To help you better understand why the temperature in your fresh food compartment has dropped and how you can go about fixing it, we’ve created an easy to follow repair guide, below.
Maintenance tips
- Door Leaks can actually cause your refrigerator to over produce cold air, which then causes the temperature in your fresh food compartment to fall below its optimal setting. To remedy this issue, inspect the doors on your appliance. A damaged door gasket or faulty hinge can disrupt the airtight seal needed to keep your refrigerator running properly.
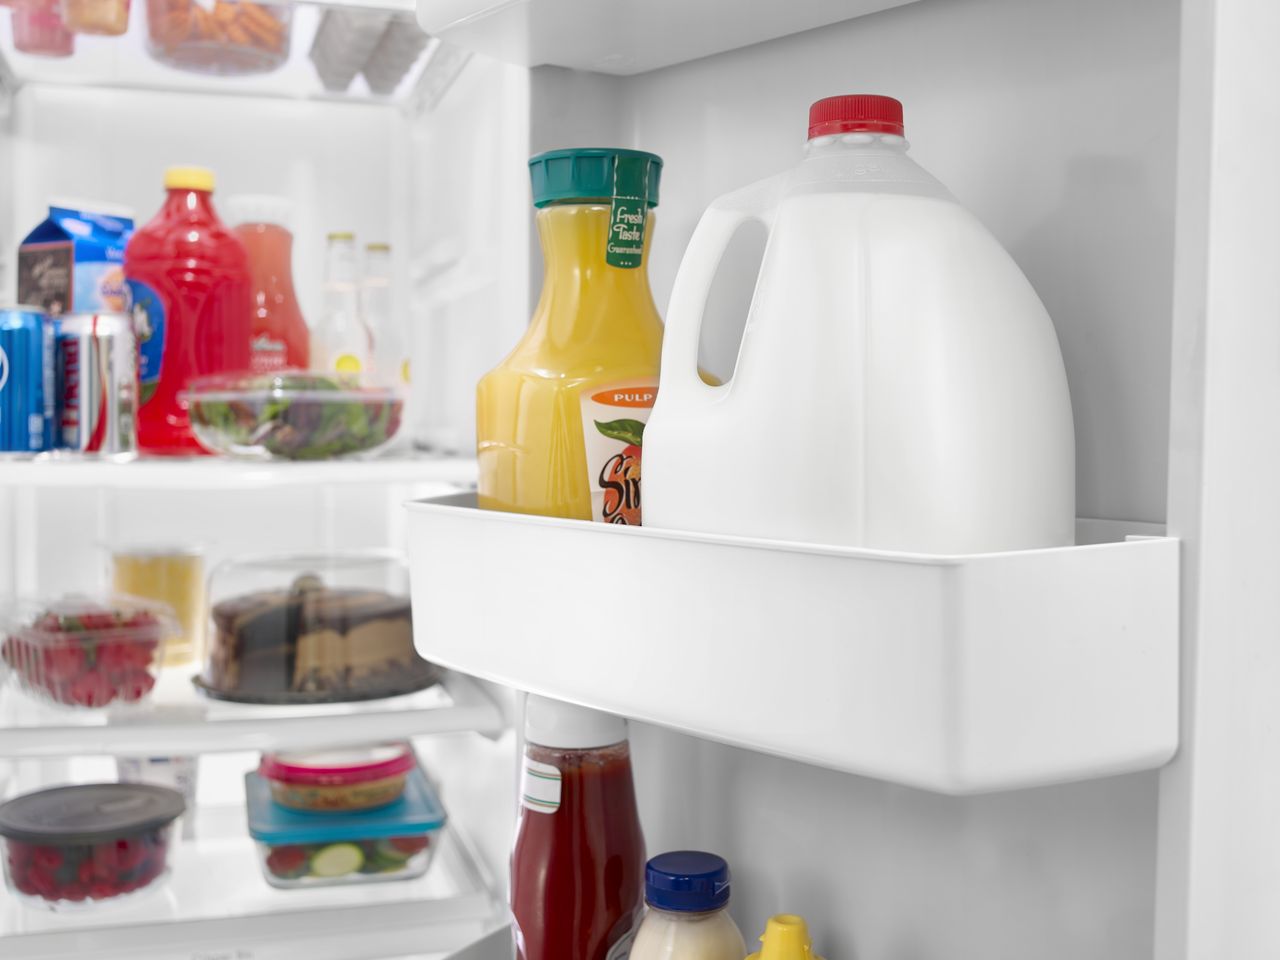
- Not Enough Food Stored in your fresh food compartment can decrease the temperature in the cavity. A fully packed refrigerator ensures the cold air flowing into the compartment is absorbed. Luckily, adding food to your refrigerator will quickly resolve its temperature issue. Keeping your freezer and fresh food section packed also creates a more efficient appliance, however, pay close attention to food placement. Accidentally blocking the refrigerator vents can lead to the temperature in your fresh food compartment rising instead of dropping.
How to Repair a Refrigerator that is Freezing Your Food
Before carrying out the repairs listed below, unplug your refrigerator and turn off the water running to the appliance. To protect your hands and eyes, wear work gloves and safety goggles as you disassemble and reassemble your refrigerator.
The Temperature Control Thermostat
The temperature control thermostat senses the temperature inside your refrigerator’s fresh food compartment. When the temperature in the section rises above the set degree, the control thermostat turns on the compressor and fans. A defective thermostat can cause the compressor to run for an extended period of time, meaning an excessive amount of cold air will enter the fresh food cavity.
How to Replace a Faulty Temperature Control Thermostat in Your Estate Refrigerator
- Open the fresh food compartment door and take out the top shelf. Using a Phillips screwdriver, unthread the screw securing the conduit cover, which can be found on the wall separating the freezer and fresh food section. Pull the cover off the wall. Next, take out the screw holding the damper cover to the refrigerator, and remove the cover from your appliance.
- Underneath the damper cover you’ll find the thermostat sensor hooked around the damper. Pull the sensor out of the clips securing it to the component.
- Once the sensor is detached, you’ll need to remove the control panel at the front of the fresh food section to gain access to the temperature control thermostat. After you have taken out the screws holding the panel to the ceiling of the refrigerator, carefully lower the control panel and detach the grounding wire and the crisper light wire harness. Then, unthread the screw securing the damper control arm to inside the control panel.
- On the bottom of the control panel, locate the screws that hold the control component bracket to the panel and unthread them. Next, remove the knobs on the front of the control panel, and separate the component bracket from the panel.
- Detach the wires running to the control thermostat, and remove the sensor from the retaining clip. Then, take the control component bracket out of your refrigerator.
- Unthread the screws holding the temperature control thermostat to the bracket and remove the faulty thermostat.
- Before you install your new temperature control thermostat, take the insulating sleeve off the old sensor and transfer it onto the new sensor. Then, set the new thermostat onto the control bracket and secure it with the screws you removed earlier. Reattach the wires running to the temperature control thermostat.
- Take the control bracket back to the refrigerator, and attach it to the control panel. Reconnect the wires running to the temperature control thermostat, and push the sensor back into the retaining clip. Secure the bracket to the control panel with its screws, and then slide the knobs back onto the thermostat shaft and the freezer control shaft.
- Reattach the damper control arm. Next, reconnect the crisper light wire harness and the grounding wire. Push the control panel onto the refrigerator ceiling and secure it with the screws you took out earlier.
- Snap the sensor back into the retaining clips on the damper and reattach the damper cover. Replace the conduit cover and secure it with a screw.
- Slide the top shelf back into your refrigerator. Now you can plug-in your appliance and turn the water running to it back on.
The Damper Control Assembly
The damper control assembly is found on the refrigerator wall in-between the fresh food compartment and the freezer. It controls when cold air from the freezer travels into the fresh food section. If the damper is stuck open, cold air will continue to flow into the refrigerator causing the temperature to drop and your food to freeze.
How to Replace the Damper Control Assembly in Your Estate Refrigerator
- Open your refrigerator door and slide out the top shelf. Remove the conduit cover and damper cover from the wall separating your freezer and fresh food section. Then, take the thermostat sensor off the damper assembly.
- Move to the freezer side of your appliance and open the door. Pull the ice bucket out and unthread the screws holding the auger motor assembly to the freezer’s back wall. Pull the auger motor off the wall and lower it a few inches. Then, disconnect the auger motor wire harness and remove the component from the freezer compartment.
- Behind the assembly on the side wall, you’ll find the rear duct assembly. Take out the screws holding it in place, and lower the assembly a few inches so it is no longer in your way.
- Now release the locking tabs on the damper control assembly. Then, move back to the fresh food compartment to disconnect the control arm from the damper assembly. Once the arm is free, take the damper out of your refrigerator.
- Retrieve the new damper control assembly, and insert the control arm into the slide bar on the damper. Secure the arm with the piece of tape that covered the arm on the old damper. Insert the assembly into the opening on your refrigerator’s side wall, and push it until the locking tabs snap into place.
- Head back to the freezer compartment, and reattach the duct assembly. Then replace the auger motor assembly by first reconnecting the wire harness, and then resting it on the mounting post. Secure the auger motor with the screws you took out earlier. Put the ice bucket back into the freezer and shut the door.
- Reattach the thermostat sensor to the damper assembly, and replace the damper cover. To finish up your repair, reinstall the conduit cover and slide the top shelf back into your refrigerator.
- Plug-in your appliance and turn on the water. Wait 24 hours to see if the temperature in your fresh food compartment stays at the proper setting.
If you attempted to fix your refrigerator’s freezing problem, but neither repair resolved the issue, please contact us today and we’ll be happy to help you diagnose the malfunction.

Apr. 09, 2024
Eliminate the Burning Smell From Your Microwave

Apr. 09, 2024
Fixing a Samsung Freezer That Won’t Freeze

Apr. 09, 2024
Whirlpool Oven Won’t Heat: Here’s What To Do

Mar. 06, 2024
Easy Steps to Clean Your Refrigerator Coils

Mar. 06, 2024
Quick Fixes for an LG Dryer Not Heating

Mar. 06, 2024
How to Fix an Electrolux Dryer That’s Not Drying

Feb. 05, 2024
Why Is Your Whirlpool Washer Lock Light Flashing?

Feb. 05, 2024
Why Is Your Freezer Door Not Sealing?

Feb. 05, 2024
How Does a Ventless Dryer Work?

Jan. 03, 2024