July 31, 2023
Washer Repair
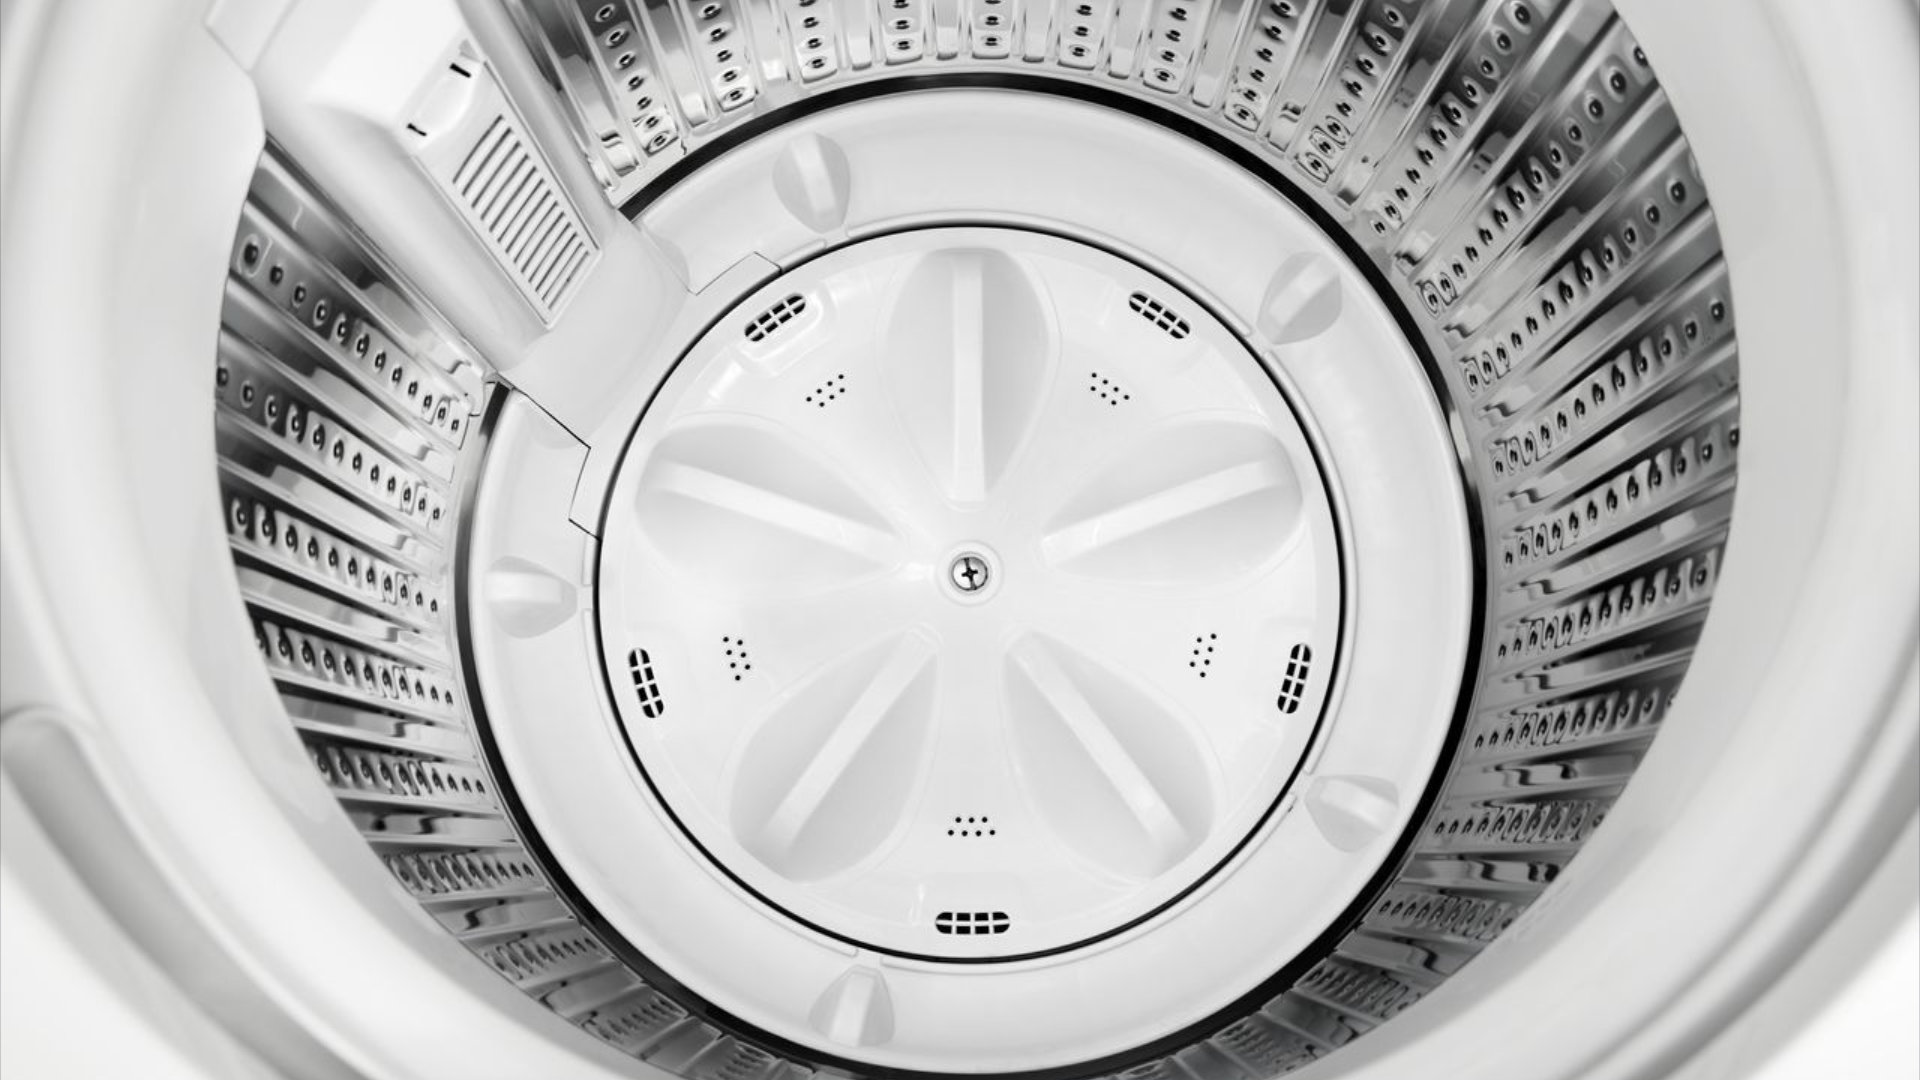
Installing a washing machine may seem daunting, but it’s actually quite simple! Whether you’re replacing an old washing machine or installing a new one for the first time, you can get your washing machine up and running in no time by following these step-by-step instructions. In this guide, we will break down each step to take you through the process. So, let’s get started!
You will need:
- A bucket.
- A towel.
- A pair of pliers.
- A spirit level.
- And an adjustable wrench.
Step 1: Uninstall Your Old Washing Machine
Make sure your old washing machine is empty first!
Pull the old washing machine away from the wall so you can reach the water supply hoses at the back of the machine.
Turn off the water! Be sure to do this for both the hot and cold water hoses.
Place the bucket beneath the hoses. Disconnect both of the water supply hoses from the wall and drain them completely into the bucket. Then disconnect the hoses from the washing machine. Use a towel to mop up any spills.
Next, follow the steps above for the drainage hose, emptying it into the bucket and mopping any spills.
Step 2: Prepare the Area
Before starting, choose the right place for your washing machine. Ensure the area is dry and stable to prevent any potential water damage.
Ensure that there is a power outlet nearby and a water supply.
Be sure to measure the area as well to be sure your new washer will fit in the chosen space.
Once you’ve established the spot for your washing machine, you’ll want to remove any excess dust or dirt, as this could cause the washing machine to move or make noises.
Also, ensure that there is enough clearance between the washing machine and any nearby walls or surfaces. Also, ensure that the door will have clearance to open fully.
You’ll want to move your washing machine close to the wall but with enough room to access the hose inlets and outlets for installation.
Step 3: Prepare Your Washing Machine
Open the new washing machine and remove its hoses, clamps, and instructions.
Your washing machine may come with locking bolts. These bolts help to secure the drum while the washer is being transported, preventing damage.
The locking bolts are found at the back of the washing machine, around the drum. You will need to remove these, or your washing machine will not spin. You can remove these with a wrench, or nut driver, depending on the style of locking bolt used.
From there, you will need to remove the plastic bolt as well. These can be removed by hand but may require a little pressure.
Your washer will come with plugs to fill in the holes left behind.
Step 4: Connect the Water Supply
The next step is to connect the water supply. Your new washing machine should come with a set of water supply hoses, usually stored in the drum.
First, connect the water supply hoses to the water valve near the washing machine. Ensure you have the right fittings for both the hot and cold water connections.
Once the hoses are connected to the valve, attach them to the corresponding inlet valve at the back of the washing machine. Tighten them securely.
You can tighten them with a wrench, but don’t overtighten them, as this could cause damage to the fittings.
Make sure that the hoses rest neatly, with no kinks or tight turns that could restrict the flow of water.
Step 5: Connect the Drain Hose
Next, connect the drain hose. Take the drain hose and attach it to the rear of your washing machine. The drain outlet should be near the base of the washing machine.
Ensure that the drain hose is securely fitted and at the right height – it should be lower than the base of the drum. Some washing machine models come with the drainage hose already attached. If this is the case, you do not need to worry about its height.
Next, you’ll need to connect the other end of the drain hose to the standpipe or a sink drain.
The standpipe is the small pipe near the base of the wall. Connect your drainage hose to that, and be sure it is secure.
If you do not have a standpipe but do have a sink nearby, your drainage hose may connect there. Under the sink, there will be a small pipe that sits at an angle away from the sink’s main drainage system. Connect your washing machine’s drainage hose to that.
Be sure to use a clamp to keep the hose securely in place.
Step 6: Level and Adjust the Feet
Your washing machine needs to be level, or else it will shake when in use. That shaking can damage your washing machine over time or even lead it to walk away and make a mess.
Check your washing machine’s manual to find out how to level the appliance and adjust the feet if necessary. Use a spirit level on the top of your washing machine to ensure it’s completely level with the floor.
Step 7: Plug It in and Turn It On!
The final step is to plug in the washing machine and turn it on.
But first, turn on the water valves and check for any leaks or adjustments to the fill hoses. Now, plug in the washing machine.
Once you have plugged it in, select a quick wash setting to ensure everything works correctly. Turn the machine on and wait for it to fill with water and start its cycle. If everything is working as expected, your washing machine is now ready to use!
If the washing machine does not fill, check your water supply hoses connections and that the water is fully on.
If the washer does not begin its cycle, consult your manual for troubleshooting tips.
Summary
Installing a washing machine might seem like a tricky process, but once you have the right tools and follow our suggested steps, it becomes an easy task you can complete in no time.
Remember to choose the right location for your machine, connect the water supply and drain hoses, level and adjust the feet, and plug it in – and that’s it. You’re ready to start washing your laundry!
With these steps, you’ll be able to install a washing machine with ease, and you’ll have a perfectly working washing machine in no time.

Apr. 09, 2024
Eliminate the Burning Smell From Your Microwave

Apr. 09, 2024
Fixing a Samsung Freezer That Won’t Freeze

Apr. 09, 2024
Whirlpool Oven Won’t Heat: Here’s What To Do

Mar. 06, 2024
Easy Steps to Clean Your Refrigerator Coils

Mar. 06, 2024
Quick Fixes for an LG Dryer Not Heating

Mar. 06, 2024
How to Fix an Electrolux Dryer That’s Not Drying

Feb. 05, 2024
Why Is Your Whirlpool Washer Lock Light Flashing?

Feb. 05, 2024
Why Is Your Freezer Door Not Sealing?

Feb. 05, 2024
How Does a Ventless Dryer Work?

Jan. 03, 2024