June 13, 2023
Washer Repair
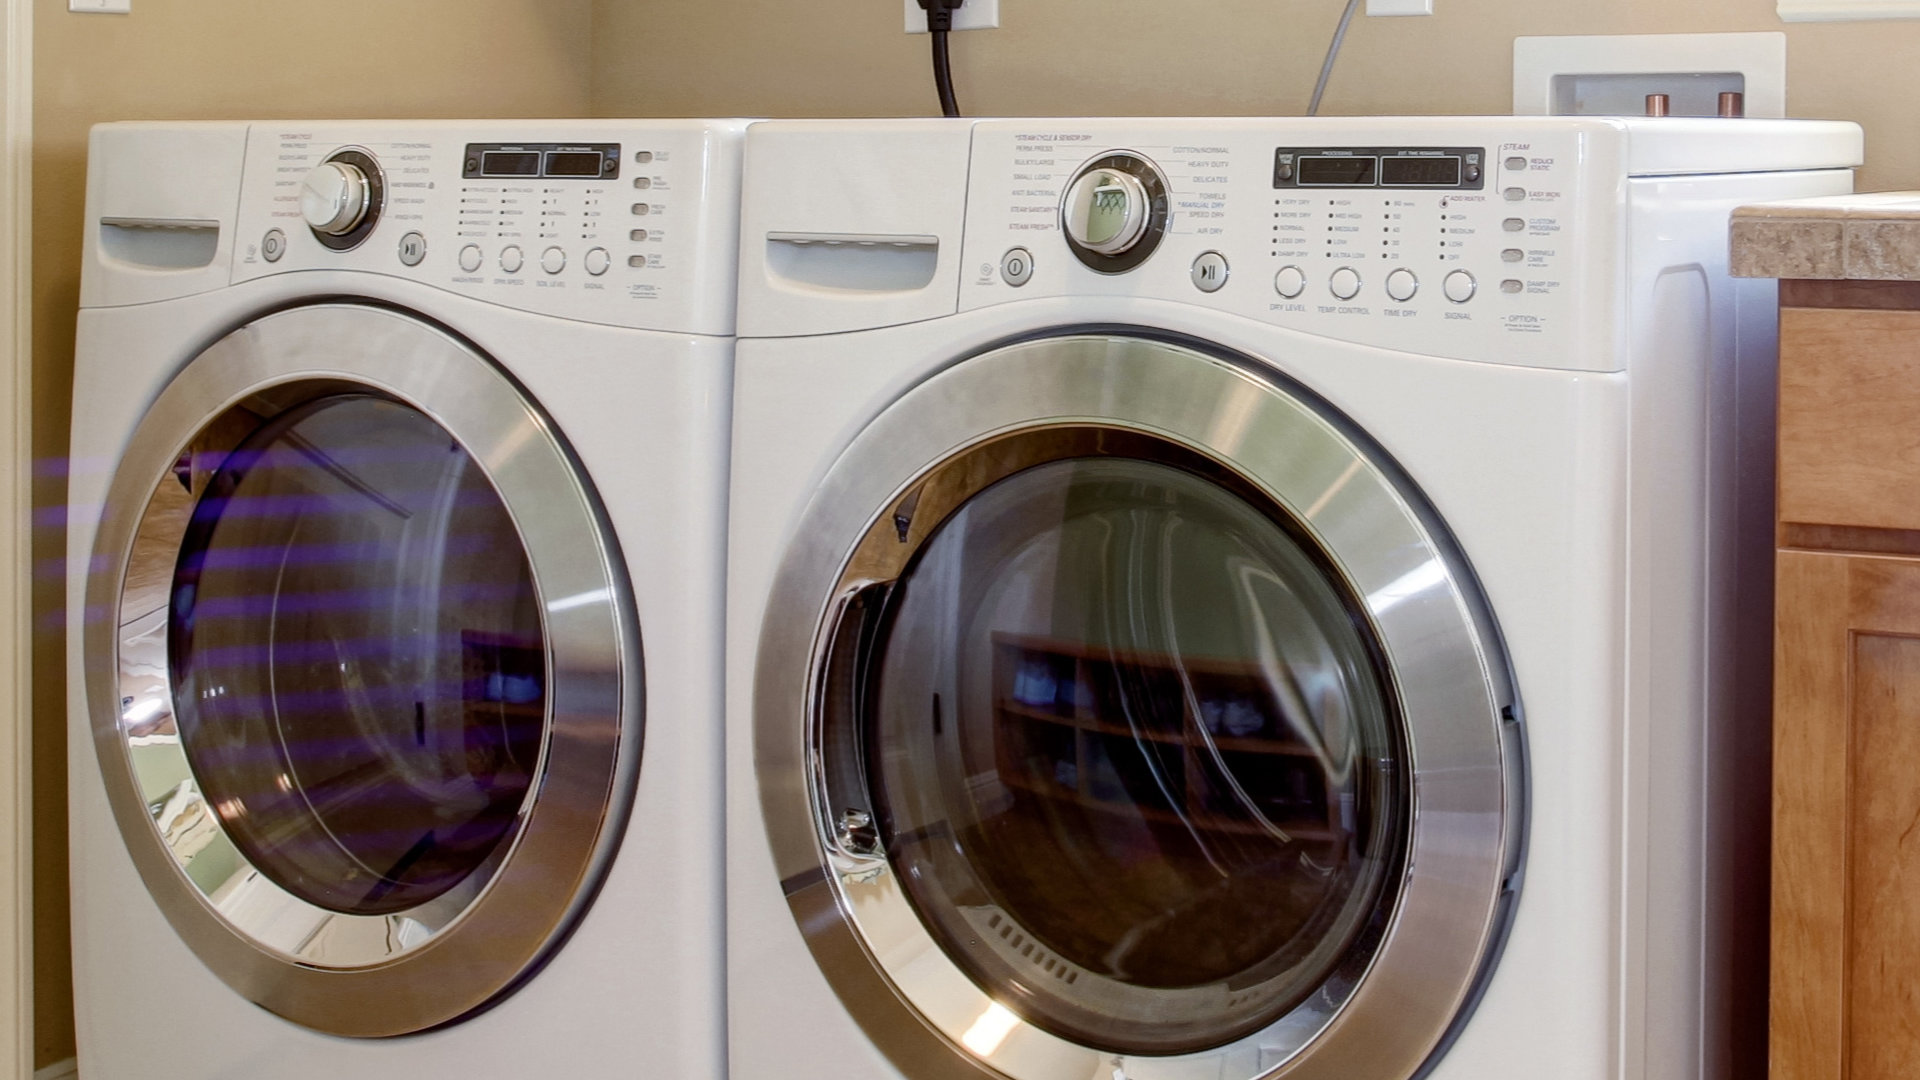
Washing machines are one of the most important household appliances in your home. They allow you to quickly wash your laundry so you always have clean clothes and other items. When yours becomes defective, it can be frustrating and disrupt your life.
One of the most common problems people have with their washing machine is the water valve stopping working properly. When this happens, leaks can occur, which can damage the floor and become a safety risk.
In this article, we’ll give you step-by-step instructions for how to replace the water valve so you can start to use your washing machine again quickly. Before we do that, we are going to quickly discuss when to replace the valve.
When to replace a washing machine water valve
- Your washing machine is leaking. If your washing machine is leaking, this is a good sign that the water valve might be faulty. This is especially true if the leak is coming directly around the valve connection area of your washer.
- The water temperature is low. If you notice the water pressure is low during the wash cycle, it could be the result of the water inlet valve not supplying water to the machine properly due to it being defective.
- The water supply isn’t working. If no water is flowing into the washing machine when it begins a cycle, the cause might be a defective water valve. Before replacing the valve, make sure the valve is turned on properly.
- The valve is broken. If the valve is rusted, broken, or seized up, you will most likely have to replace it. Water valves last a long time but eventually will need to be replaced if you have the same washing machine long enough.
- Your washing machine is making noises. If your washer is making loud noises during the wash cycle, the cause may be a defective water valve that is not supplying the water to the machine correctly.
Are there different types of washing machine valves?
Yes. There are two main types of washing machine valves.
The first type is called a single-lever valve. This type controls both the hot and cold water supply and is most common in older washer models.
The second type is called a dual-valve, which provides hot and cold water separately. Different valves also have different types of connections. When replacing the valve, you’ll be able to find out the specific type of valve your washing machine has when you remove the broken one. This will help you order the correct replacement part.
A step-by-step guide to replacing washing machine valves
- Make sure you have the right tools. To successfully replace the water valve, you will need: an adjustable wrench, a pair of pliers, a screwdriver, a pipe wrench, a bucket, towels, and Teflon tape.
- Switch the water off. Once you have all of the necessary tools, switch the water supply off.
- Disconnect the water hoses. Once the water shut-off valves have been turned off, you need to disconnect both water hoses. You will need to use a wrench to loosen the nuts that connect the hoses. It’s a good idea to place a towel down on the floor and have a bucket on hand in case the hoses leak.
- Remove the water valve. Once the hoses have been removed, the next step is to remove the old water valve. This can be done by unthreading the screws that hold it in place. You should then be able to detach it from the pipes and move it off the wall.
- Install the new water valve. To install the new valve, you need to start by attaching it to the pipes and then make sure it is securely in place. You can place Teflon tape around the threads as an extra precaution to prevent leaks. Once the tape has been applied, you can secure the new water valve in place with the screws you removed earlier.
- Connect the hoses. Once the new valve is installed, reconnect the hoses to it. Make sure you secure them in place by tightening the connection points with a wrench.
- Switch the water supply on. Now that the whole water valve unit has been installed, you can switch the water supply back on.
- Test the new valve. The final step is to test the valve to make sure it is working correctly. If it is working properly and there are no leaks, you can start to use your washing machine again.
Tips for preventing washer water valve issues
Now that your new washing machine valve has been successfully installed, let’s finish this article by offering some useful tips for how to prevent the valve from leaking or breaking:
- Check for leaks. Try to check the area around the water valve for any signs of leaks regularly. If you find a leak, you can usually fix it yourself by tightening the connection points or using some Teflon tape.
- Don’t overload the washer. If you overload your washing machine with too much laundry, it can add pressure to the hoses and the valve, which can result in leaks.
- Switch the water supply off. If you’re going away or not using your washing machine for a while, switch the water supply off. This will reduce the risk of your washing machine valve leaking.
- Replace the hoses. Over time, the water hoses in your washing machine will wear out. Once a hose starts to look old or gets kinks in it, it’s a good idea to replace it.
Check the connection points. It’s worth checking all the connection points where the hoses connect to the valve to ensure they are tight.

Apr. 09, 2024
Eliminate the Burning Smell From Your Microwave

Apr. 09, 2024
Fixing a Samsung Freezer That Won’t Freeze

Apr. 09, 2024
Whirlpool Oven Won’t Heat: Here’s What To Do

Mar. 06, 2024
Easy Steps to Clean Your Refrigerator Coils

Mar. 06, 2024
Quick Fixes for an LG Dryer Not Heating

Mar. 06, 2024
How to Fix an Electrolux Dryer That’s Not Drying

Feb. 05, 2024
Why Is Your Whirlpool Washer Lock Light Flashing?

Feb. 05, 2024
Why Is Your Freezer Door Not Sealing?

Feb. 05, 2024
How Does a Ventless Dryer Work?

Jan. 03, 2024